Our master bathroom wasn’t the only bathroom in our house that needed an update. All of the bathroom in our house were very much mid-90’s builder-grade when we moved it. But this didn’t worry us. We knew that there was much that could be done cosmetically to make the look work for us. We took our master bathroom to a contemporary look on a budget, and still love it. For our upstairs bathroom, we wanted to do an update, but go more classic than contemporary. Thankfully, no major renovations were needed, so we were able to do this:

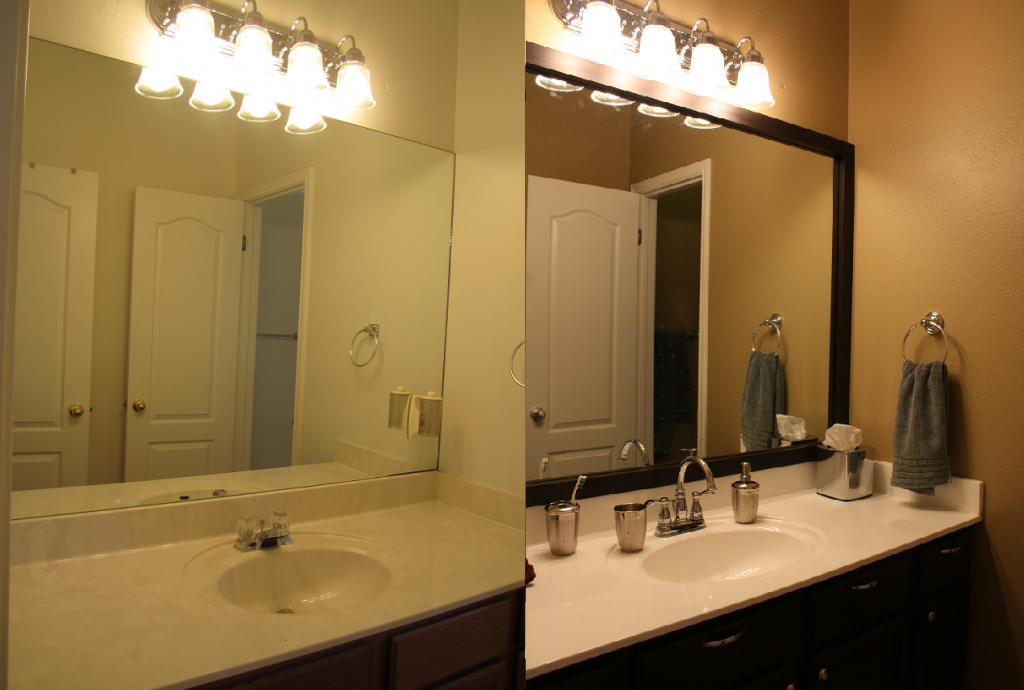
The first thing we did was professionally resurface the counters. Like with our master bathroom, we didn’t have a problem with the fact that the counters were cultured marble… what we had a problem with was that it was a swirly beige. We had them resurfaced to a bright white so that they’d be more neutral.
After that, we painted the walls a taupe/beige color to coordinate with the existing floor tile.
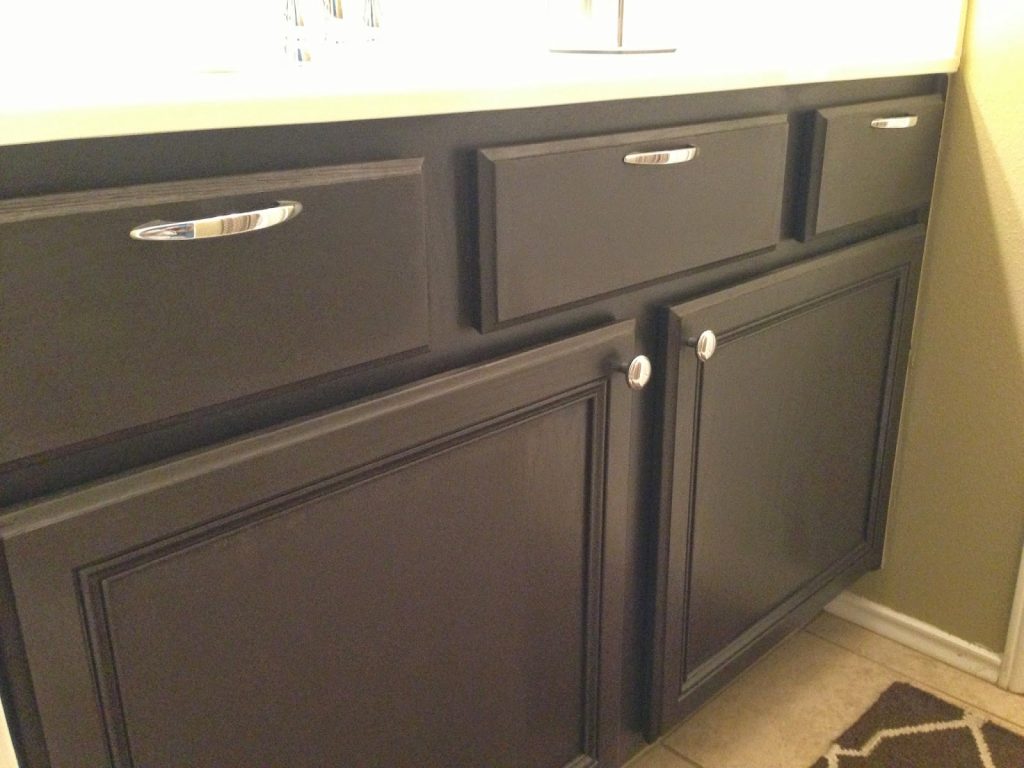
After that, the big job was to paint the cabinets. If you follow this blog, you probably know that I like contrasts (whites and darks, dark woods, etc.) and am not generally a fan of the plain maple wood look that so many builders used in the 90’s. Since we saw how well the Rustoleum Cabinet Transformations kits worked for our master bathroom, we used them again for this bathroom. Again, super easy as it doesn’t require any stripping or sanding. It is a full weekend project, however, as there are multiple steps. But the results are amazing, and you have lots of color and finish options (we chose Kona for this project, unglazed).
Of course, we couldn’t leave the cabinets naked after painting, so we accessorized them with some simple knob and pull hardware from Home Depot.

We also used MirrorMate again to frame the existing mirror. MirrorMate
allows you to input specifics about your mirror (exact size, distance from
walls, sink etc.), choose a style and finish for the frame, and for a great
deal, sends you four wood pieces and some instructions on how to install your own
frame to your existing mirror. A great price, very easy to do, and as you can
see above, provides great impact! For this bathroom, we chose Cherokee Slim in Espresso Walnut.
We changed the builder-grade faucet out to he Delta Porter in chrome from Home Depot, along with matching hand-towel holder.
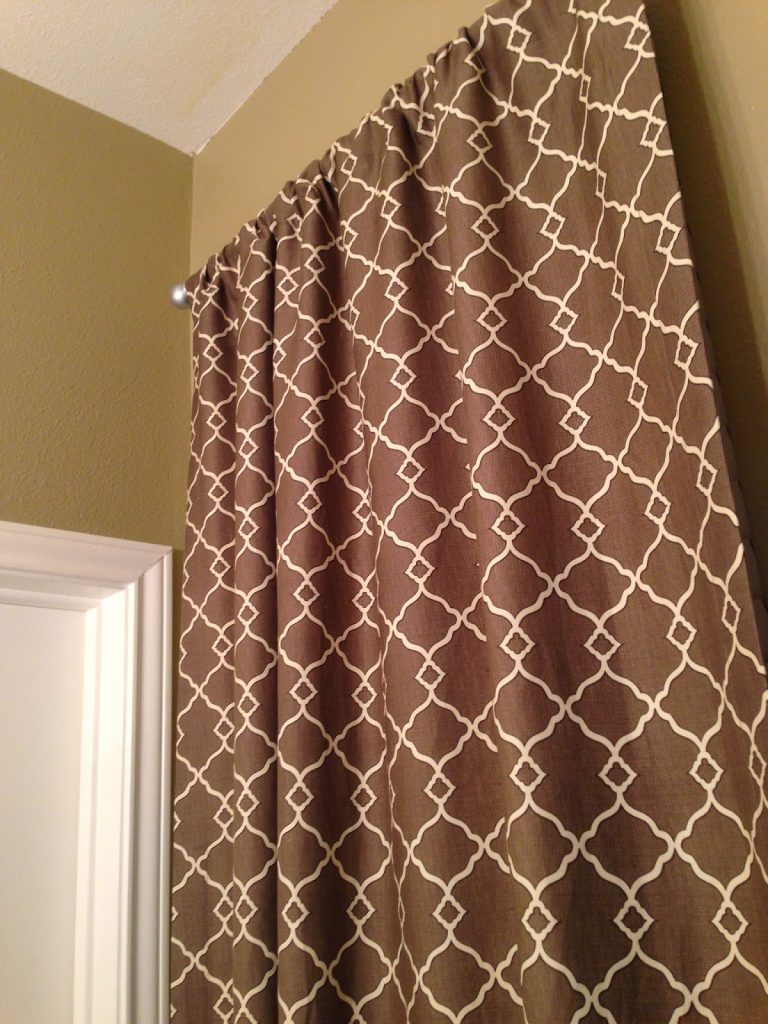
The window panels were Waverly brand from Lowe’s.
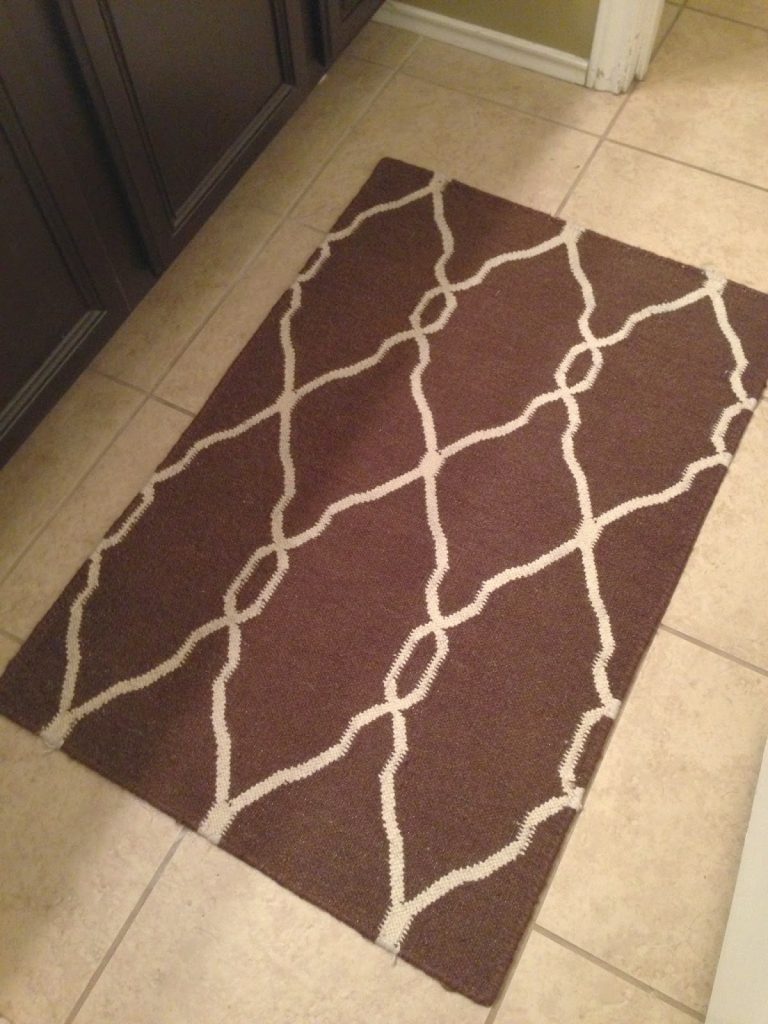
Coordinating nicely with the curtains is this area rug from Rugs Direct.
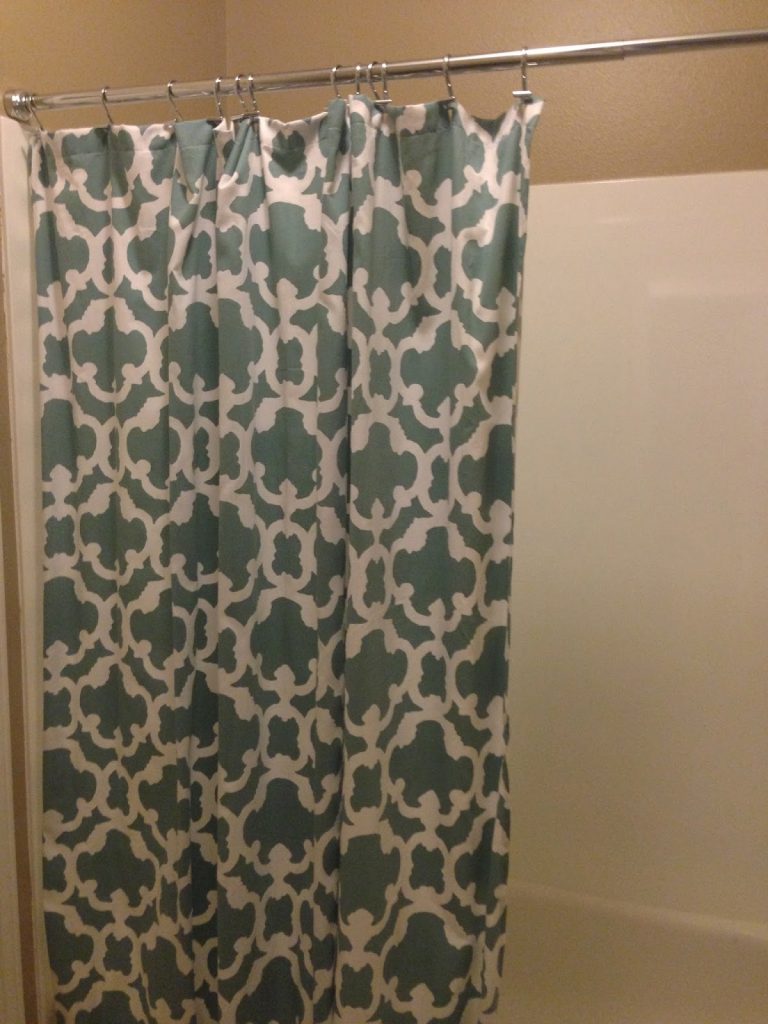
We lucked out with this shower curtain from Target that worked well with the other patterns, and happened to be a complimentary color with the brown. On the subject of your shower, don’t forget there are some extras you can install that can really help keep things clean by reducing limescale and give you the best quality water too – we’re talking about the best shower filter for hard water, which is well worth installing; you’ll definitely feel the difference.
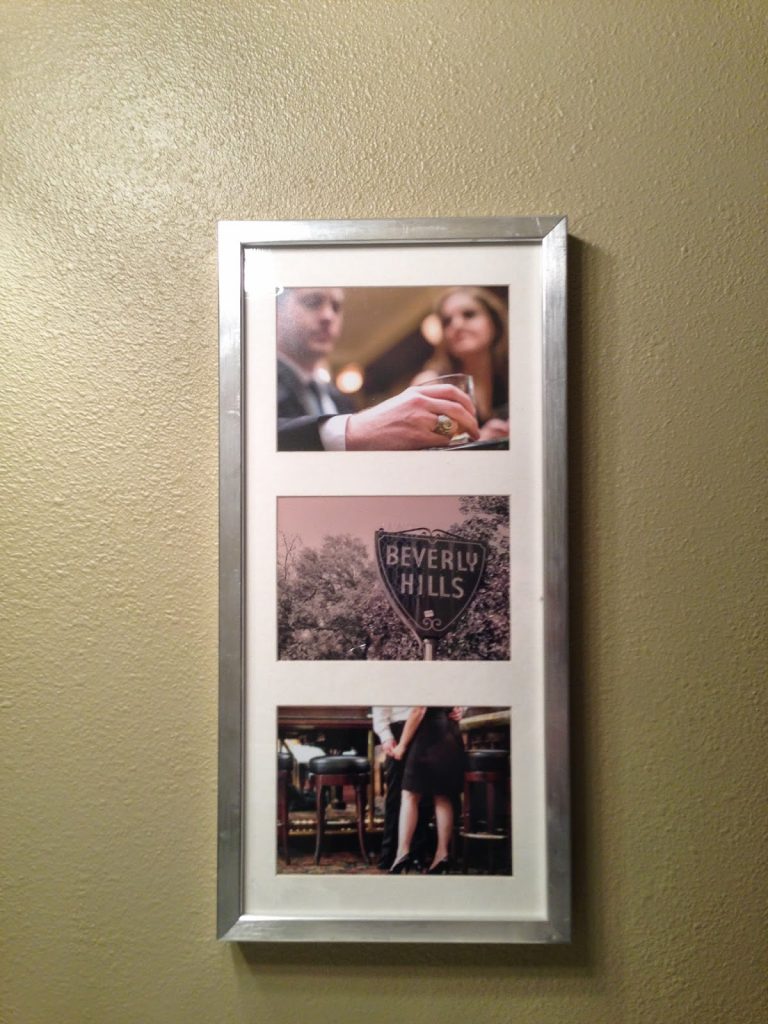

For art, we were actually able to repurpose some photograph art from our old apartment bathroom in Ikea Ribba frames (you know how I love Ikea frames).
Top it off with some chrome counter accessories, and you are all set! Next, we will show you the before-and-after for our powder room.

Leave a Reply