
Disclosures: I received a sample of this book for review purposes. The opinions are completely my own based on my experience using the book. This post also contains affiliate links, which means I may receive commission if you make a purchase using one of the links.
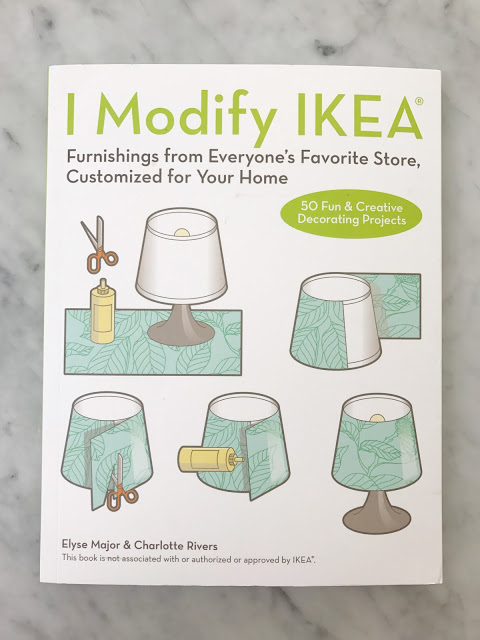
If you’re a home DIYer like me, then you are probably no stranger to the idea of IKEA hacks. If you’re not familiar, they are ideas for modifying the budget-friendly IKEA furniture and accessories to create something unique, custom, and imaginative. I recently received a book to review that is full of easy IKEA modification projects! The book, I Modify IKEA by Elyse Major and Charlotte Rivers (you can purchase it on Amazon here), is a must for the budget-conscious DIYer and home décor enthusiast. But fair warning… this book may result in many new weekend projects! When I first sat down with the book, I dog-eared a good dozen projects on my first pass!
I Modify IKEA is also a great gift idea for the crafty person in your life, the IKEA lover in your life, or the new student in your life who’s in their first place and looking to create something a little unique in their space. You can find it on Amazon here, just in time for holiday gifting!
This past weekend I tried three different projects from the book. All of them were incredibly easy, and all three were completed in the same day. I was able to create something for myself, as well as two other projects as housewarming gifts for my good friend who just moved to town.
Ulysses Press gave me permission to share the steps for these three projects with you all so that you can see examples of how easy and great the book’s projects are. While I stuck to a few accent décor pieces, the 50 projects in the book range from accents, to toys, to furniture, to even brand new pieces using IKEA parts. Give one or more of these easy projects a try, then check the book out for yourself!
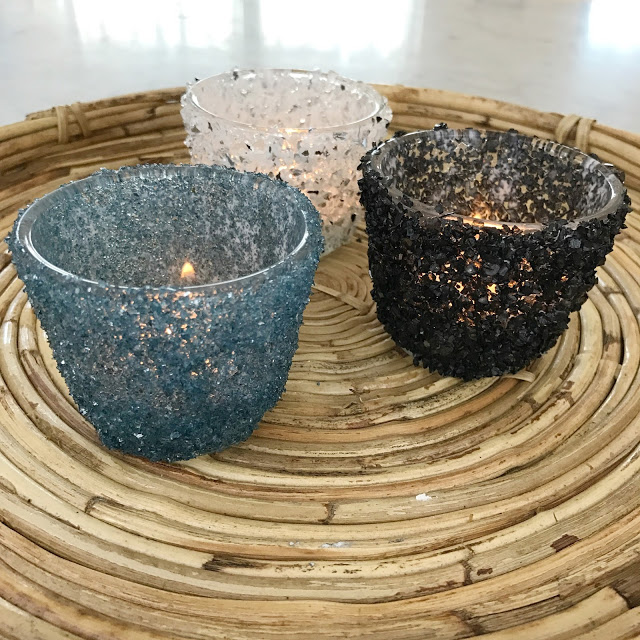
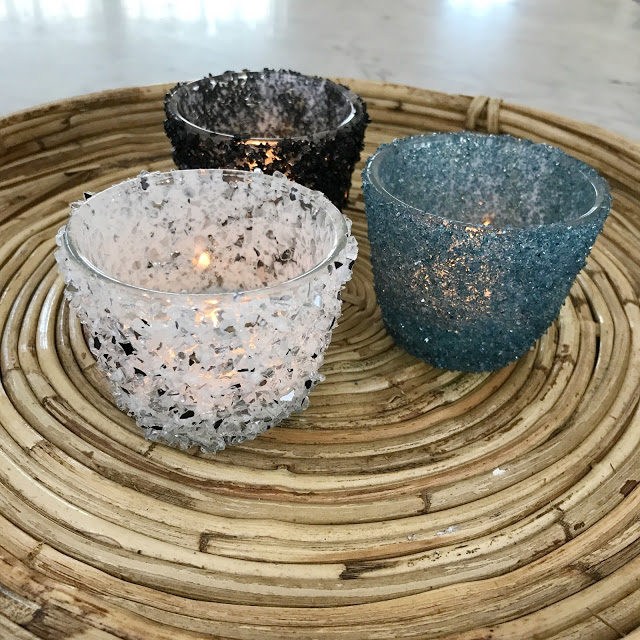
CANDLE HOLDERS
Designed by: Elyse Major
Excerpt from: I Modify Ikea, Ulysses Press
Inexpensive clear glass candleholders are encrusted with
glass glitter to add a touch of stylish sparkle wherever they are placed.
glass glitter to add a touch of stylish sparkle wherever they are placed.
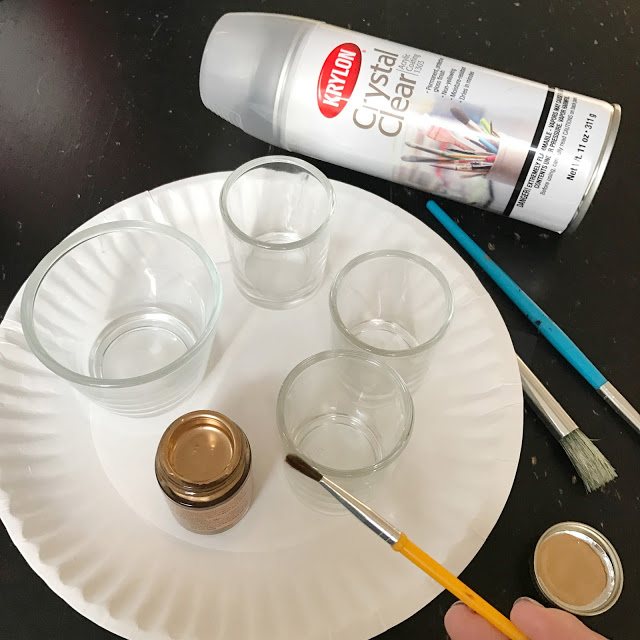
MATERIALS
IKEA® HOME FURNISHINGS GALEJ TEALIGHT HOLDERS CLEAR GLASS,
$1.99/4 PACK
$1.99/4 PACK
FOAM BRUSH
DECOUPAGE GLUE/SEALER
SUCH AS MOD PODGE
GERMAN GLASS GLITTER
ACRYLIC COATING SPRAY
TIME: 30–60 MINS
DIFFICULTY: BASIC
INSTRUCTIONS
1. Using a foam brush, apply a broad, even stroke of
decoupage glue/sealer to the exterior of the glass candleholder.
decoupage glue/sealer to the exterior of the glass candleholder.
2. Carefully pour glass glitter over the decoupage
glue/sealer to cover then shake- off any excess. Allow it to set.
glue/sealer to cover then shake- off any excess. Allow it to set.
3. Apply your next stroke of decoupage glue/sealer, working
as close to the finished strip as possible, and add glitter as before. It is
easier to achieve full coverage by applying wide rows of decoupage glue/sealer
rather than spreading and rolling.
as close to the finished strip as possible, and add glitter as before. It is
easier to achieve full coverage by applying wide rows of decoupage glue/sealer
rather than spreading and rolling.
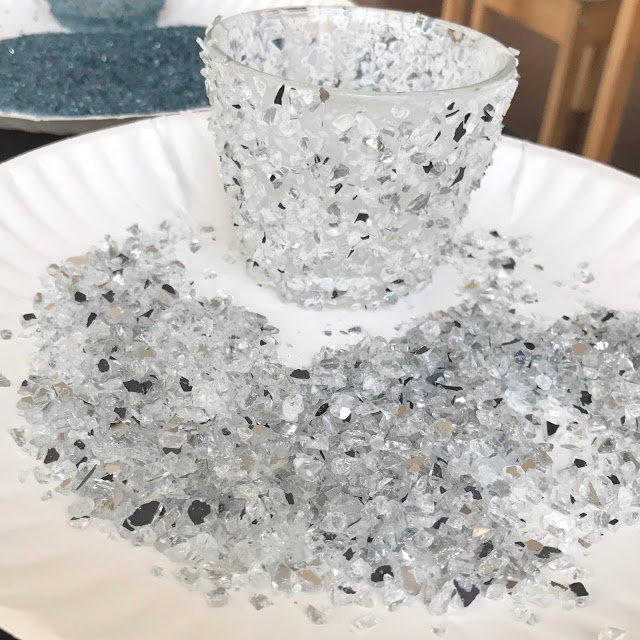
4. Continue until the outside of the glass is completely
covered in glitter. Fill any gaps with dabs of glue and sprinkles of glitter.
covered in glitter. Fill any gaps with dabs of glue and sprinkles of glitter.
5. Apply a light application of acrylic coating spray to set
the glitter. Lay newspaper down to prepare an area outdoors, and follow the
manufacturer’s instructions for best spraying results. Apply additional coat(s)
of spray, if needed, leaving to dry in between coats, and before use.
the glitter. Lay newspaper down to prepare an area outdoors, and follow the
manufacturer’s instructions for best spraying results. Apply additional coat(s)
of spray, if needed, leaving to dry in between coats, and before use.
HACK HINT: Work over a paper plate to catch excess glitter.
Roll the plate into a funnel to return glitter to the bottle, checking
first that there is no glue mixed in.
Roll the plate into a funnel to return glitter to the bottle, checking
first that there is no glue mixed in.
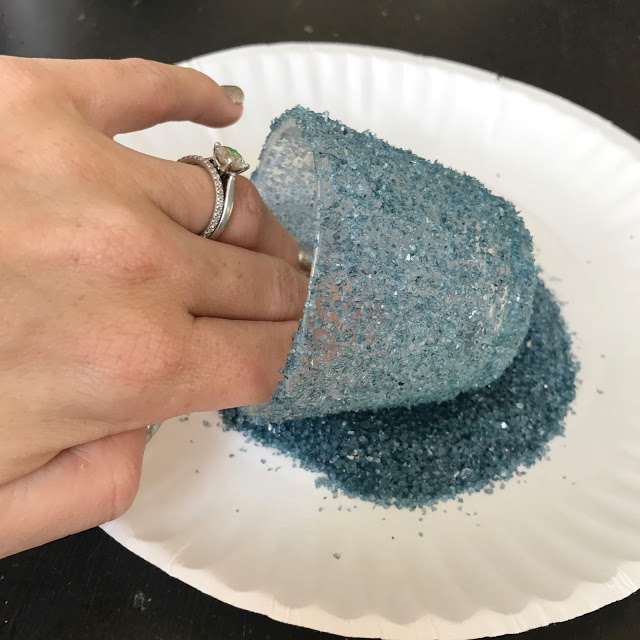
Fab Everyday hint: If you use a really fine glass glitter (I found this blue one at a craft store), you can also roll the candle holder in the glitter to get an even coat. The IKEA glass glitter is thicker (and has great sparkle and dimension – as you’ll see in the next picture), therefore won’t roll on like this.
Fab Everyday hint: Like the instructions suggest, you will definitely need additional coats of Mod Podge and glass application to get a nice even coverage.
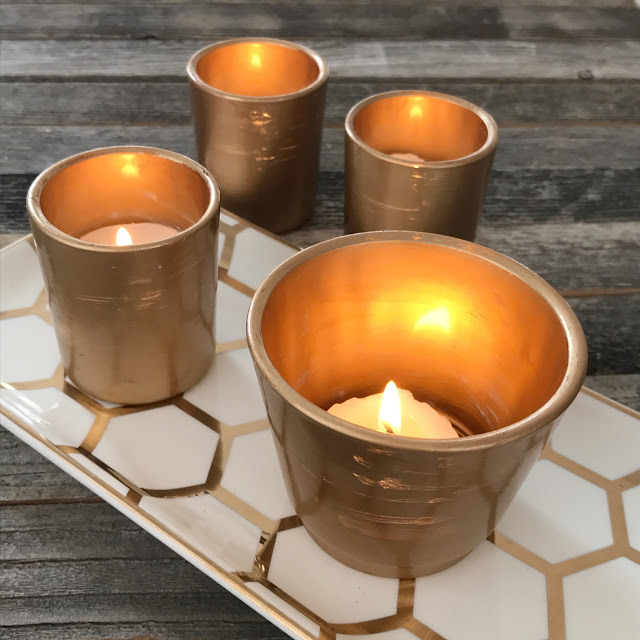
TEALIGHT HOLDERS
Designed by: Charlotte Rivers
Excerpt from: I Modify Ikea, Ulysses Press
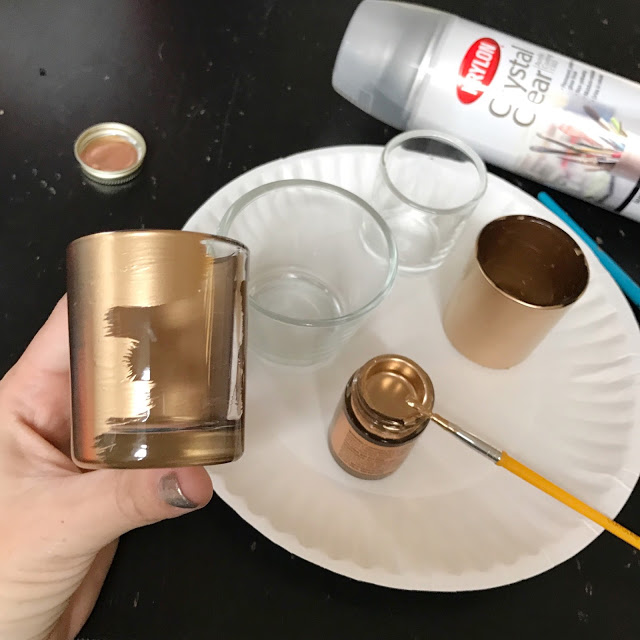
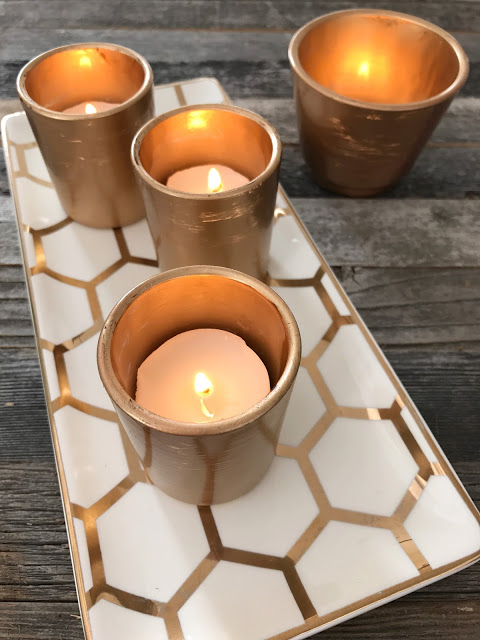
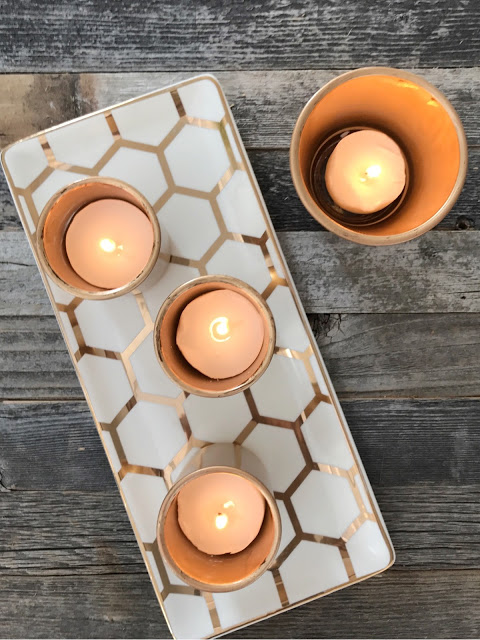
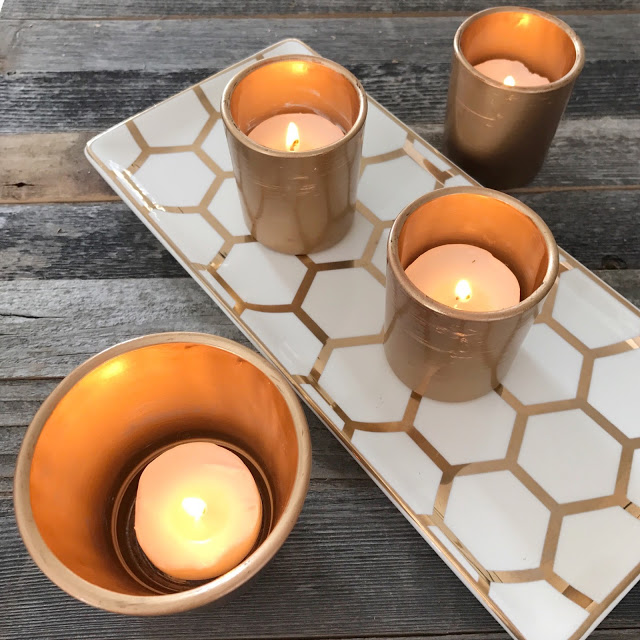
For this project, take a pair of tealight holders and cover
them in gold leaf. Adding gold leaf is a great way to make an item look
instantly sophisticated.
them in gold leaf. Adding gold leaf is a great way to make an item look
instantly sophisticated.
MATERIALS
IKEA® HOME FURNISHINGS GLASIG TEALIGHT HOLDERS
CLEAR GLASS,
$2.99/5 PACK (Fab Everyday project note: I couldn’t find GLASIG at my local IKEA, so I used another GALEJ tealight holder, as well as UPPEHÅLL votive candle holders instead)
$2.99/5 PACK (Fab Everyday project note: I couldn’t find GLASIG at my local IKEA, so I used another GALEJ tealight holder, as well as UPPEHÅLL votive candle holders instead)
GOLD LEAF KIT WITH GLUE AND GLUE APPLICATOR
CRAFT KNIFE
PAINTBRUSH
TIME: 1 HR
DIFFICULTY: BASIC
HACK HINT: When applying gold leaf, make sure your hands are
clean and dry. Wash off any glue as you go to avoid the leaf sticking to your fingers.
clean and dry. Wash off any glue as you go to avoid the leaf sticking to your fingers.
INSTRUCTIONS
1. First cut the gold leaf into pieces that area
of a
manageable size using a craft knife. Here, the gold leaf is cut to the depth of
the tealight holder.
manageable size using a craft knife. Here, the gold leaf is cut to the depth of
the tealight holder.
2. Apply the glue (supplied with the gold leaf kit) to the
outside of the tealight holder. Apply a small amount at a time, just as much as
you need for the first piece of leaf you are going to apply.
outside of the tealight holder. Apply a small amount at a time, just as much as
you need for the first piece of leaf you are going to apply.
3. Now start to apply your gold leaf to the tealight holder,
one small piece at a time. Handle the leaf carefully and press very gently to
secure it to the glass. Do not press or rub too hard, as this will tear the
leaf.
one small piece at a time. Handle the leaf carefully and press very gently to
secure it to the glass. Do not press or rub too hard, as this will tear the
leaf.
4. Continue applying gold leaf around each tealight holder.
You can use a paintbrush to lightly rub the leaf onto the glass as you go.
You can use a paintbrush to lightly rub the leaf onto the glass as you go.
 Fab Everyday hint: I didn’t find a regular gold leaf kit, so I used liquid, paint-on gold leaf. Please note that doing it this way will require a layer of acrylic coating spray to seal it after your final coat has dried.
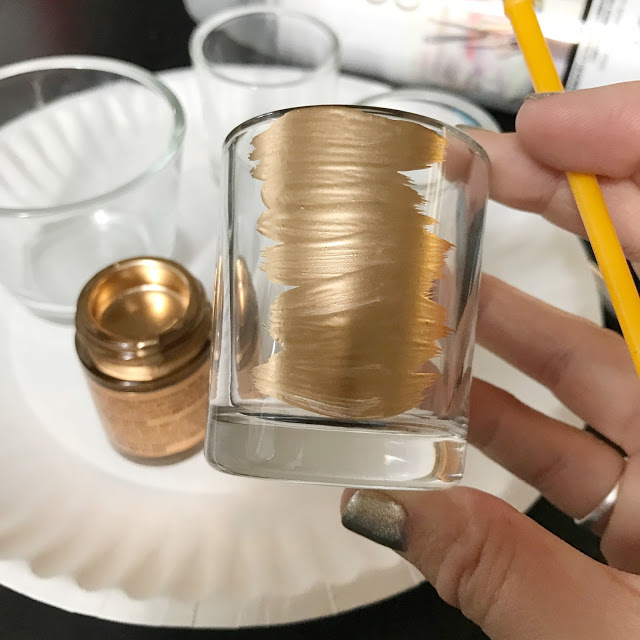
Fab Everyday hint: If you use liquid gold leaf, I recommend keeping your paint strokes the same direction to match regular gold leafing.
Fab Everyday hint: I found that with the paint-on gold leaf, that one single layer of paint mimicked regular gold leafing nicely, so I stuck with only one coat of the gold paint.
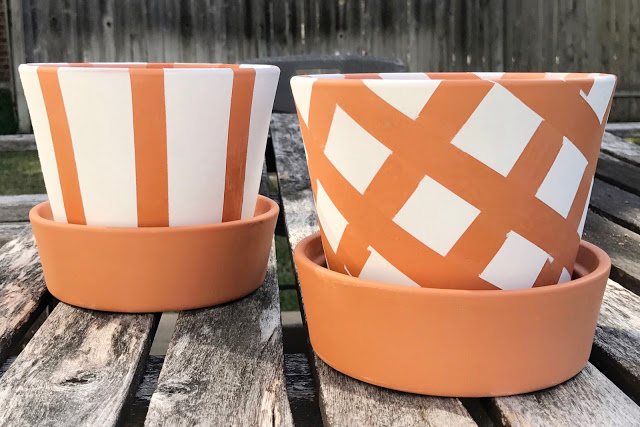
FLOWER POTS
Designed by: Charlotte Rivers
Excerpt from: I Modify Ikea, Ulysses Press
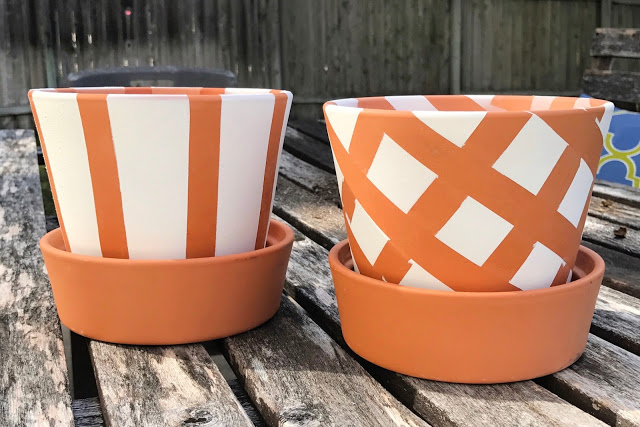
This is a great way to transform a simple terracotta plant
pot, before using it to pot your plant. Its small size is ideal for brightening
up a window ledge, or it can be used as a centerpiece for an outdoor dining
table.
pot, before using it to pot your plant. Its small size is ideal for brightening
up a window ledge, or it can be used as a centerpiece for an outdoor dining
table.
MATERIALS
IKEA® HOME FURNISHINGS INGEFÄRA FLOWER POT AND SAUCER
TERRACOTTA, $1.99
ELECTRICAL TAPE
X-ACTO KNIFE
WHITE SPRAY PAINT
TIME: 1 HR
DIFFICULTY: INTERMEDIATE
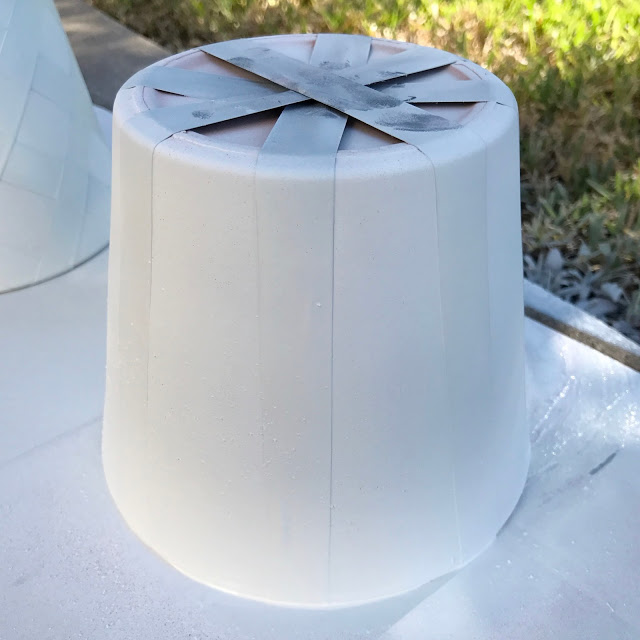
VARIATION: As an alternative to diamonds, why not try a simple striped
pattern? Simply add your tape in equally spaced stripes, spray as before, and
remove the tape when completely dry. You could even add a striped saucer, too.
pattern? Simply add your tape in equally spaced stripes, spray as before, and
remove the tape when completely dry. You could even add a striped saucer, too.
INSTRUCTIONS
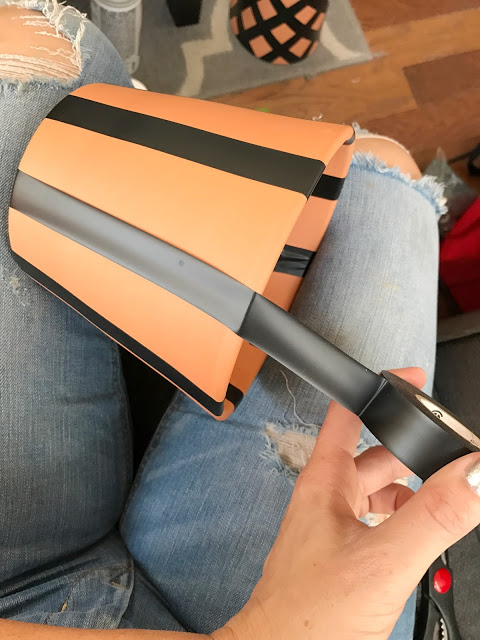
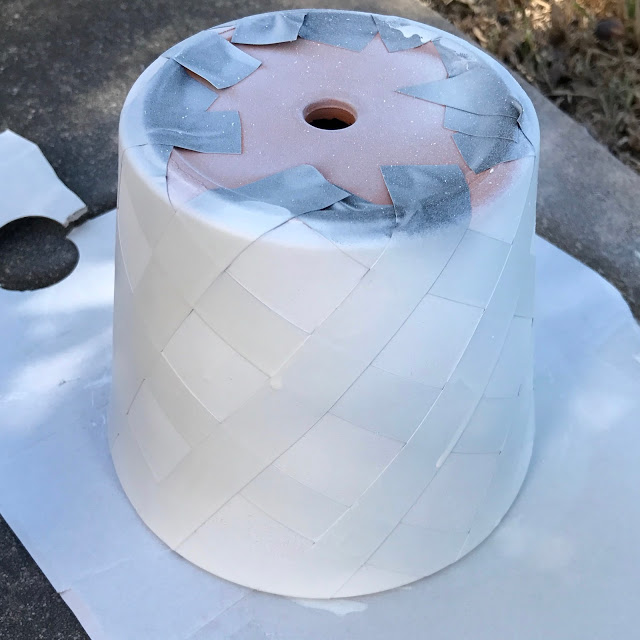
1. Begin by cutting strips of tape with an X-Acto knife and
lay them down on your plant pot at a slight angle, about 1 inch (2.5 cm) apart,
one after the other. As the pot is tapered, the tape will sit closer together
at the bottom than it does at the top, leaving a smaller gap of approximately
5/8 inch (1.5 cm) between each piece.
lay them down on your plant pot at a slight angle, about 1 inch (2.5 cm) apart,
one after the other. As the pot is tapered, the tape will sit closer together
at the bottom than it does at the top, leaving a smaller gap of approximately
5/8 inch (1.5 cm) between each piece.
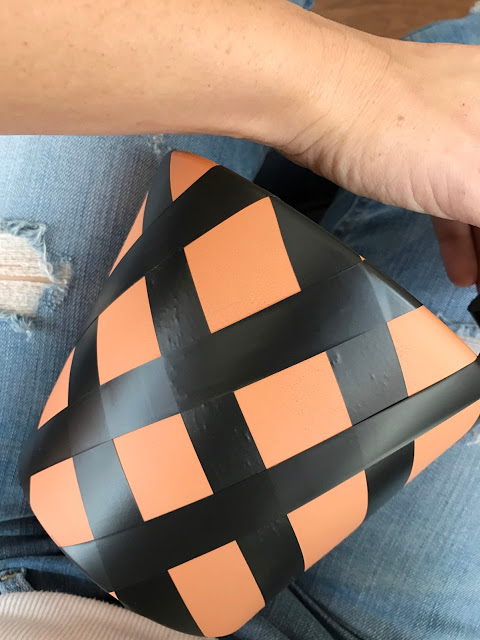
2. Once you have finished laying tape in one direction,
begin laying a second round of tape over the first in the other direction
to create diamond shapes within the gaps. You may find it is necessary to adjust
the tape, depending on the gaps created, to get the desired pattern.
begin laying a second round of tape over the first in the other direction
to create diamond shapes within the gaps. You may find it is necessary to adjust
the tape, depending on the gaps created, to get the desired pattern.
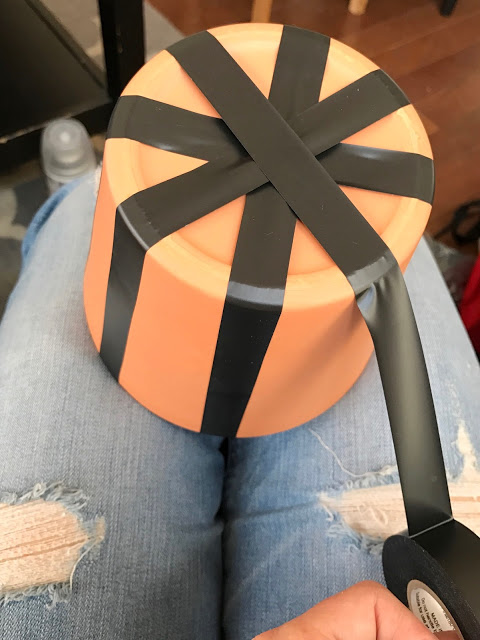
3. Finally, tape around the top rim of the pot to
protect it when you spray it.
protect it when you spray it.
4. Lay down newspaper to prepare an area outdoors for
spray-painting. Take your white spray paint and spray evenly all around the
pot, then allow the pot to dry for approximately 1 hour.
spray-painting. Take your white spray paint and spray evenly all around the
pot, then allow the pot to dry for approximately 1 hour.
5. Once the pot is completely dry, carefully remove the
tape. Start with the tape on the rim, then remove the top layer of tape, and
finally remove the bottom layer.
tape. Start with the tape on the rim, then remove the top layer of tape, and
finally remove the bottom layer.
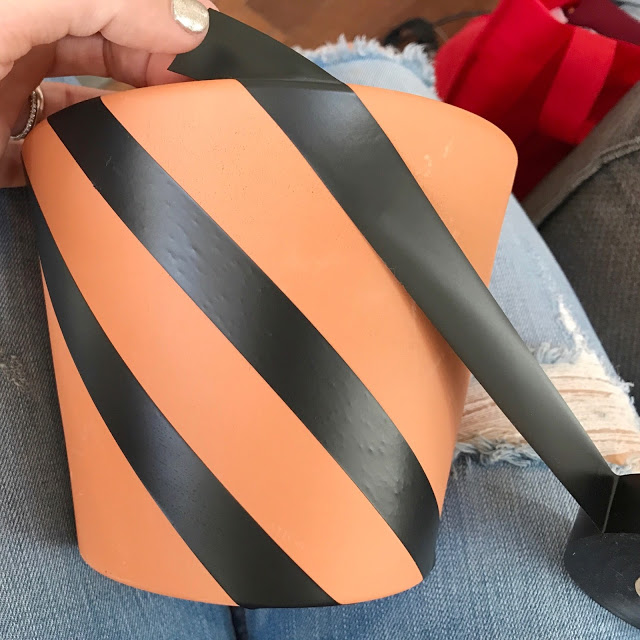
Fab Everyday hint: You can use regular scissors to cut the electrical tape instead of an X-Acto knife.
Fab Everyday hint: Press the tape down firmly before spray painting to avoid paint getting under the tape.
Fab Everyday hint: Try using chalky finish spray paint for a soft and slightly textured look that complements the terra cotta nicely.
Fab Everyday hint: Apply the spray paint with the pots upside down so that you don’t end up with uneven paint on the inside of the top of the pot.
Fab Everyday hint: Don’t worry if the paint runs a little, or if the pattern isn’t perfect… these little details are part of what makes something custom and homemade even more special!
Get your copy of I Modify IKEA on Amazon here, and tag @fabeveryday on social media in any projects you create! I’d love to see what you make!

Leave a Reply