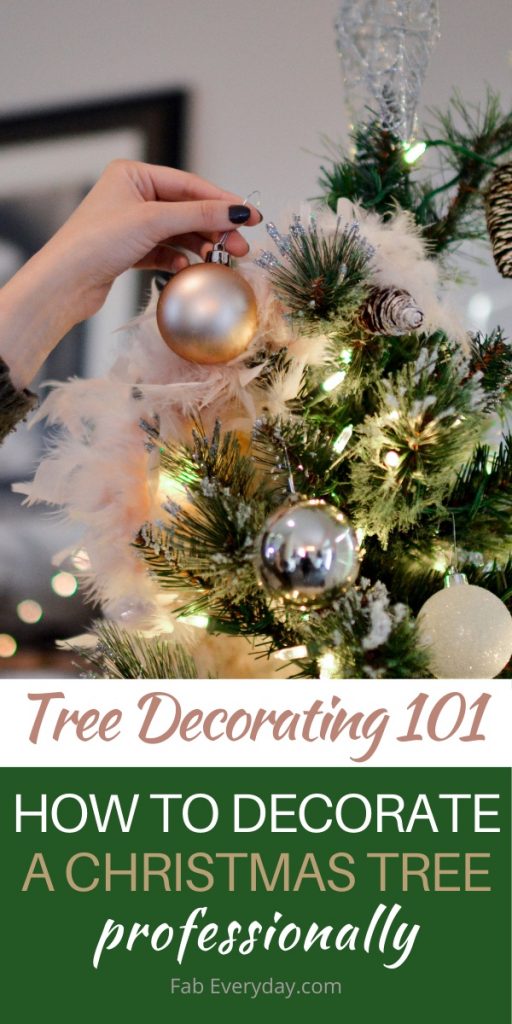
Have you ever wanted to know how to decorate a Christmas tree professionally? Following up on her article on How to Create a Holiday Tablescape, Living Spaces Interior Designer Brynna Evans is back to share professional tree decorating tips with us today. Think of it as a Christmas Tree Decorating 101… with tips straight from an interior designer! Brynna is sharing step-by-step guidance and tips for trimming a tree like a pro. Already decorated for this year? You’ll definitely want to pin this post for next year.
Stay tuned for more interior design and home décor ideas, insights, trends, and tips from the professional designers at Living Spaces here on Fab Everyday for our #FabLiving collaboration. Be sure to follow @livingspaces on Instagram, too, for ongoing home style inspiration.
Tree Decorating 101: How to decorate a Christmas tree professionally
By Brynna Evans, Interior Designer, Living Spaces
Christmas is my favorite time of year. Ever since I was a child, I loved to put up the Christmas tree with my family! One rule in my family was to not decorate for Christmas until December 1st hit. I have continued a tradition in my own home. Even though I love Christmas, I love fall just as much! Although I know some people start decorating right after Thanksgiving. I understand; with so many cute things on the shelves in stores, how could you not? So, whether you decorate before or after December rolls around, here are some helpful tips to make your tree something your friends will envy.
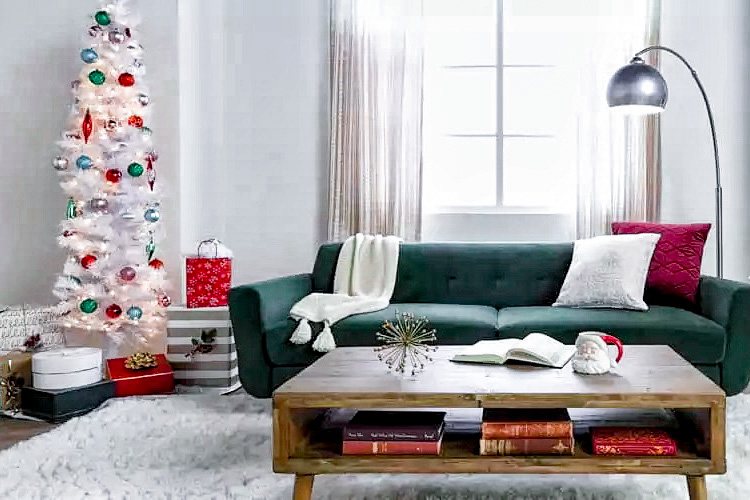
Step 1: Lighting
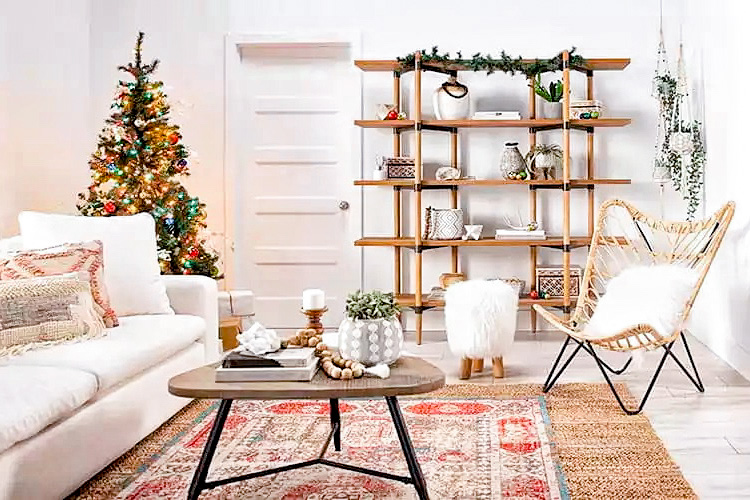
There are many different choices when it comes to Christmas tree lights. As a child, my family always used colored lights, but now that I am older, I choose to go with white lights instead. That way, whatever decorations I choose will be the primary color on the tree. If you don’t have a variety of colors in the ornaments you have selected, an easy way to add color is lighting.
Step 2: Ribbons
I know ribbon isn’t the most traditional; however, it has become a staple décor item in recent years. You can either tuck it into the tree branches for a minimal décor option or waterfall it down the tree for a large focal point. If you choose to use ribbon this year on your tree, definitely go with ribbon with wired edges. This will keep the ribbon in the place, so you don’t have to worry about it blowing around when someone walks by.
Step 3: Toppers
Tree toppers can be either a statement piece or something more casual. The traditional toppers generally are stars and angels. However, feel free to think outside of the box. I chose to go with a Santa hat for my topper this year. I chose the Santa hat because I have memories of my dad wearing that hat every year growing up. I also have a mini tree for my two dogs about two feet tall with a mini Santa hat on top! If you are not into something themed or traditional, you can also play around with greenery or floral arrangements atop the tree.
Step 4: Larger Ornaments
When working with the larger ornaments, you want to make sure to stick to one color at a time. This will allow you to focus on the placement for each color around the tree. They should be placed in triangular patterns throughout to make sure the tree looks balanced. Then continue to the next color and style of ornament, working in the same design.
Step 5: Small Ornaments
Smaller ornaments should be placed around the upper portion of the tree to align with eye level. These ornaments can be something meaningful or just a cool ornament you picked up. The top of my tree is dedicated to my family that has passed away. I have a Betty Boop in honor of my grandma Betty, an Angel in honor of my grandma Lorna, and a Milk bottle in honor of my grandpa Joe who owned a creamery. I do this not only in remembrance of them but also to keep the family’s spirit alive in my home. However, I also have a little collection of Starbucks ornaments that go right below my family ornaments.
Step 6: Medium Feature Ornaments
This year I decided to make my medium ornaments. I went to my local craft store and purchased empty bulbs. I filled them with fake snow, cranberries, and artificial pine tree cuttings for a simple holiday feeling. I thought it added a little creativity while remaining with my green, gold, and red theme on my tree. Be creative; if you don’t make ornaments, use something that makes you happy. It could be holiday-themed or based on your favorite collectibles.
Step 7: Sprays & Floral
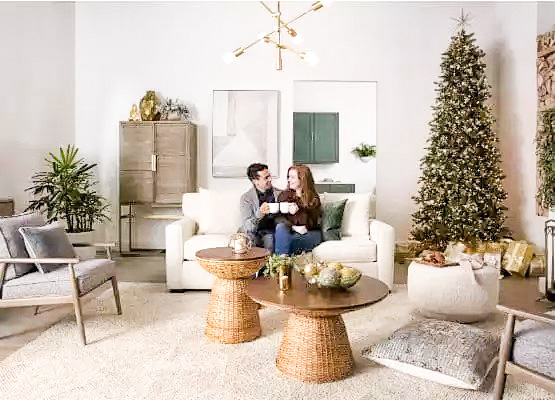
This is something not all families use; however, it adds another dimension and color palette to the tree. You can stick to the traditional colors and themes. Or you can add different colors that may match your home’s décor better. I have a friend who only uses pink and teal ornaments since their house is lively and upbeat. Don’t be afraid to stick to the colors in your home already, even if you don’t think they are holiday-related.
Step 8: Tree Skirt
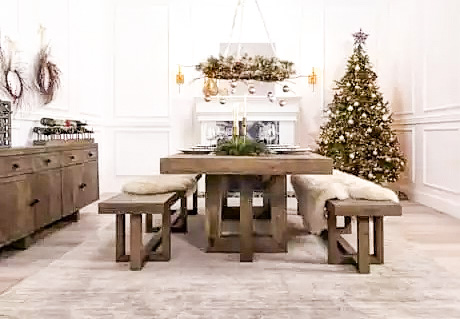
This year I have chosen to use emerald green fabric draped around the bottom of the tree. However, in the past, I have gone with the traditional tree skirt. Whatever way you want to go can add to the styling and help ground the tree in its space. Similar to an area rug in your living space.
I hope all these tips help you this holiday season, whether you have already decorated or are in the process of decorating. Make your tree your own! Stick to traditional décor, or try something completely out of your comfort zone. I know this holiday season will be different with Covid around; however, make the most of it! Happy holidays!
About the Author

Brynna Joy Evans
Interior Designer
I’m Brynna Joy Evans, an Interior Designer and Supervisor of Upholstery and Commercial Design at Living Spaces. I love bringing both residential and commercial spaces to life, blending trends with timeless design to create interiors that are warm, functional, and full of personality.
Growing up in the Bay Area, I developed a deep appreciation for nature, often drawing inspiration from the textures, colors, and landscapes around me. I also cherish spending time with my family, my boyfriend, and little one—these moments inspire my work and remind me of the importance of creating spaces that feel inviting and personal. My dog Mazie is always by my side, whether we’re exploring outdoors on our daily walks or enjoying quiet moments at home. Every project I take on is guided by a desire to craft spaces that are thoughtful, comfortable, and uniquely reflective of the people who live in them.

Leave a Reply