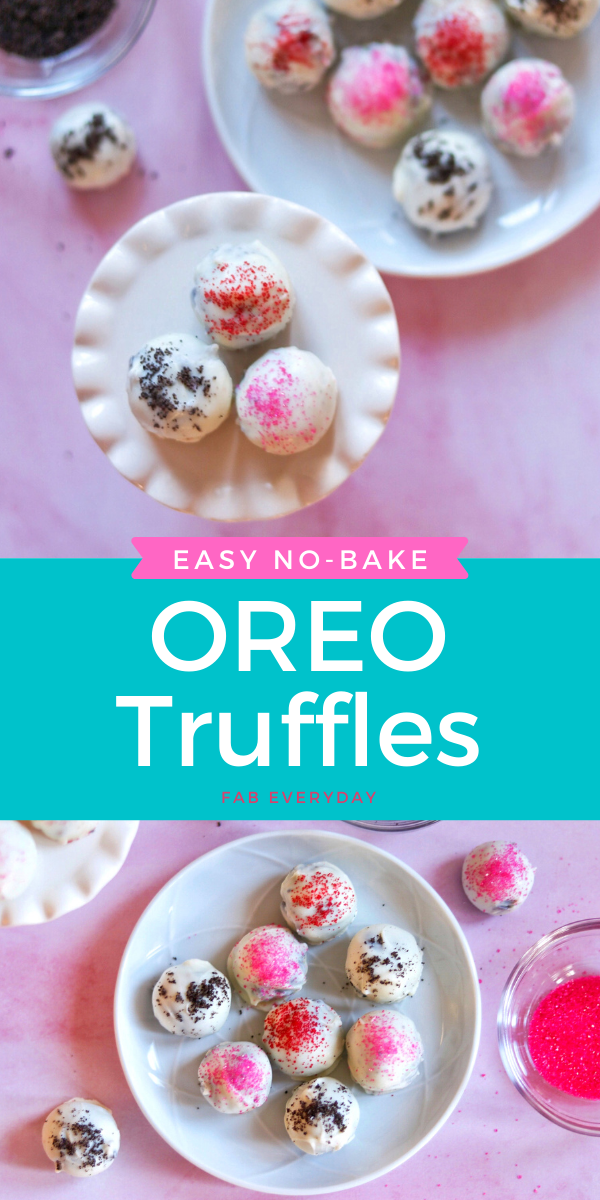
I’m sharing a delicious and adorable Valentine truffles recipe today. These decadent no-bake truffles are perfect for Valentine’s Day, holiday cookie exchanges (with a different color scheme), host/hostess gifts, or anytime you want to celebrate with a little something sweet. Since these Valentine’s Day truffles are so easy to make, you can gift them to everyone you love (I mean, who wouldn’t appreciate a sweet bag of OREO cheesecake balls?). Click the Jump to Recipe button above if you’re ready to start, or keep reading for tips and recommended products for making these Valentine’s Day OREO truffles.
This post contains affiliate links, which means that if you click on one of the product links and make a purchase, I may receive a commission. This does not cost you anything additional.
More Valentine’s Day inspiration like these no-bake truffles
- Three Menu Ideas for a Romantic Valentine’s Day Dinner at Home
- Heart Everything: Heart-Shaped Food Ideas for every Valentine’s Day Meal
- Brownie Hearts: Easy Valentine’s Day Brownie Bites Recipe
- Easy Valentine’s Day Cupcake Decorations
- Valentine’s Day Fortune Cookies
- Valentine’s Day Heart Thumbprint Cookies
- Stuffed Conversation Heart Cookies (sprinkle filled cookies for Valentine’s Day)
- 50+ Fabulous Free Printable Valentines for Kids
- “I Wheelie Like You” Car-Themed Valentine with Free Printable
- Cricut Valentine’s Ideas: Easy Gen Z Valentine’s Cards
What you need to make these Valentine truffles
To make these Valentine’s Day OREO truffles, here are the ingredients you’ll need and the tools I recommend:
- 36 sandwich cookies (such as OREO)
- 1 (8-ounce) package cream cheese, softened
- 1/3 cup powdered sugar
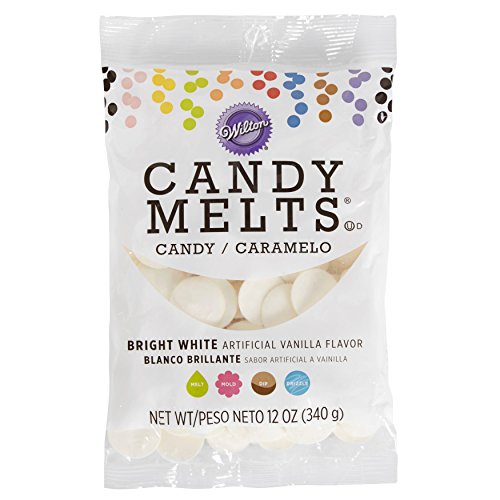
- 16 ounces white candy melts or vanilla candy melts
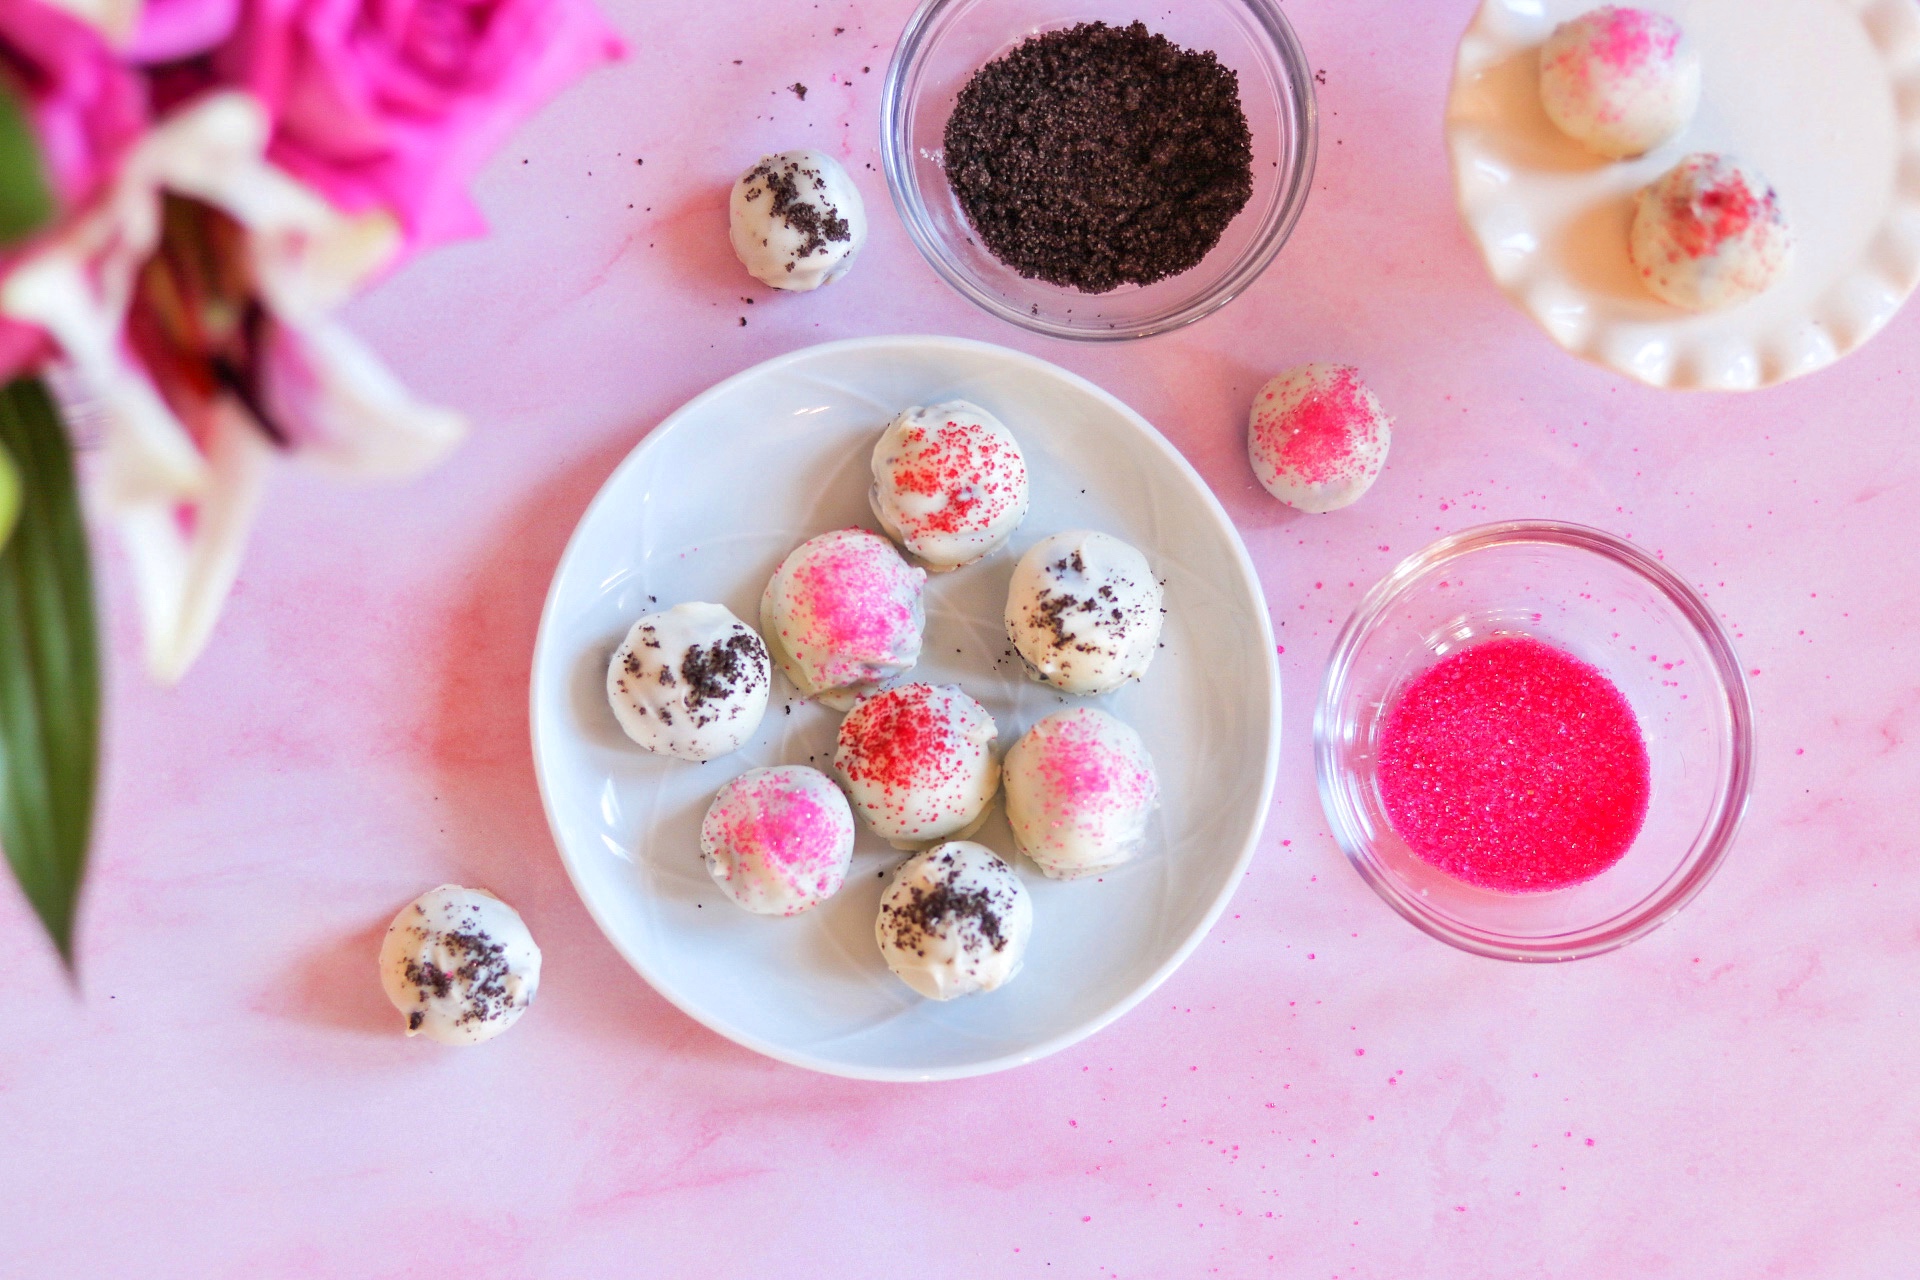
- Sugar sprinkles (I used Wilton pink and red sanding sugar) or additional crushed cookies
- Food processor
- Wax paper or parchment paper
- Optional: Dipping tool set
How to make Valentine’s Day truffles
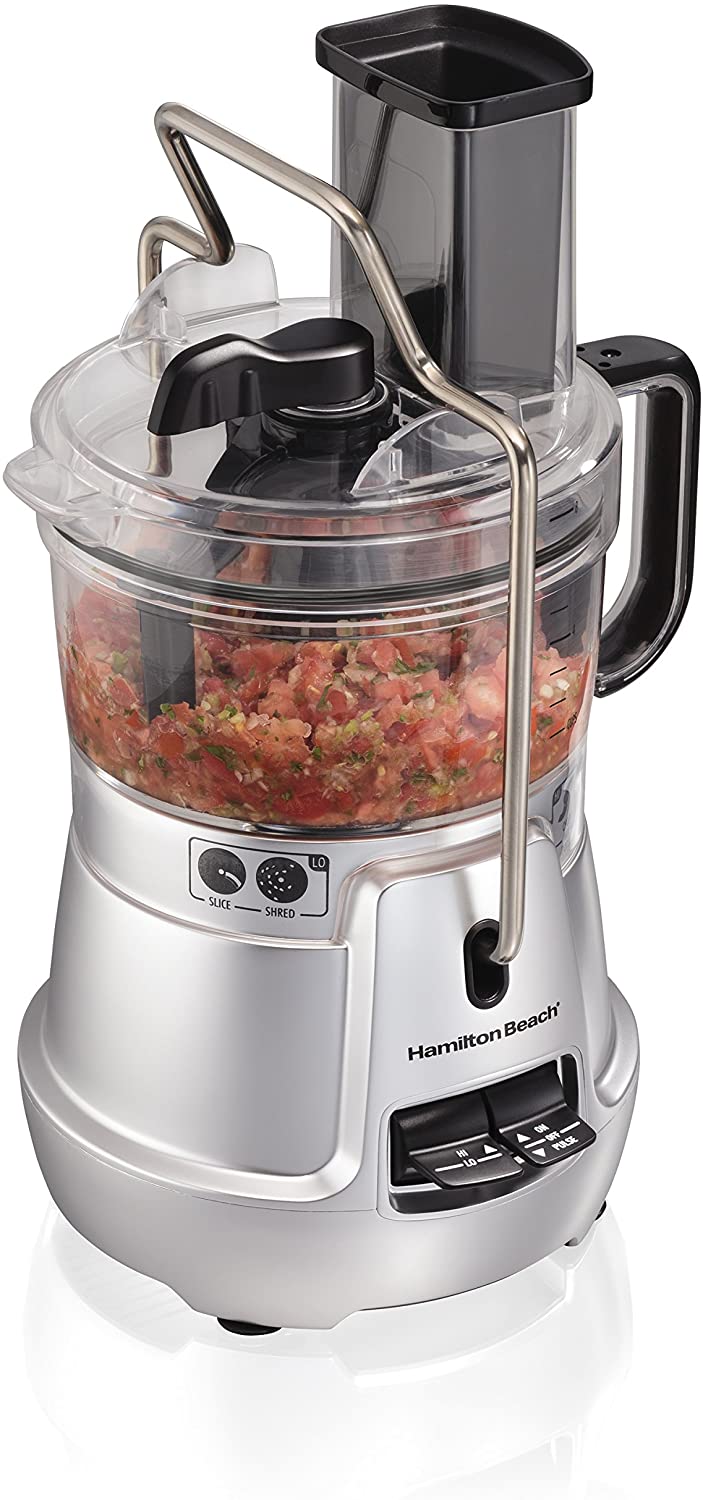
To make these no-bake truffles, first line a baking sheet with wax or parchment paper and set it aside. Pulse the cookies in a food processor until they become fine crumbs (I used my Hamilton Beach 8-Cup Stack & Snap Food Processor – see it in use for my Pumpkin Spice Truffles recipe here). Add cream cheese and powdered sugar and process until well mixed. Cover and refrigerate the no-bake truffles dough for at least 1 hour.
To put your Valentine truffles together, roll the cookie mixture into 1-inch balls and place them onto the prepared baking sheet. Place the tray of Valentine’s Day truffles in the refrigerator to chill for an additional 30 minutes. Towards the end of the chilling time, place white candy melts in a microwave-safe bowl. Microwave for 30 seconds at a time, stirring in between, until melted and smooth. Let sit for 5 minutes before the next step in making these Valentine’s Day OREO truffles.
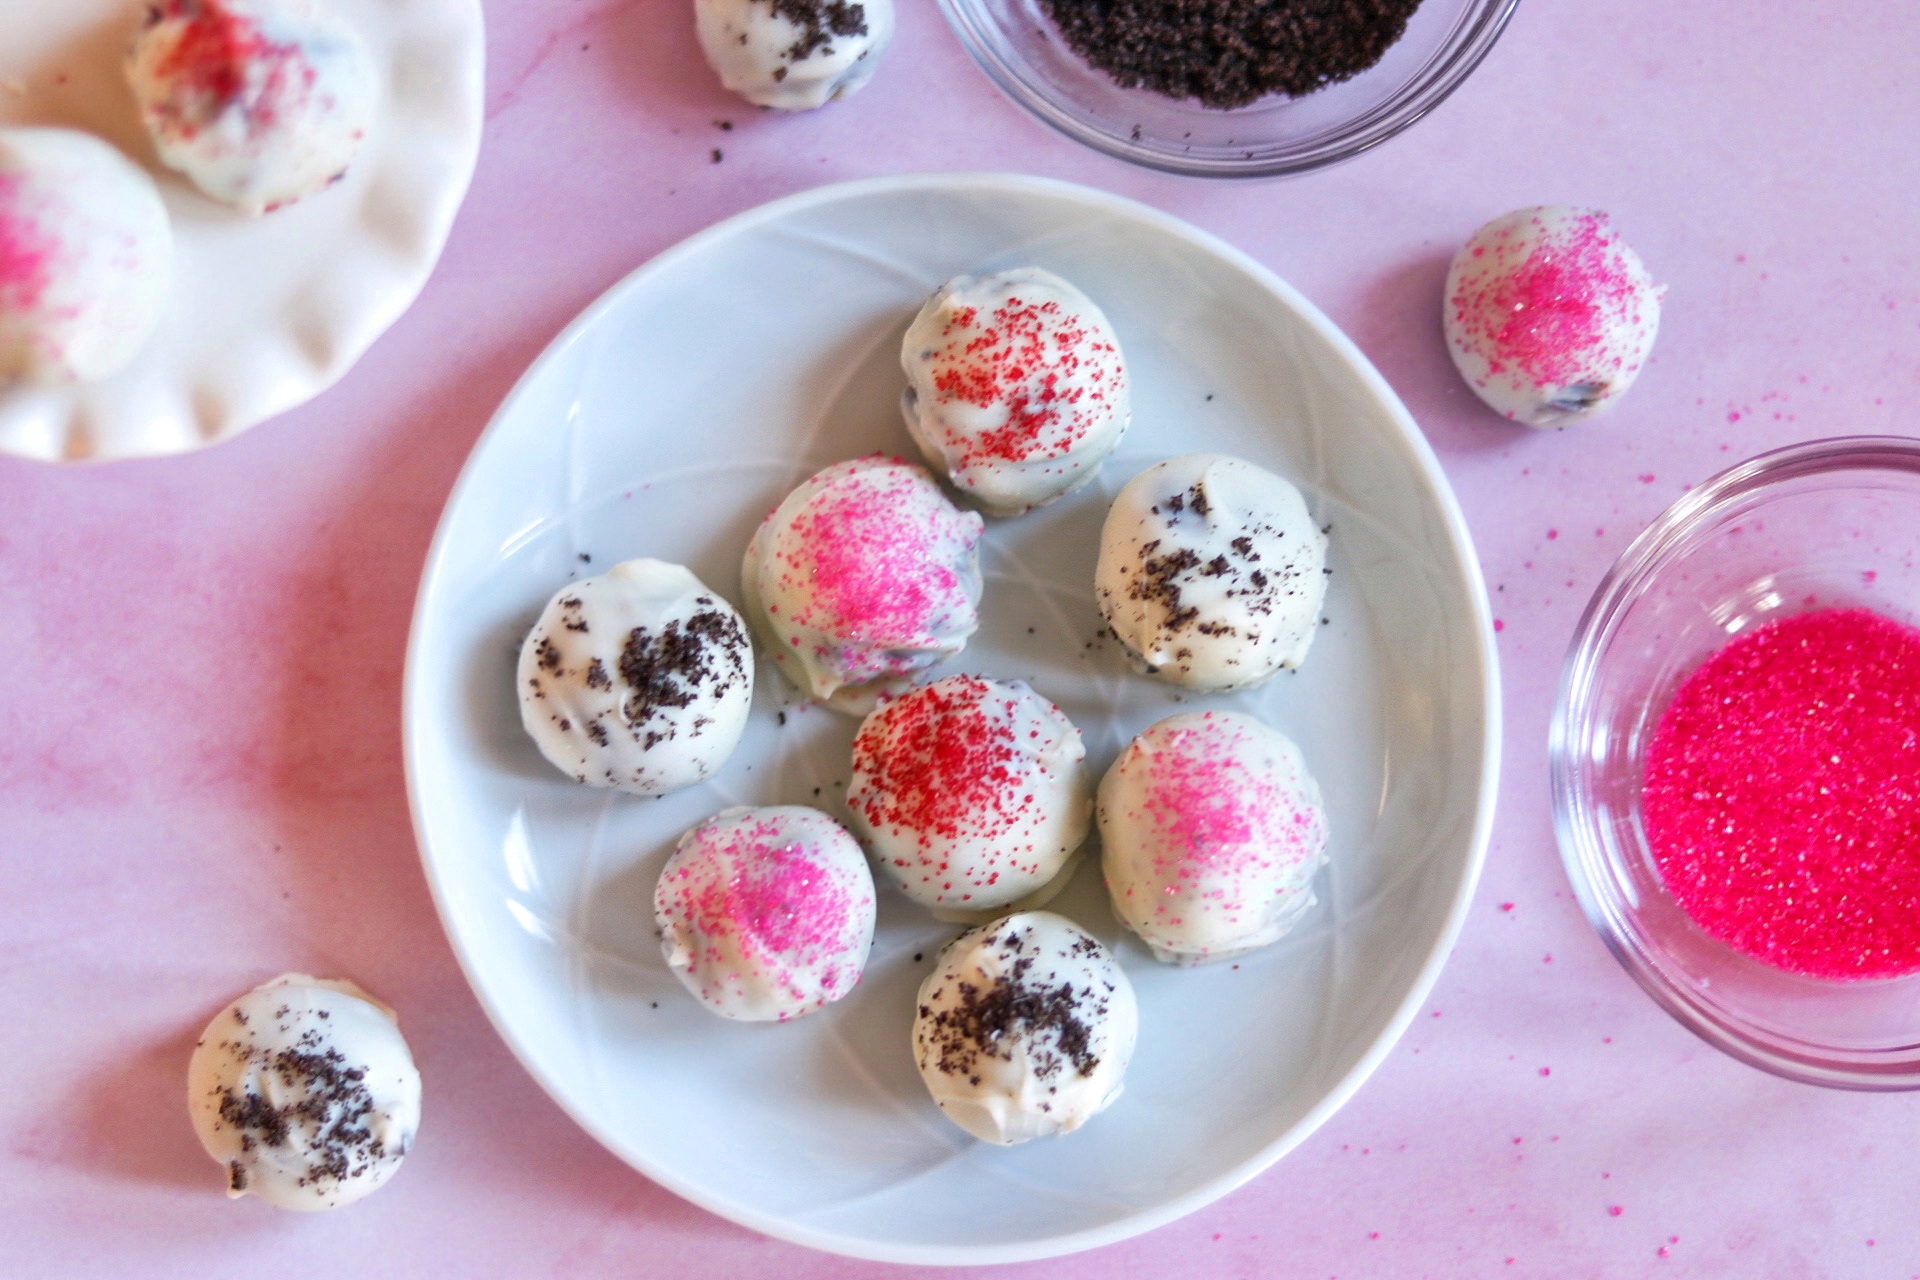
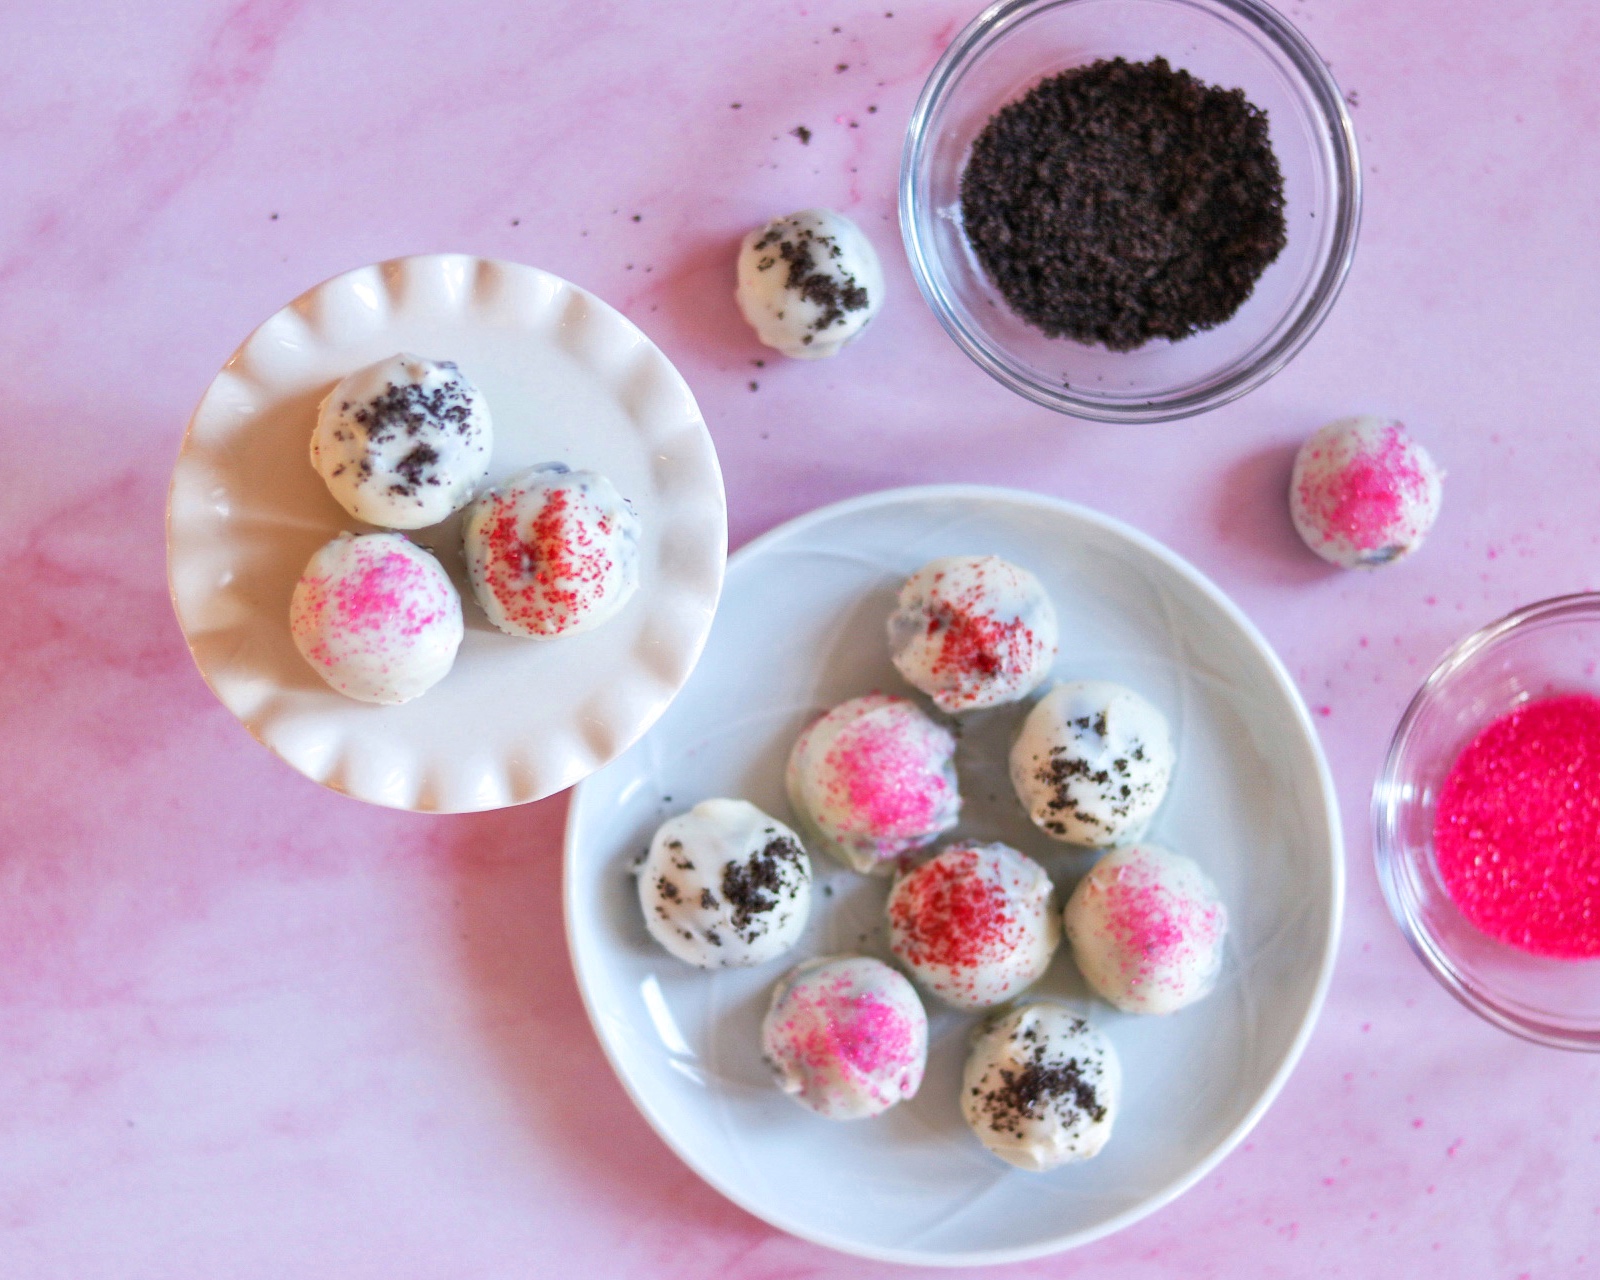
Remove the OREO cheesecake balls from refrigerator and dip them into the melted candy, one at a time, shaking off the excess. Place the dipped Valentine truffle balls back onto the lined baking sheet and sprinkle the tops with sprinkles or additional cookie crumbs while the candy coating is still wet. Place the tray back in the refrigerator until the chocolate coating is set (about 15 more minutes).

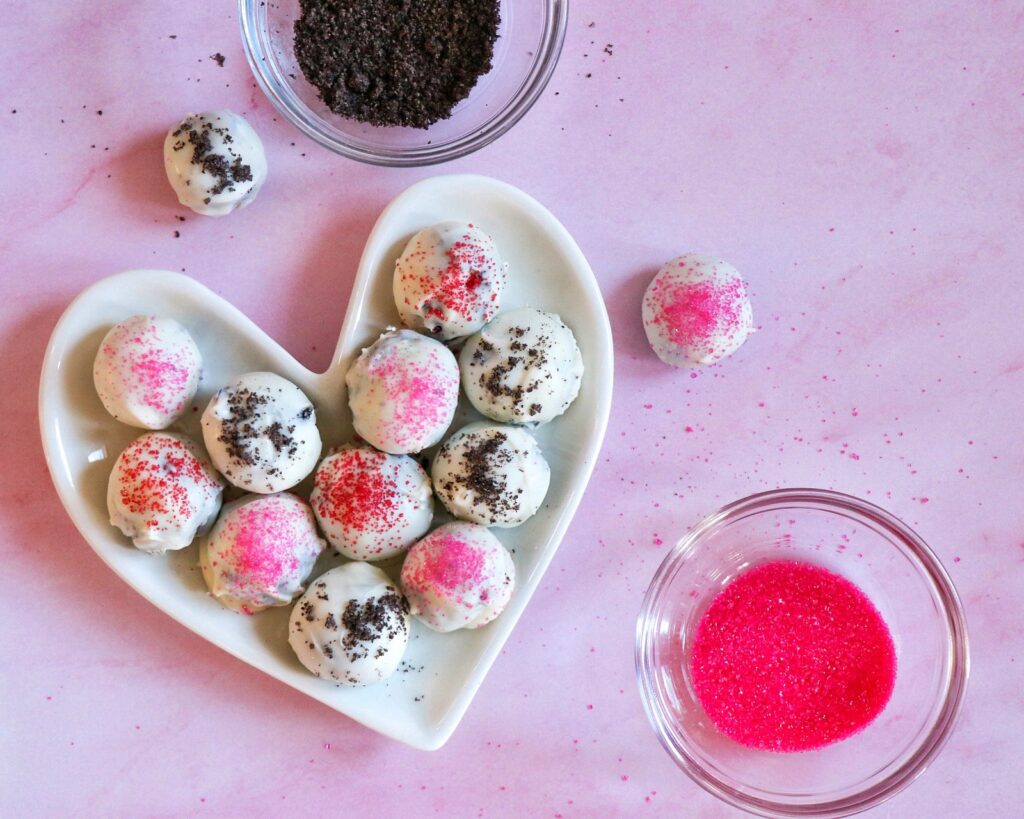
That’s all there is to it! Here’s the no-bake truffles recipe. If you love these Valentine’s Day OREO Truffles as much as we do, please consider showing some love by leaving a rating! Enjoy, and happy Valentine’s Day!

No-Bake Valentine's Day OREO Truffles
These decadent no-bake truffles are perfect for Valentine's Day, holiday cookie exchanges, host/hostess gifts, or anytime you want to celebrate with a little something sweet.
Ingredients
- 36 OREO cookies
- 1 (8-ounce) package cream cheese, softened
- 1/3 cup powdered sugar
- 16 ounces white or vanilla-flavored candy melts
- Sugar sprinkles and/or additional crushed cookies
Instructions
- Line a baking sheet with wax or parchment paper and set aside.
- Pulse the cookies in a food processor until they become fine crumbs. Add cream cheese and powdered sugar and process until well mixed. Cover and refrigerate for at least 1 hour.
- Roll the cookie mixture into 1-inch balls and place onto the prepared baking sheet. Chill in the refrigerator for an additional 30 minutes.
- Towards the end of the chilling time, place candy melts in a microwave-safe bowl. Microwave for 30 seconds at a time, stirring in between, until melted and smooth. Let sit for 5 minutes.
- Remove balls from refrigerator and dip them into the melted candy, one at a time, shaking off the excess. Place the dipped balls back onto the lined baking sheet and sprinkle the tops with sprinkles or additional cookie crumbs while the candy coating is still wet. Place in the refrigerator until the chocolate coating is set (about 15 more minutes).
Recommended Products
As an Amazon Associate and member of other affiliate programs, I earn from qualifying purchases.


More ways to show the love
In case you haven’t noticed, for the last few months I’ve had a blue “Thank the creator” and “Thanks” button at the top and bottom of my blog posts. I’m one of Google’s paid early testers for their Thank with Google pilot program! This pilot test program is an experimental feature where fans can purchase a virtual sticker and directly show their support and appreciation for content on my website and the websites of other Thank with Google creators. When you click, you have the option to choose and select from a variety of different stickers to send. Every time you decide to send a paid sticker, you can send along a personal message (if you’d like). This not only shows me which of my content is providing you the most value (and the ways my recipes and projects are benefiting your life), but it also supports me by translating to direct revenue for Fab Everyday, which is my full-time job. If you do test out the Thank with Google feature, I’d love to know what you think! Your support means the world, so thank you for being here.

Leave a Reply