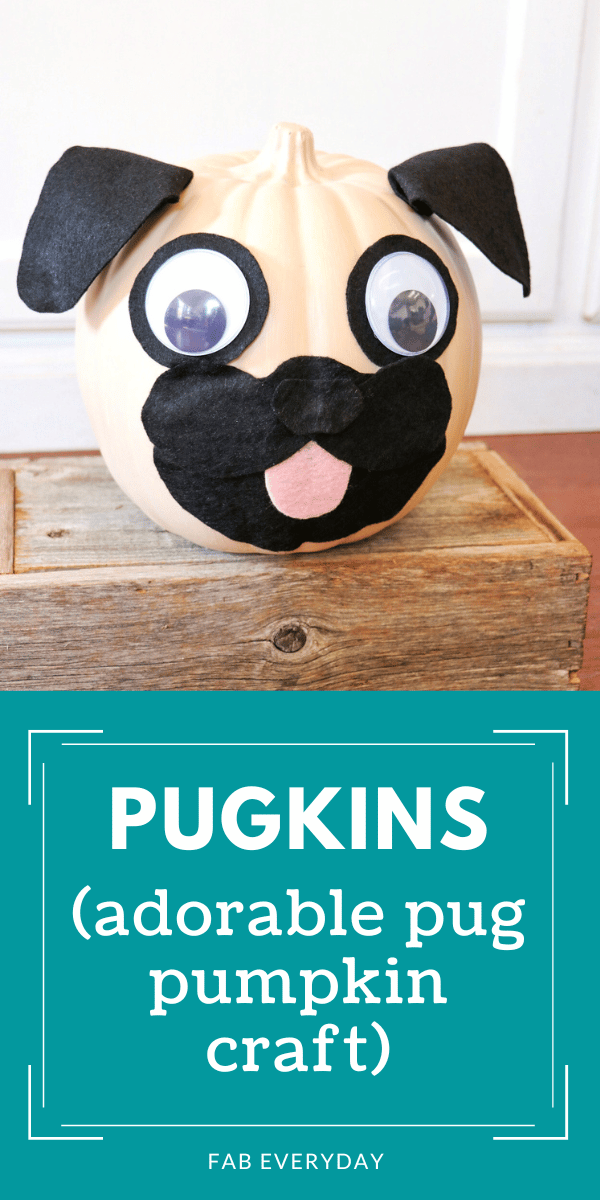
I am a pug person. I’ve had 4 pugs in my life and will always and forever love these lazy, snore-y, little bundles of rolls. I also love easy crafts with craft pumpkins (see my decoupage pumpkins from last year, and my Star Wars pumpkins and Pokémon pumpkins), so I don’t know why it didn’t occur to me to make pug pumpkins until this year! One day the idea of “pugkins” (craft pumpkins decorated to look like pugs) finally occurred to me. I mean, their cute round faces are perfect for the shape of a pumpkin! I made them this past weekend and the whole project took just a couple of hours (most of the time waiting for the paint to dry), so I am excited to share this adorable and easy pug craft idea with you today, in time to get them worked into your fall or Halloween décor.
Disclosure: This post contains affiliate links, which means that if you click on one of the product links and make a purchase, I may receive a commission. This does not cost you anything additional, and helps me to keep the rest of my content free, so thank you!
More easy craft pumpkin decorating ideas like these pugkins
- Pretty Pumpkins: 10 Easy Decoupage Pumpkins
- BB-8 and Grogu (Baby Yoda) Pumpkin Crafts (Fun Star Wars Pumpkins)
- Easy DIY Pikachu and Poke Ball Pumpkins (Pokémon Pumpkin Crafts)
What you need to make a pug pumpkin
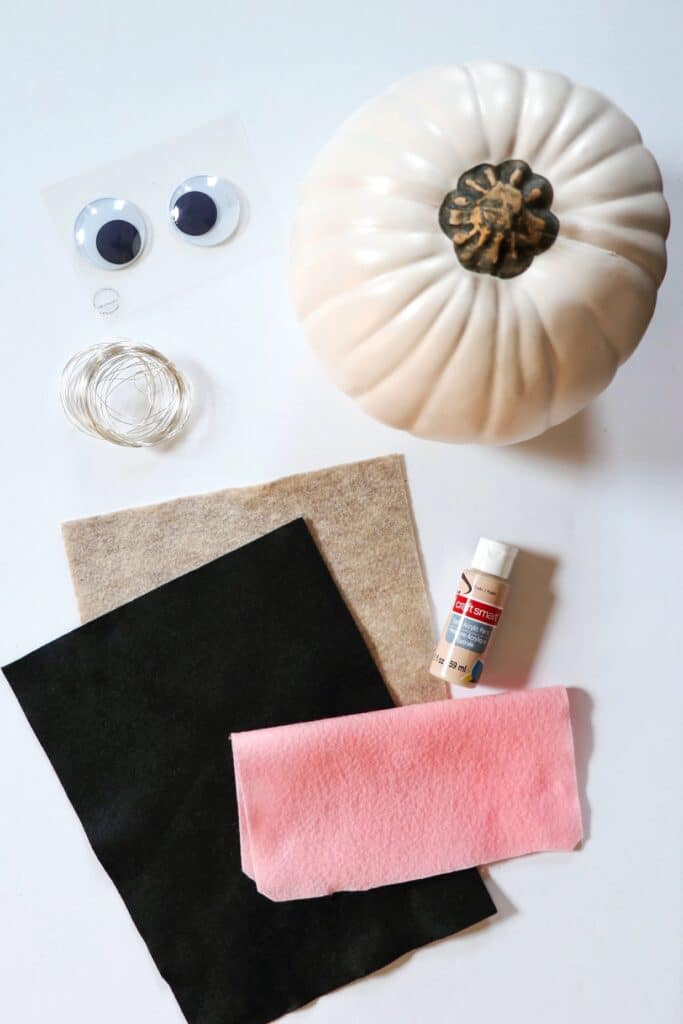
To make this pugkins craft, you’ll need the following supplies:
- Craft pumpkin
- Khaki-colored acrylic paint and paintbrush
- 2-inch googly eyes
- Black felt
- Pink felt
- Tan/beige felt
- Wire
- Glue gun and glue sticks
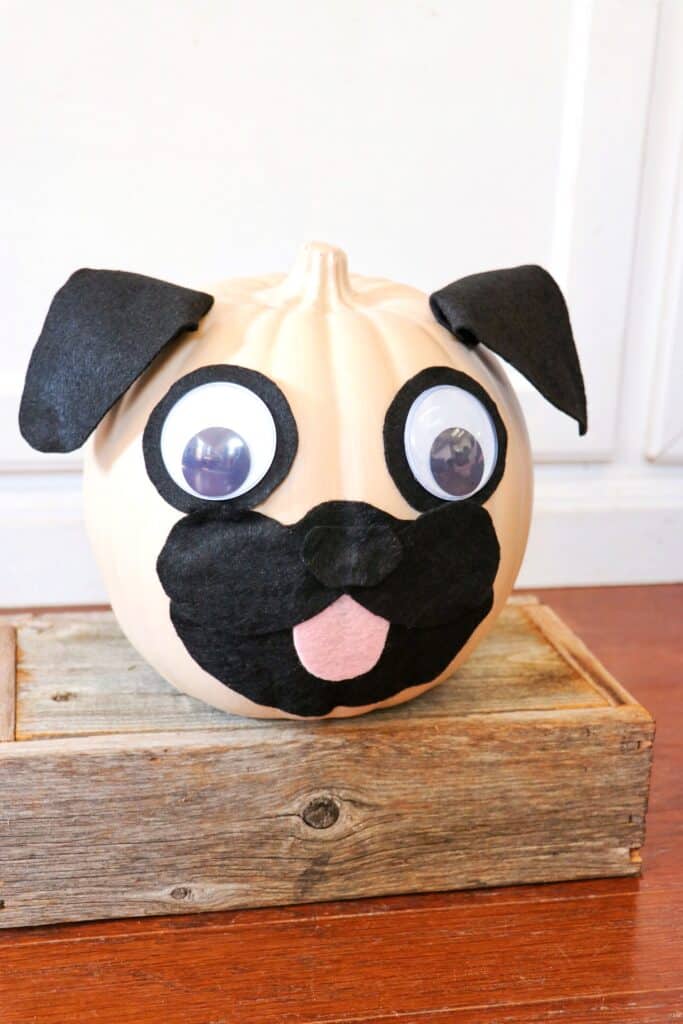
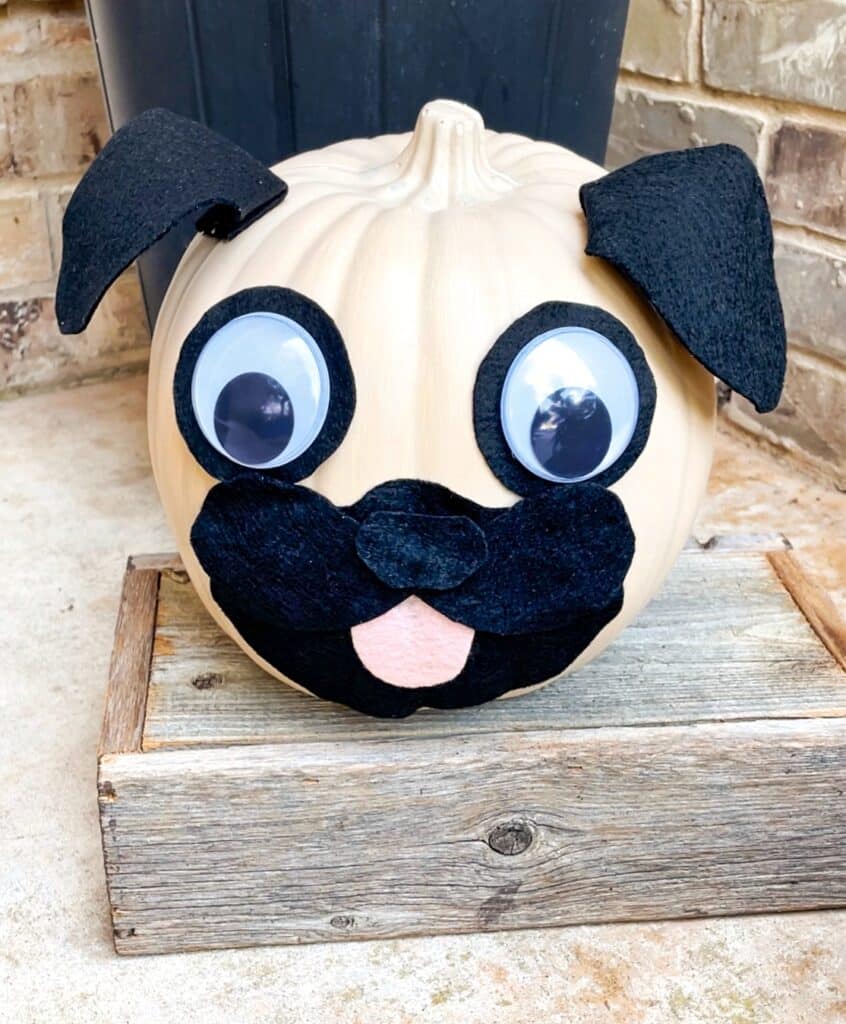
How to make pugkins (step-by-step)
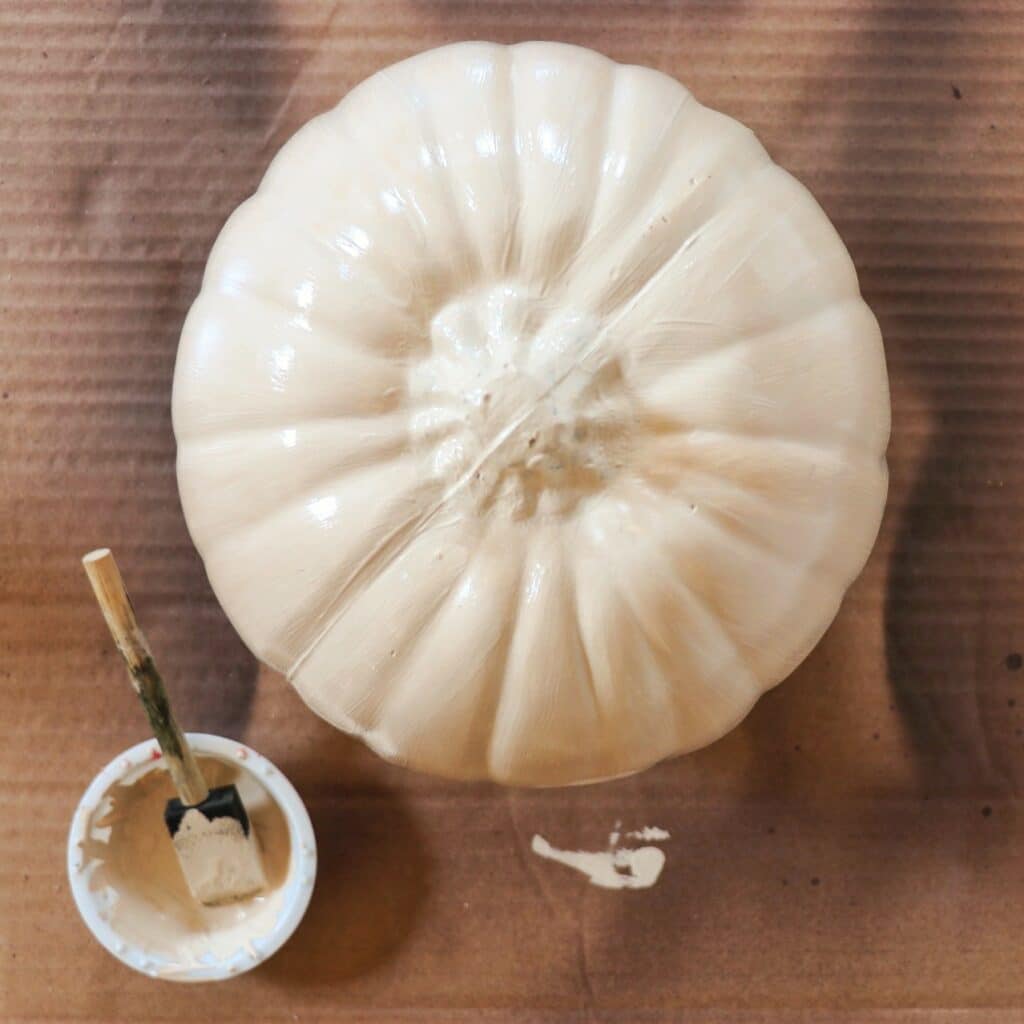
- Paint your craft pumpkin with at least two coats of paint. Let dry completely.
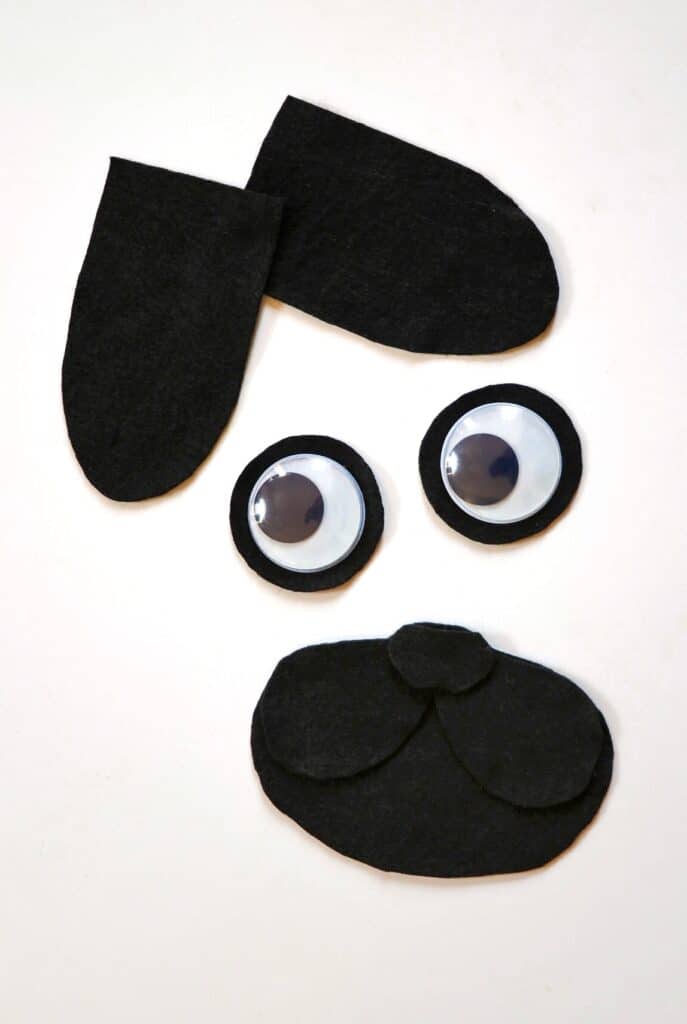
- Glue two googly eyes onto black felt then cut a circle of black felt around each eye.
- Cut two ear pieces in the black felt, both with a curve on one of the edges.
- Cut muzzle pieces out of black felt. I found that it looked great with an oval as the base, two tear-drop shaped pieces placed on the top (intersecting at the points in the center of the top of the oval), then a nose piece over the spot where the tear drops meet.
- Cut a tongue shape into the pink felt and place it on the muzzle (tucked under the tear drop sections. Hot glue the tongue and pieces of muzzle together in place.
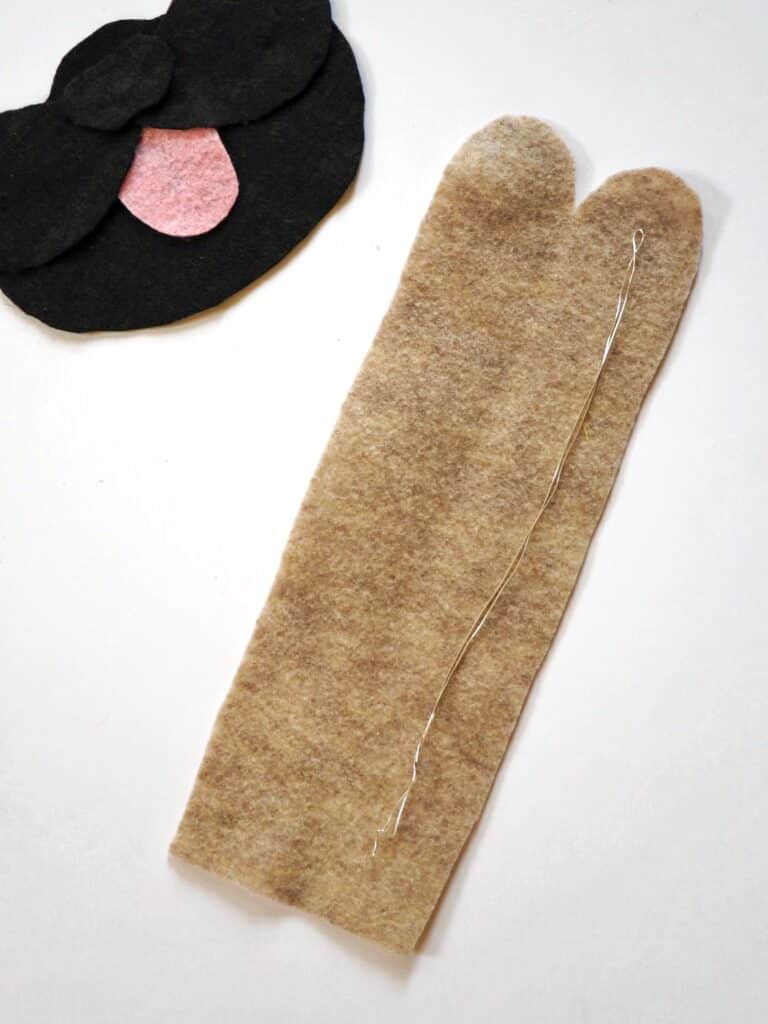
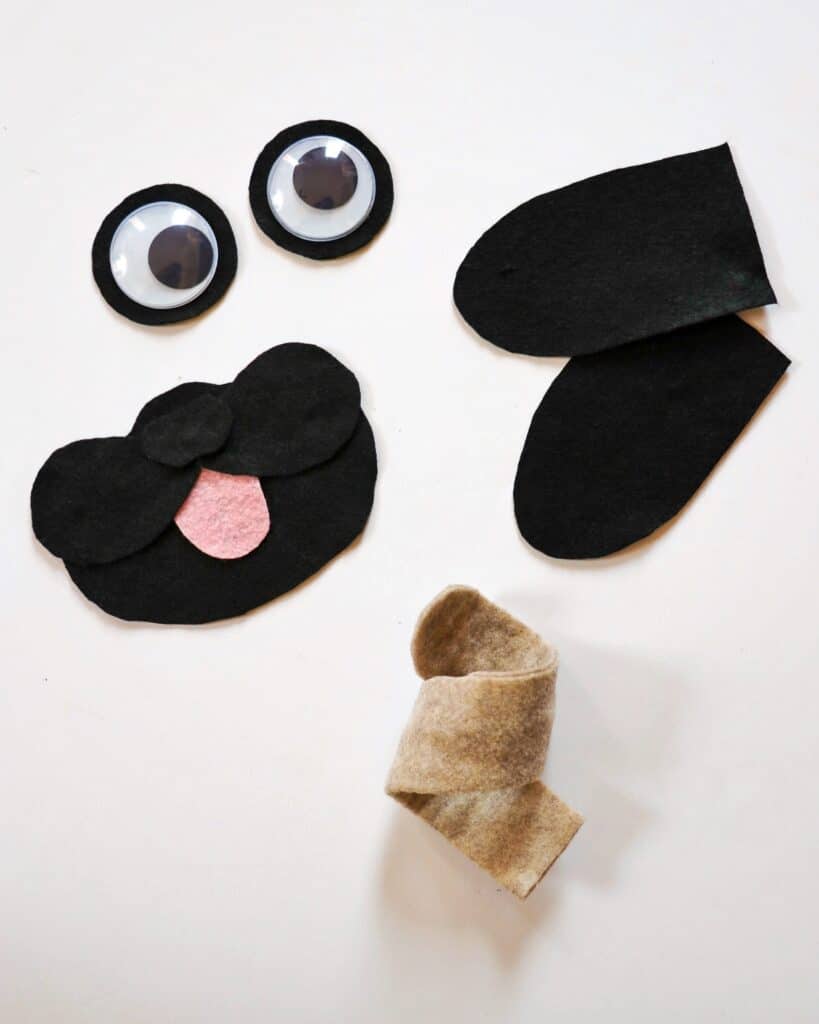
- Cut two long pieces of the tan felt with a curved edge on one side for the tail. To keep it easy, fold the felt in half and cut the two pieces on the folded edge at the same time so they are the same size and already connected on one side (since they will be attached together. Hot glue a piece of wire in the middle, then glue the two halves of felt shut over the wire. Curl the tail piece like a pug’s tail.
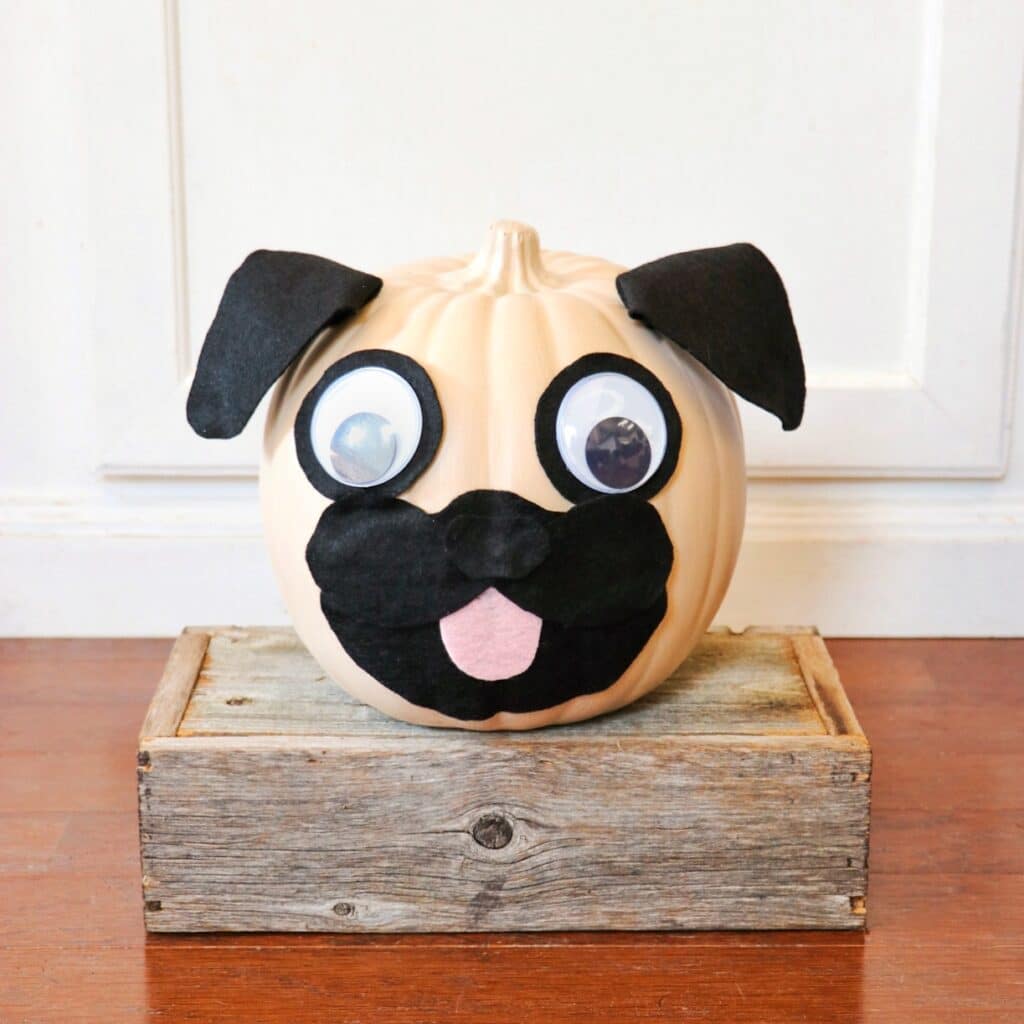
- Glue the muzzle onto the pug first, on the bottom half of one side.
- Next, glue the eyes onto the pumpkin above the muzzle, but towards the outer edges of the muzzle (the eyes should be kind of far apart).
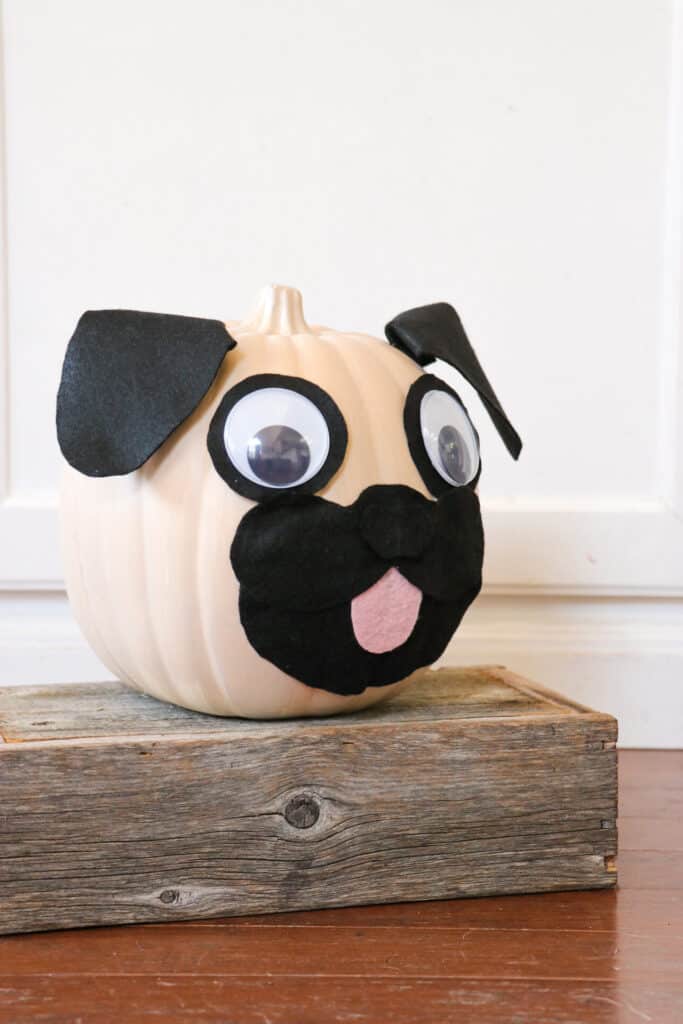
- Pinch the flat end of an ear together and glue to the top of the pumpkin, flat edge down/curved edge up above and outside one of the eyes. Allow the curved end to flop over. Repeat with the other ear piece on the other side.
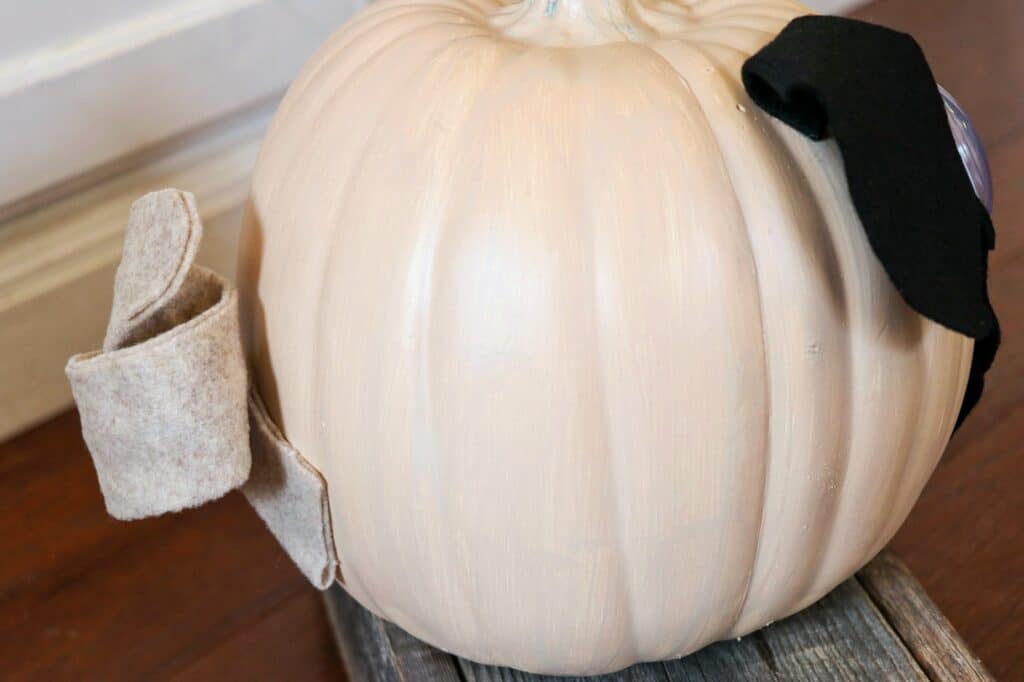
- Glue the base of the tail to the back side of the pugkin.
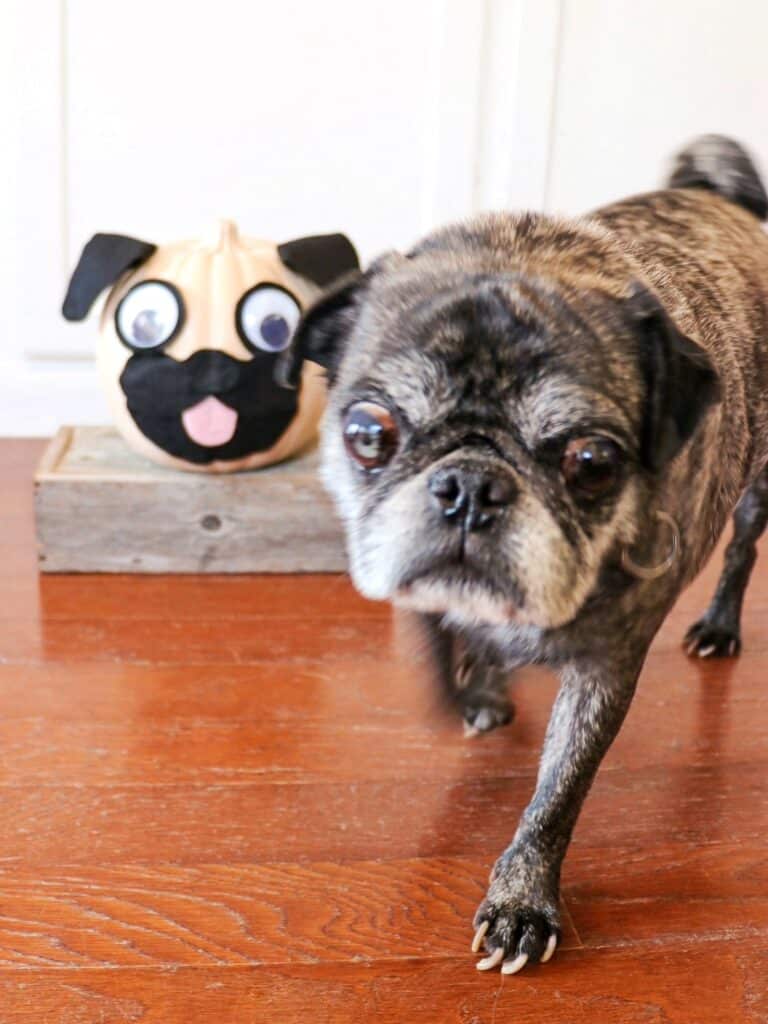
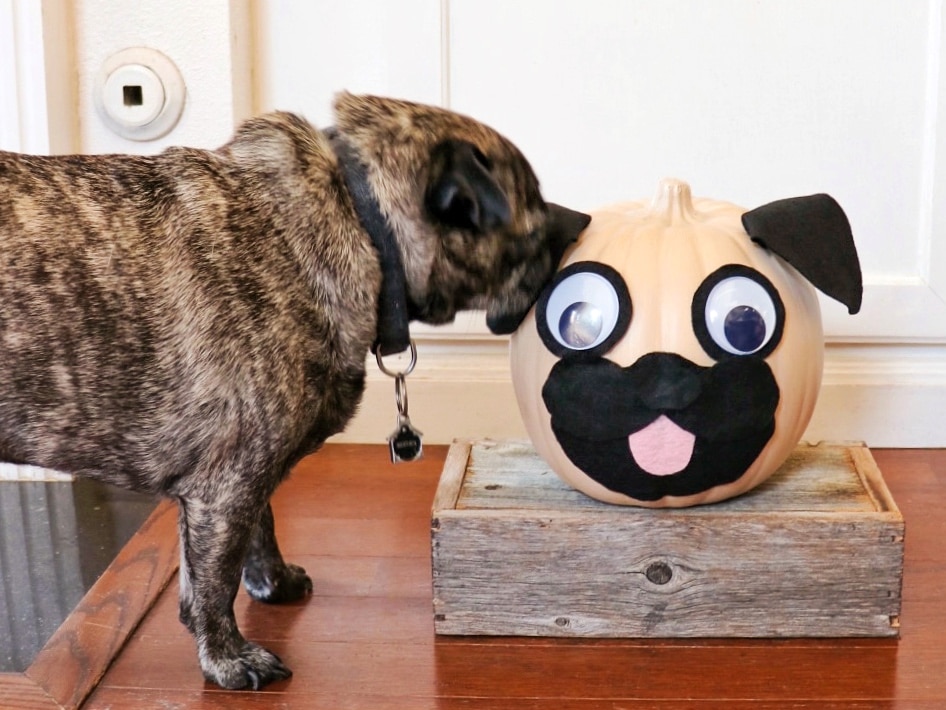
I tried to get a pic of one of my two pugs with the pug pumpkins, but that was a fail. These dogs are the cutest, but they do NOT listen. They make up for it by being the sweetest lap cuddlers ever, though.
If you’re a pug lover or dog lover I hope you’ll give this easy pug pumpkin craft a try! Tag me @fabeveryday in your pugkins photos if you make them!

Leave a Reply