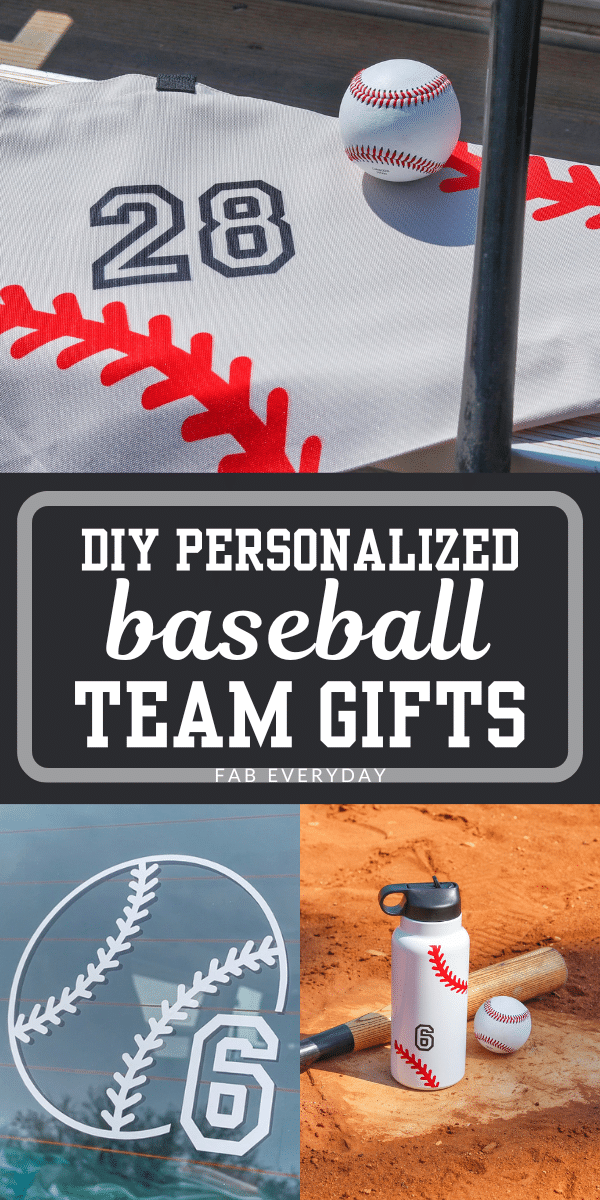
As one of the Team Moms for our 11U baseball team, I wanted to make this season extra special for our biggest fans – the players’ families! I decided to make DIY baseball team gifts of a tote bag for each family filled with personalized swag using their player’s number. I’m sharing details on how to make it all, including Tote Bags customized with Infusible Ink, Personalized Baseball Water Bottles customized with Premium Vinyl, and Personalized Baseball Decals for Cars customized with Smart Vinyl. If you’re looking for ideas for baseball fan gifts, baseball mom gift ideas, DIY baseball gifts, or baseball mom Cricut projects, you’ll want to save this article! Want more baseball ideas? Check out my Baseball Party Ideas (for an MLB Opening Day party, baseball birthday party, or team party) and How to Make a Baseball Easter Basket (baseball-themed Easter basket for baseball players)!
Disclosures: This is a sponsored post. The opinions are my own. This post also contains some affiliate links, which means that if you make a purchase using the links, I may receive a commission. This does not cost you anything additional.
More about this baseball fan gifts project
Cricut helps you make for all the special moments in life, from birthdays and ball games to weddings and anniversaries, with high-quality materials so your projects will not only look fabulous, but last! These baseball mom Cricut projects are the perfect example. I’ll detail how I made each of these DIY baseball team gifts, including links to products used, in today’s article. If you prefer to see these steps in video, you can watch me make all of these projects on YouTube here.
Baseball Mom Tote Bag (infusible ink ideas)
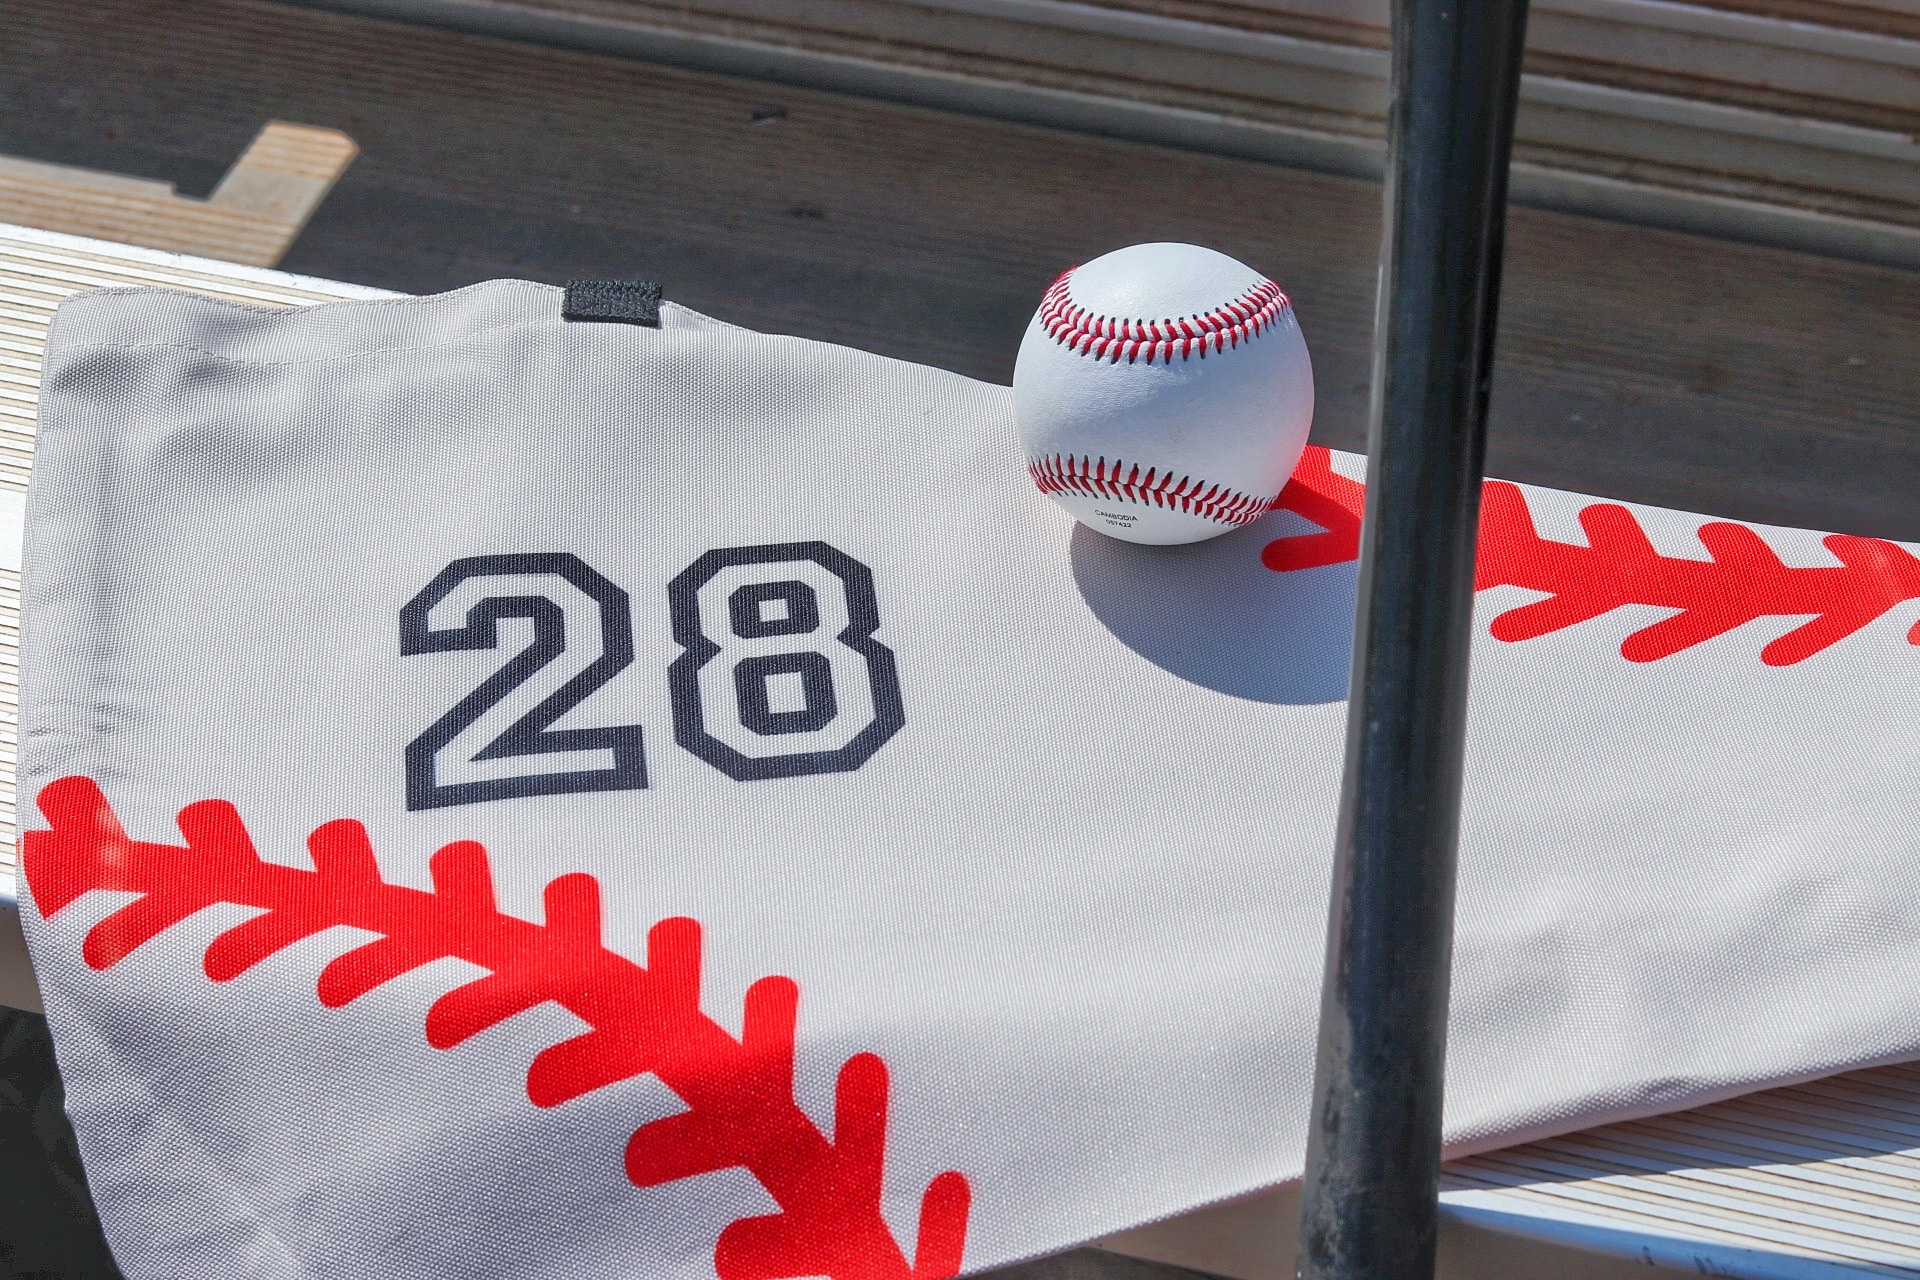
For this baseball mom Cricut project, I used Cricut pre-inked Infusible Ink Transfer Sheets for pro-quality custom designs that that will truly last a lifetime. If you’re not familiar with the infusible ink process, unlike an iron-on transfer or vinyl application, where artwork is attached on top of a base material using adhesive, an Infusible Ink heat transfer becomes one with the material itself. I also used my Cricut EasyPress 2 and some other accessories to make these baseball tote bag for moms. You can get the Baseball Tote Project on Cricut Design Space, but you can also customize your baseball mom tote however you’d like. Here’s how to make an infusible ink on canvas bag.
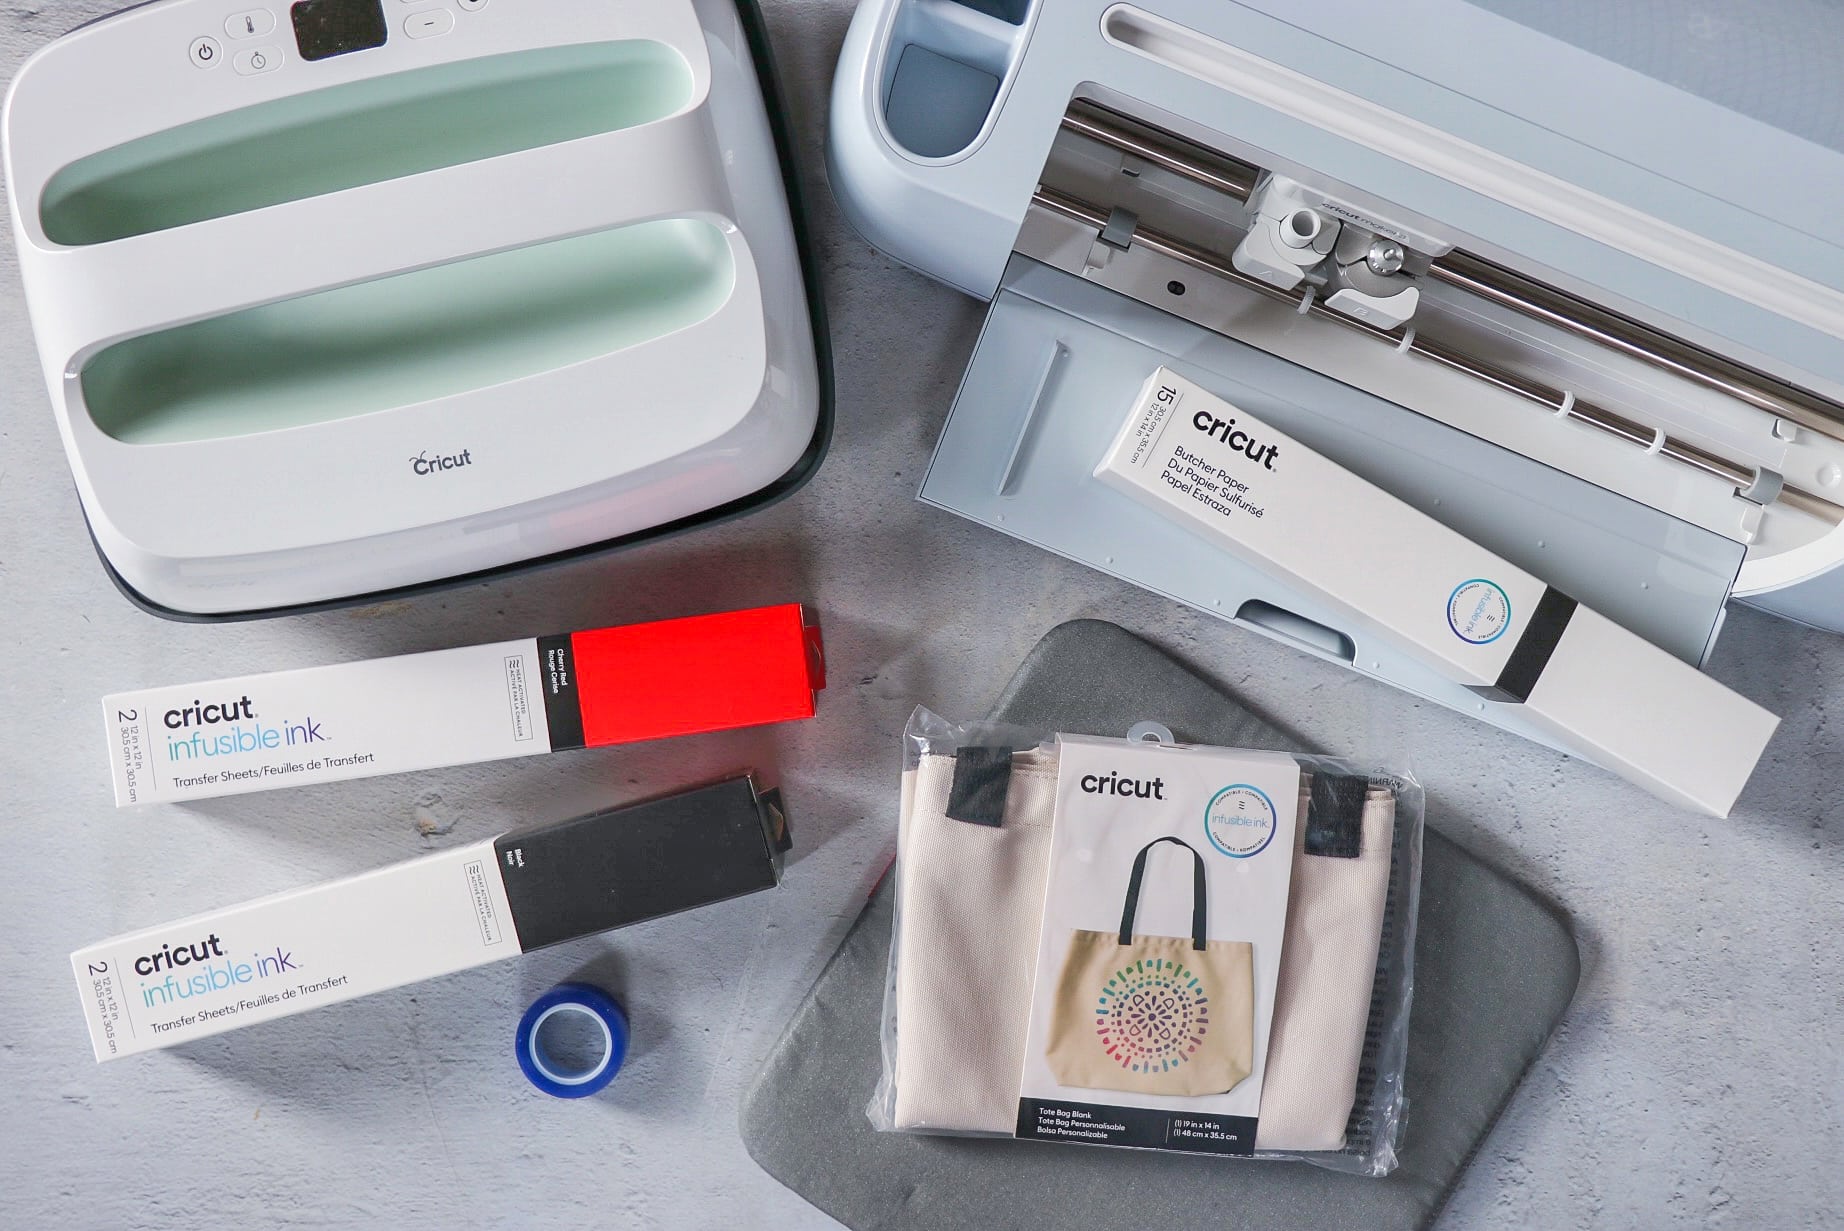
What you need to make a Baseball Mom Tote Bag:
- Cricut Maker 3
- Cricut Weeding Tools
- Cricut Standard Grip Mat
- Cricut EasyPress 2
- Cricut EasyPress Mat
- Cricut Tote Bag Blank (Large)
- Cricut Infusible Ink Transfer Sheets (Cherry)
- Cricut Infusible Ink Transfer Sheets (Black)
- Cardstock
- Cricut Butcher Paper
- (Optional) Cricut Heat Resistant Tape
How to make a baseball tote bag for moms, dads, and other baseball fans:
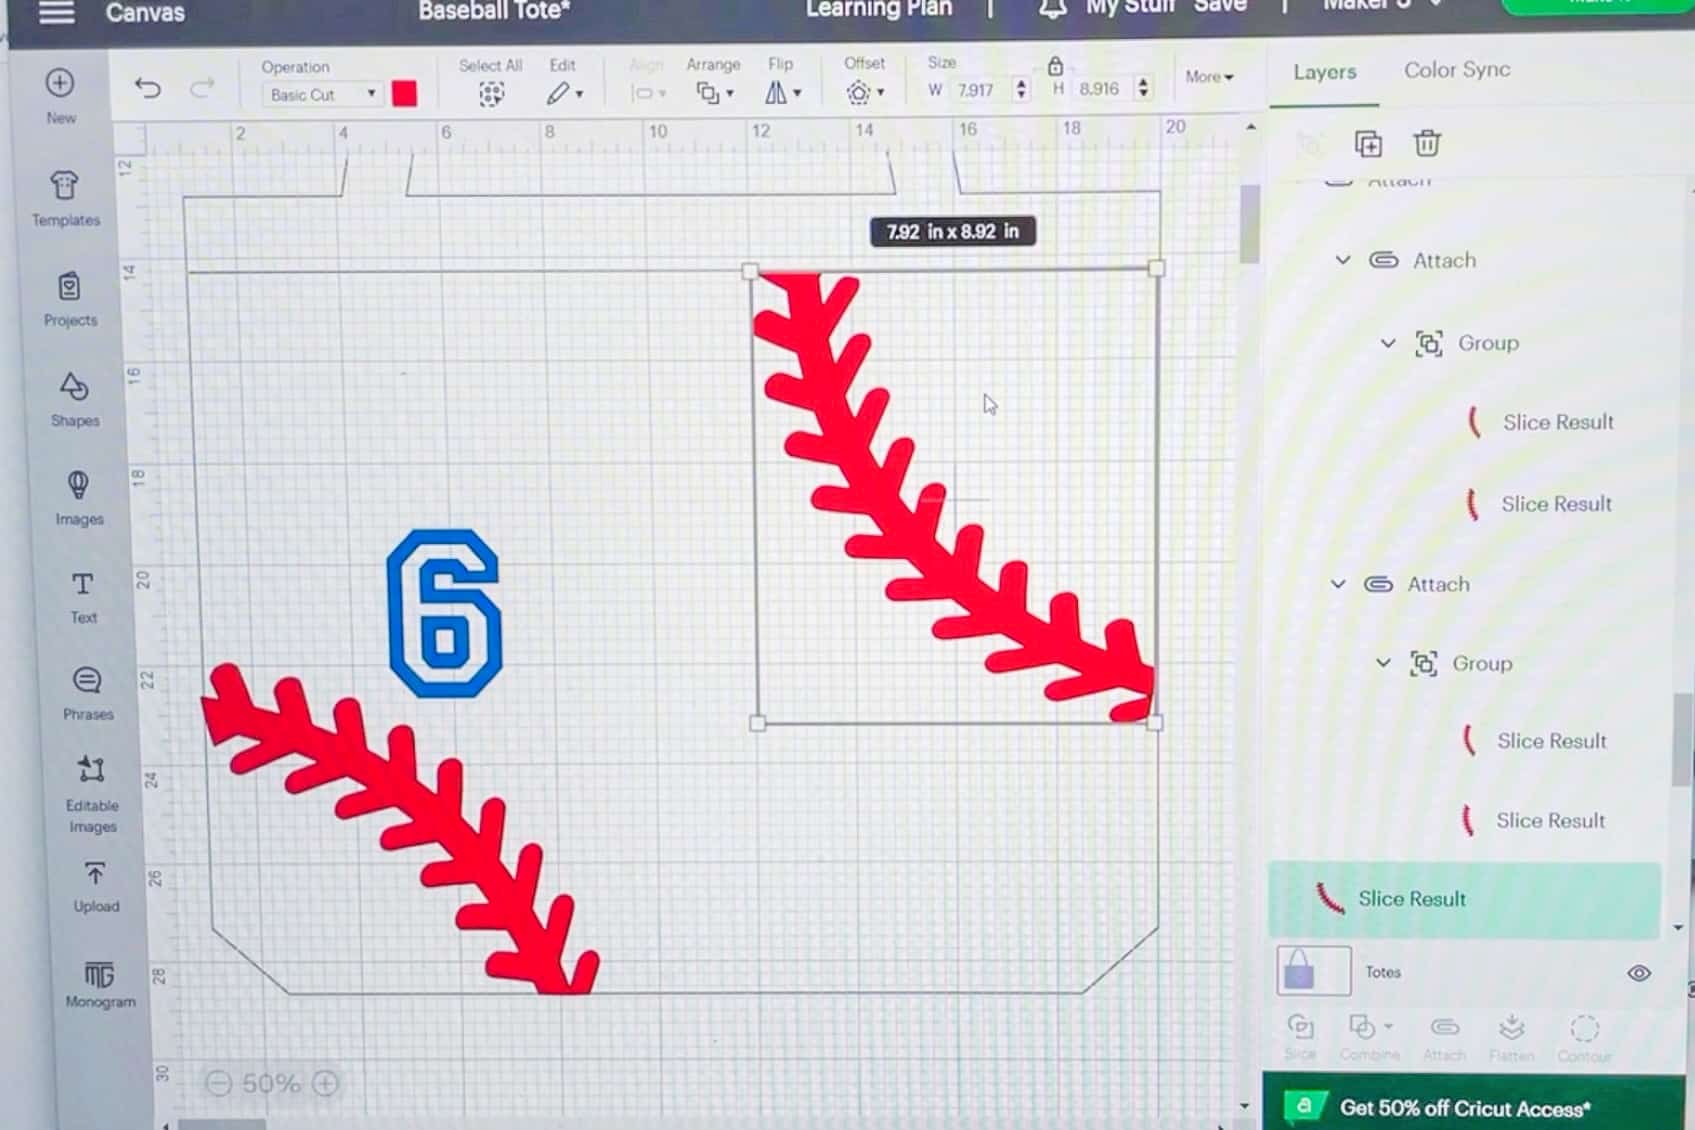
I used the tote bag template in the Cricut Design Space along with a baseball graphic so I could add laces to the bag. I customized each bag with the player’s number and cut the transfer sheets using my Cricut Maker 3. I followed this very helpful How To article from Cricut for “How to use Infusible Ink Transfer Sheets with Cricut apparel blanks.”
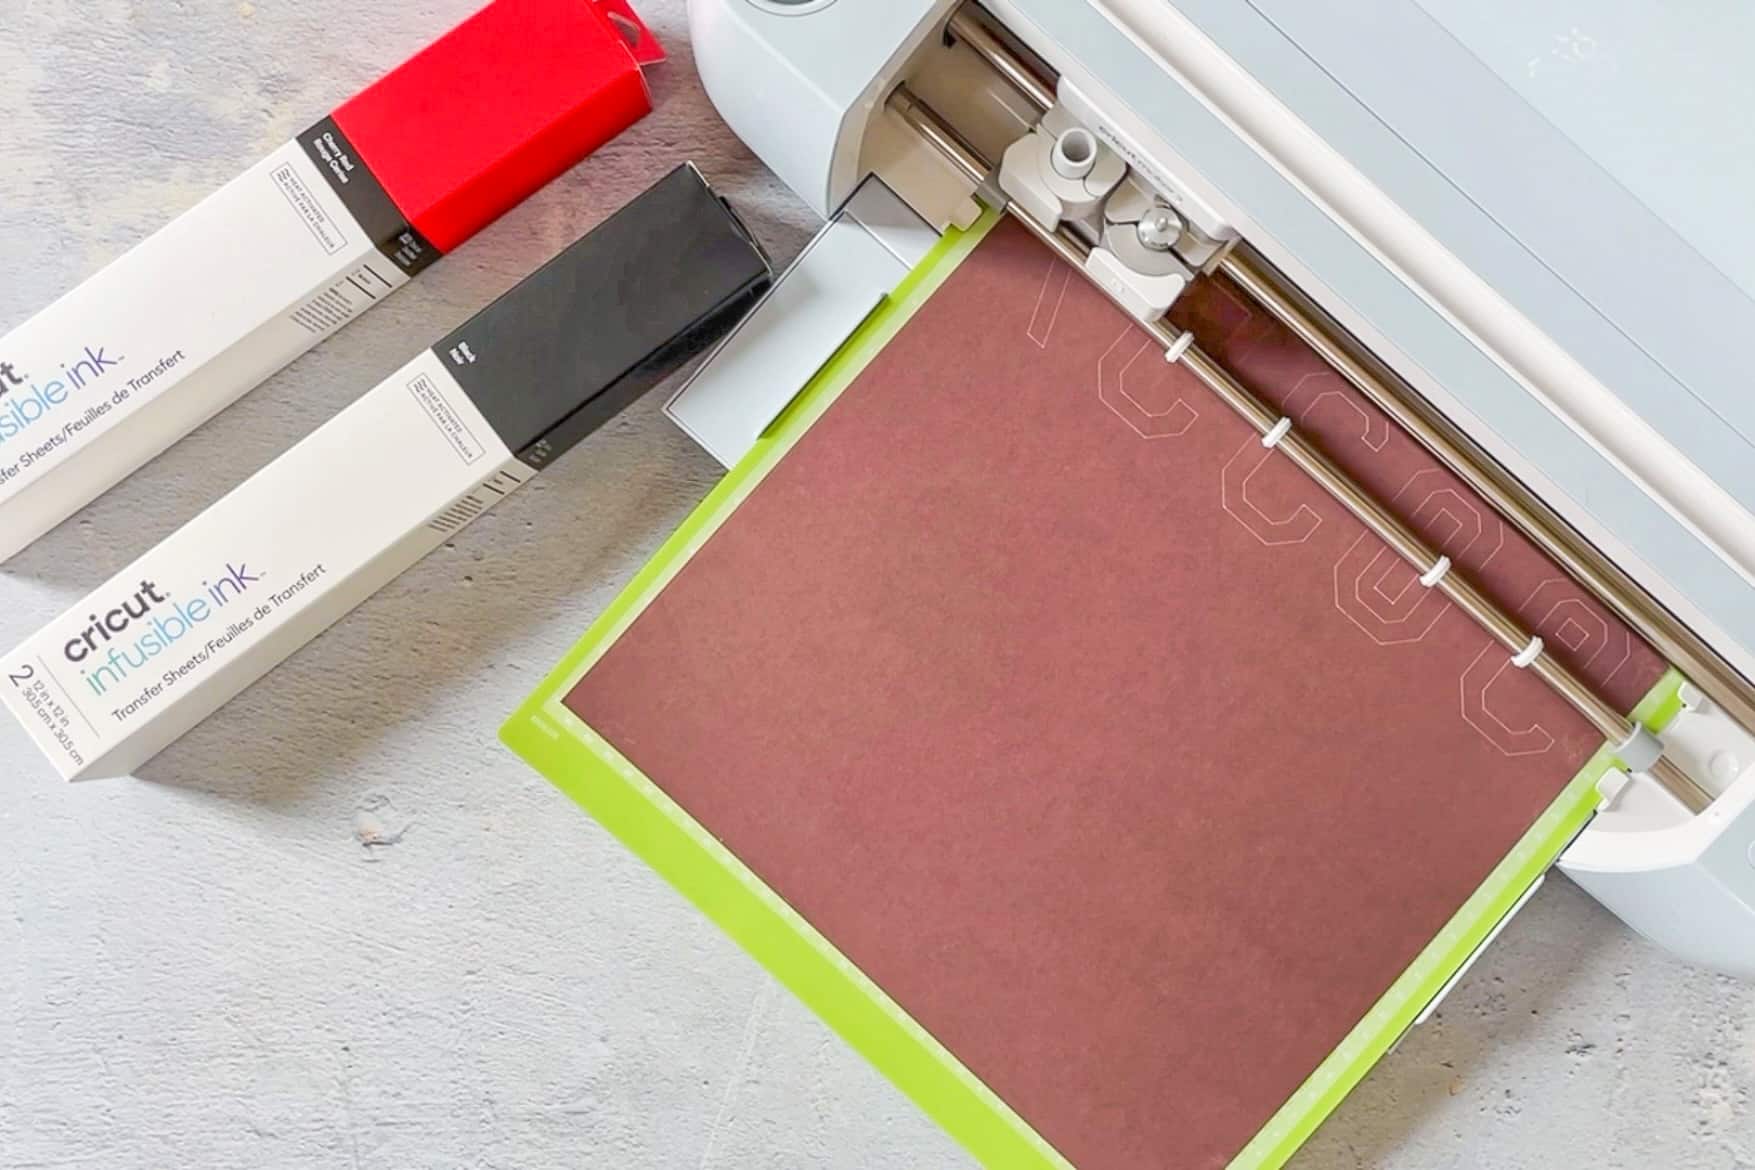
Before handling the transfer sheets, make sure your hands are clean, dry, and free of any oils or lotions. Mirror your design, and cut with your Cricut cutting machine.

Use scissors to separate your design components and carefully weed the excess material, leaving your design on the clear liner.
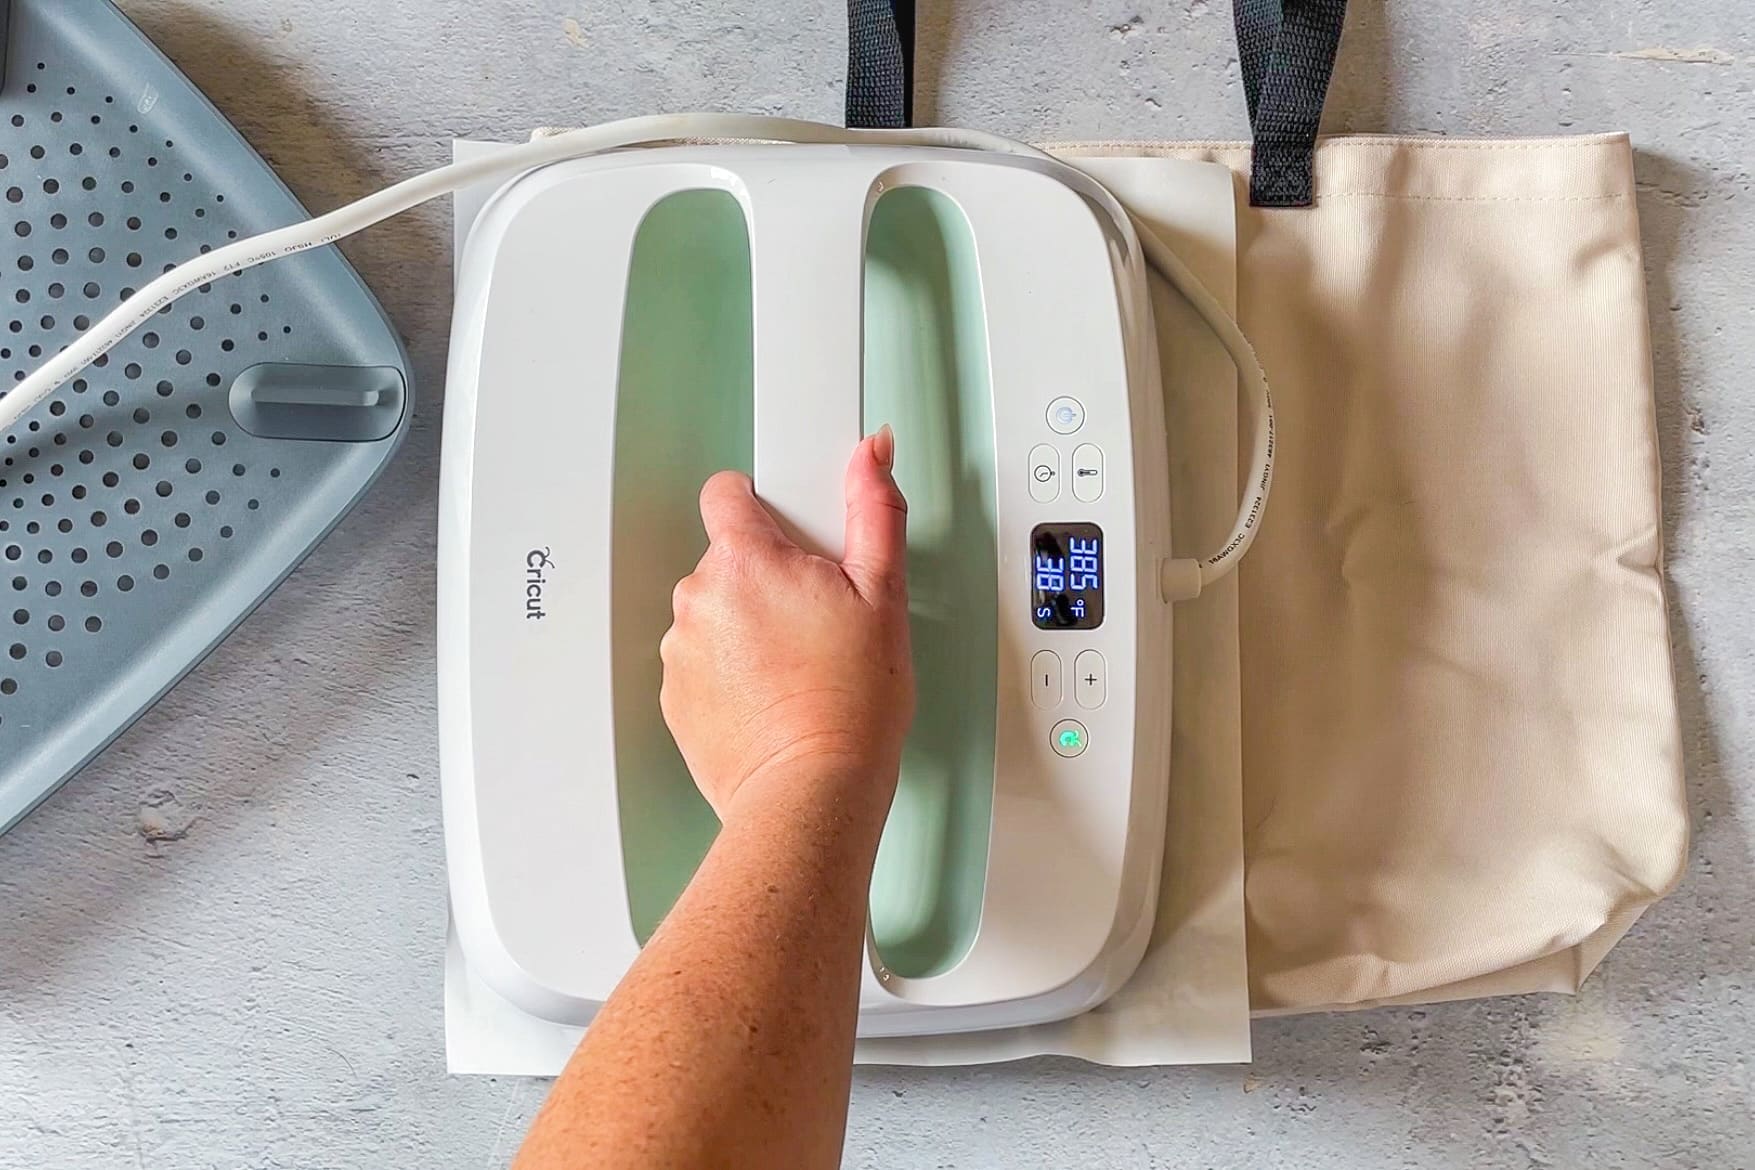
For heat application, I used Cricut butcher paper and my Cricut EasyPress 2. Cricut has a helpful Heat Guide on their website that will guide you through the exact settings and timing needed for each step of the process. Make sure your tote bag is clean and lint-free, then place it on top of the EasyPress Mat and put a piece of cardstock inside the bag. Place a piece of butcher paper on top of the bag and pre-heat the material with your EasyPress per the instructions on the heat guide. Remove the paper and place the designs, color-side down, in their positions on the tote bag. Cover with butcher paper, and follow the heat guide instructions for your EasyPress. When cool, carefully remove the butcher paper and liner.
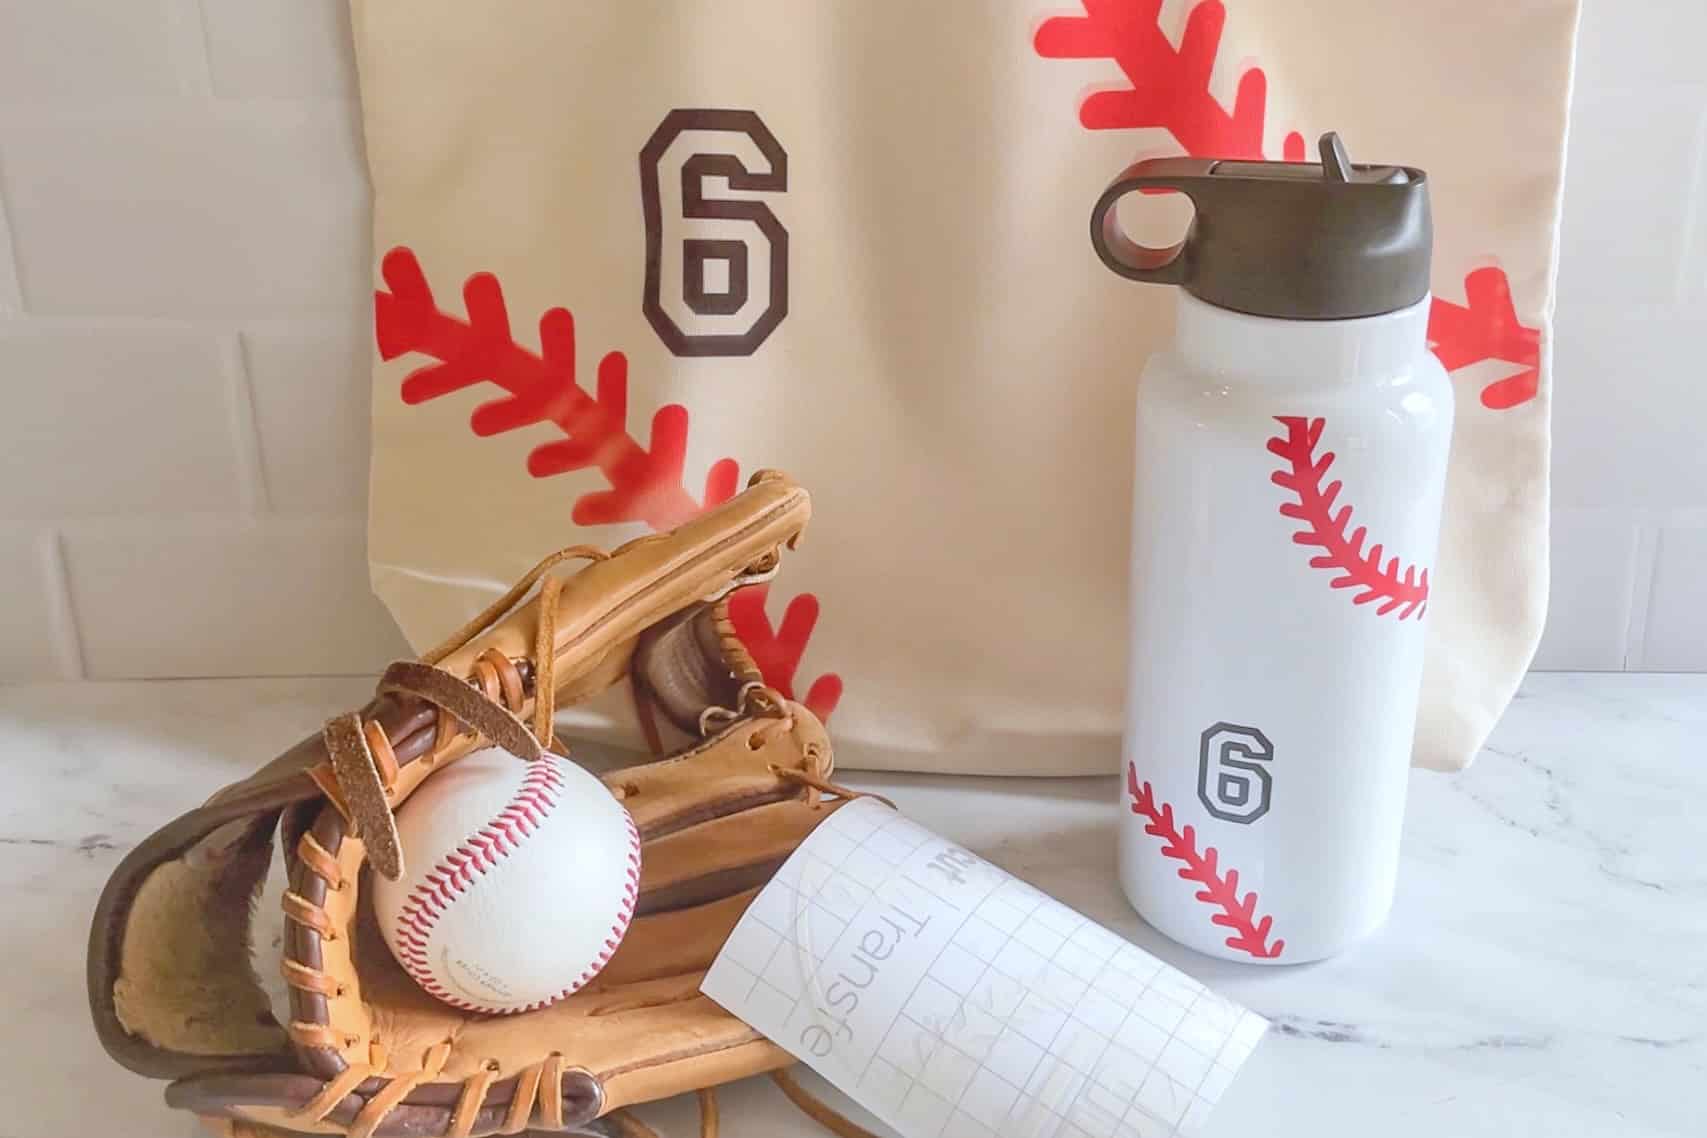
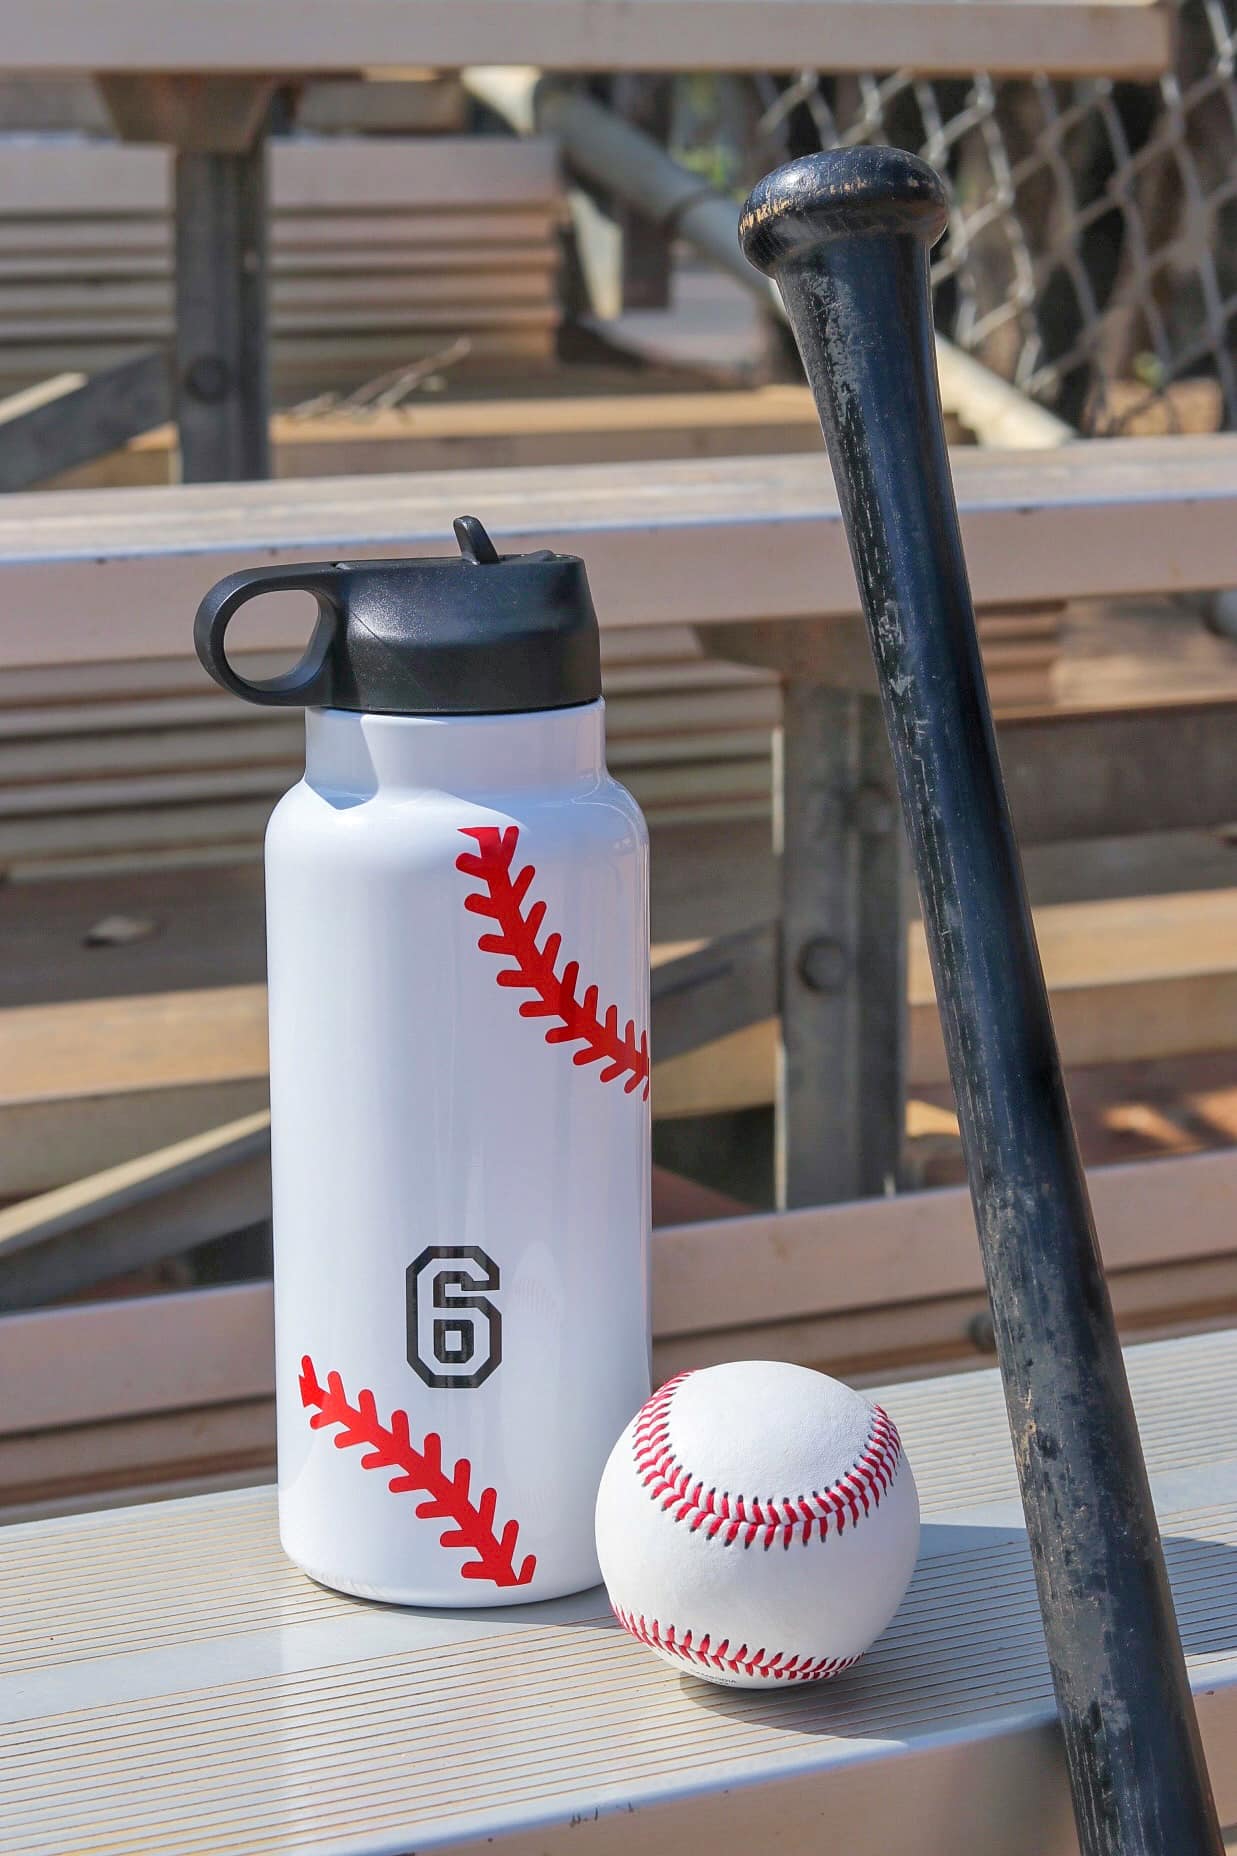
Personalized Baseball Water Bottles
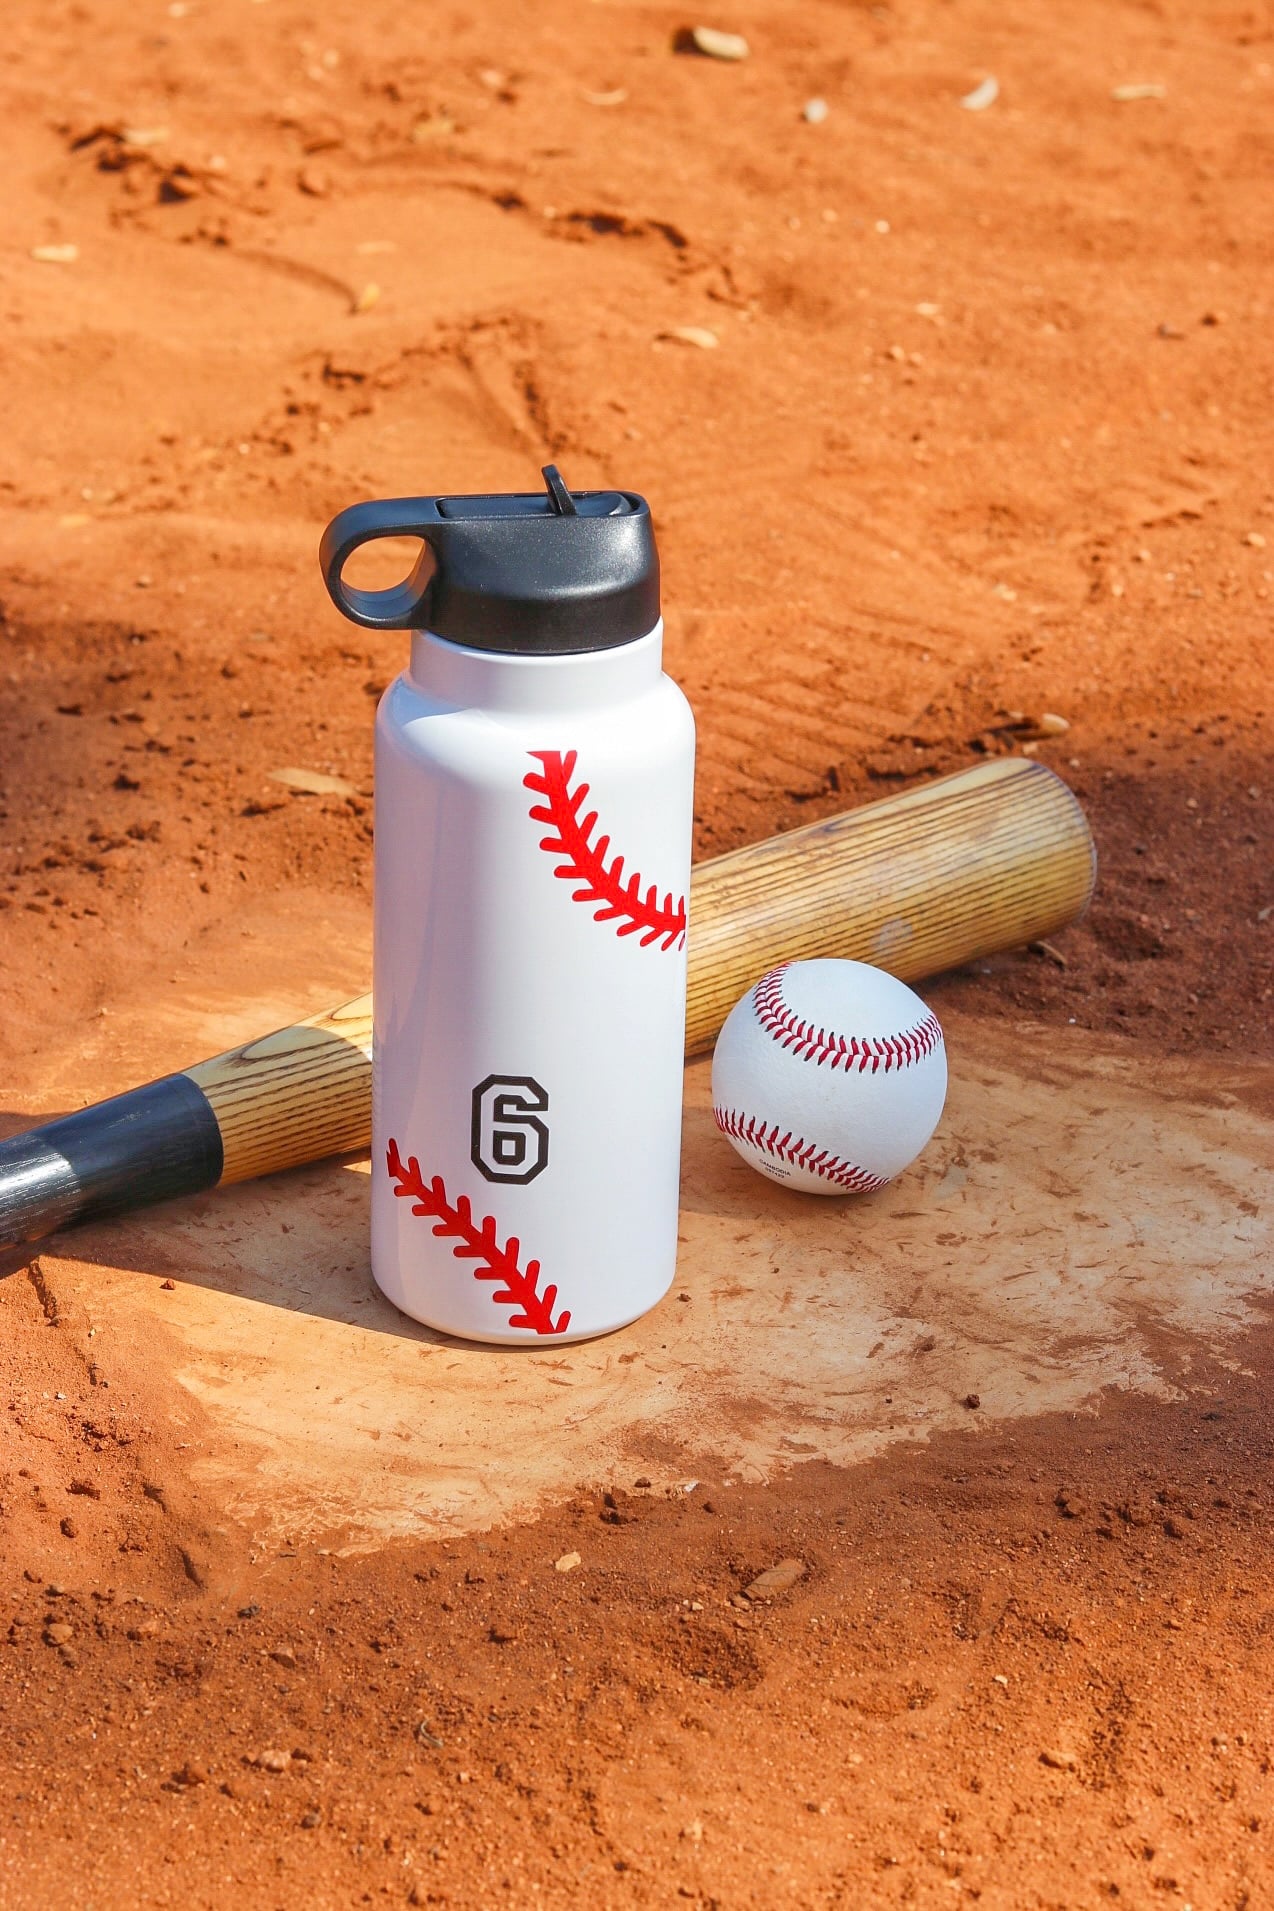
Cricut Permanent Premium Vinyl is ideal for projects that need to weather the storm, from mailboxes to mugs, to outdoor signage and more. It’s water and UV-resistant, with an adhesive that can last for up to 3 years. This makes it perfect for personalized baseball water bottles, as it’s durable and can handle being washed. Get my Baseball Water Bottle Project on Cricut Design Space, and see what you need to make it below.
What you need to make Personalized Baseball Water Bottles:
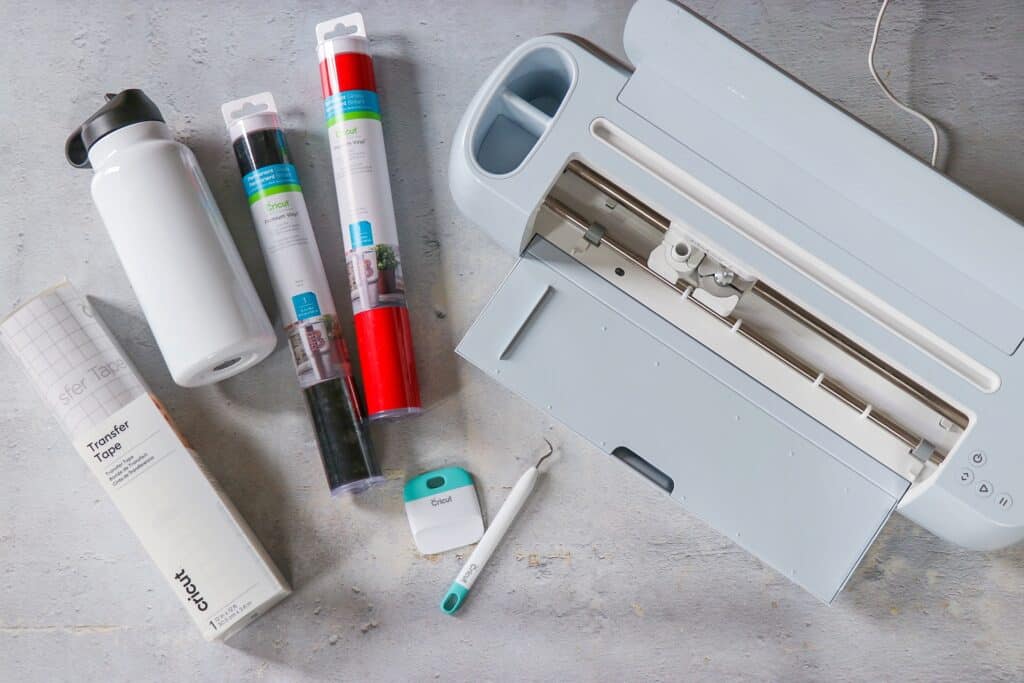
- Cricut Maker 3
- Cricut Weeding Tools
- Cricut Standard Grip Mat
- Blank Water Bottles
- Cricut Premium Vinyl™ – Permanent (Tomato Red)
- Cricut Premium Vinyl™ – Permanent (Black)
- Cricut Bulk Transfer Tape
How to make these baseball fan gifts:
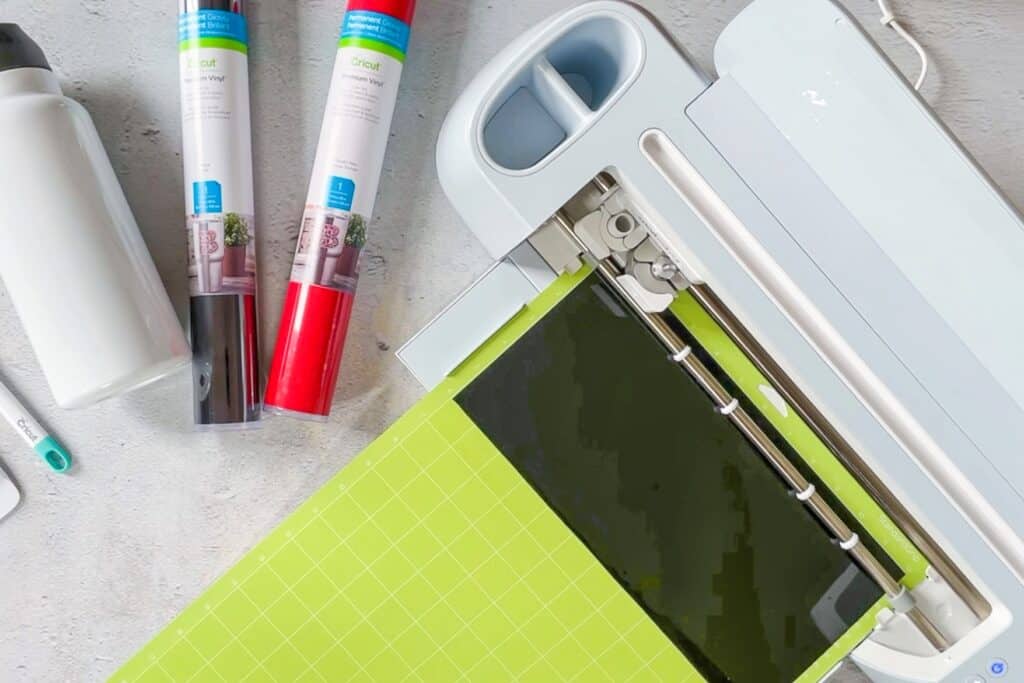
For this project, I used the same art motif that I used for the tote bags, but resized them in the Cricut Design Space using a jar template as a guide. I cut the vinyl for these DIY baseball gifts using my Cricut Maker 3.
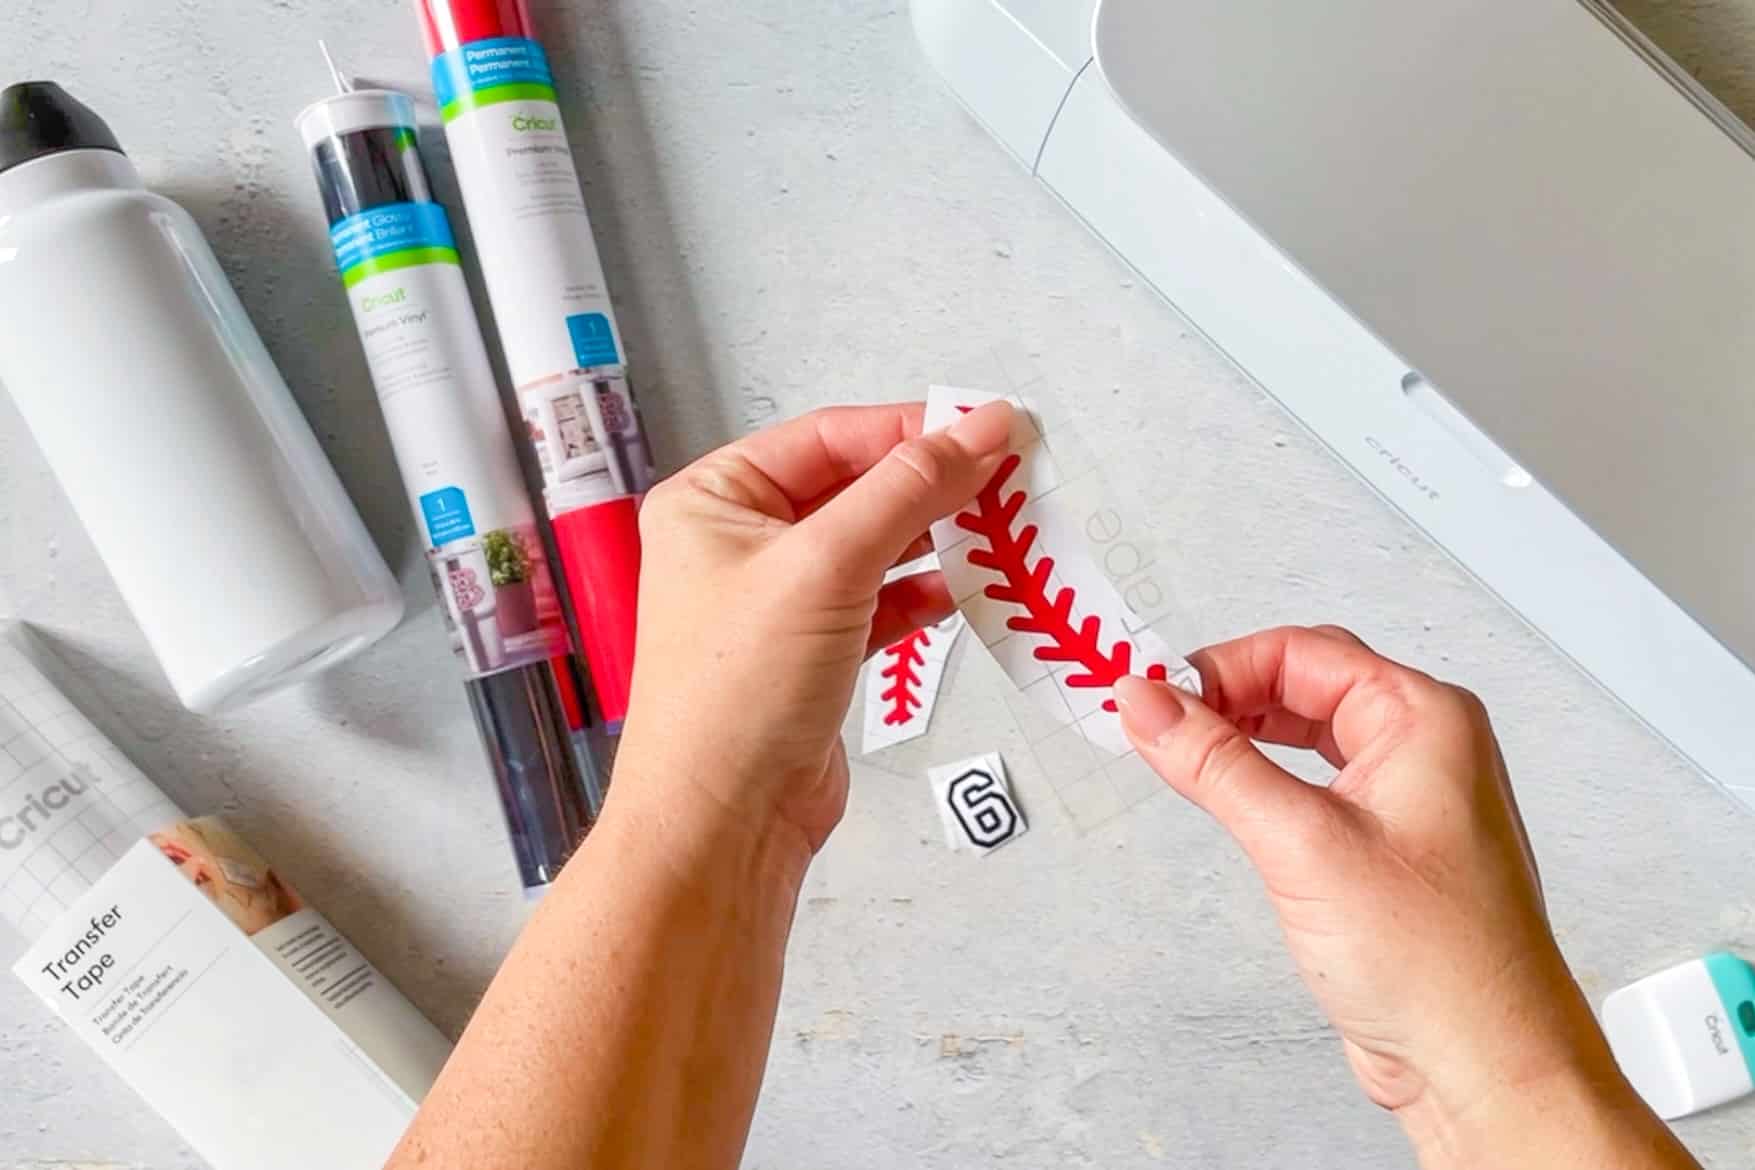
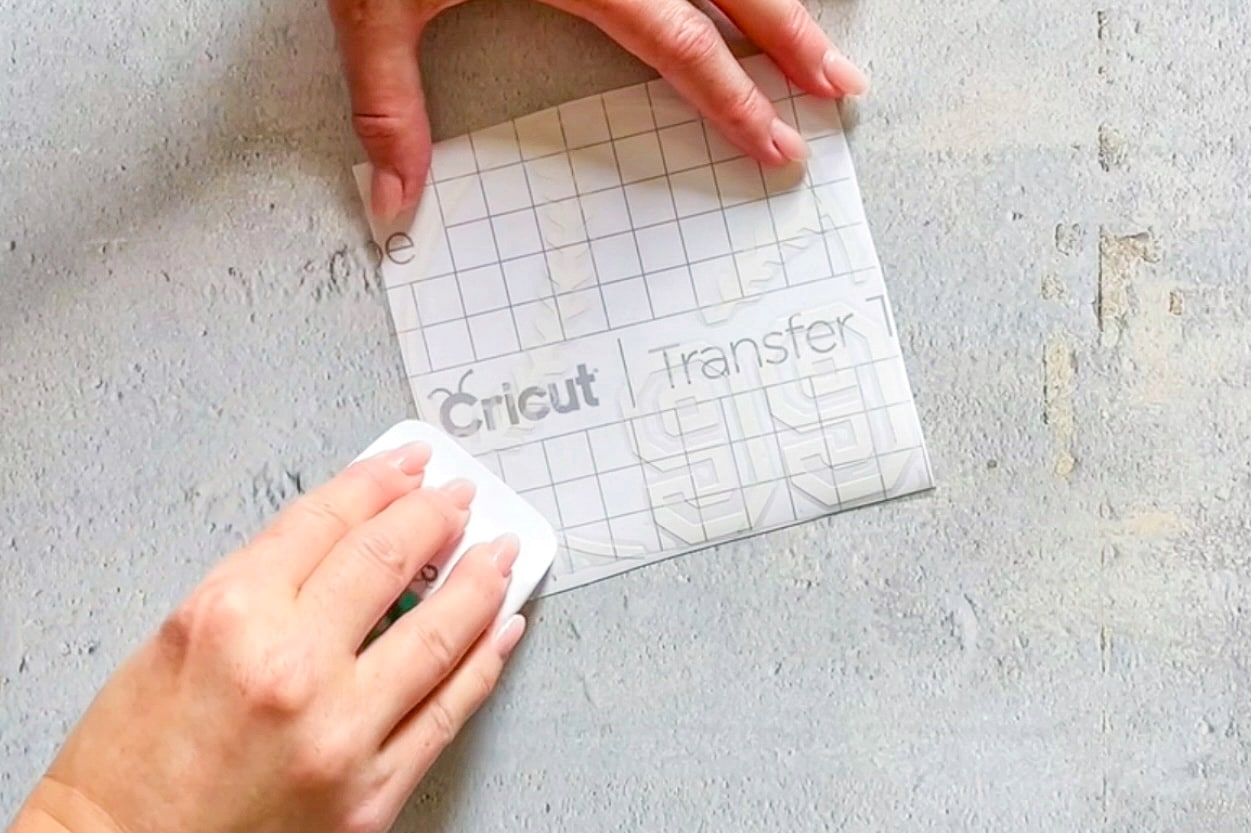
Using scissors, I cut the personalized baseball water bottles designs to separate them and used my wedding tools to separate the negative material from the designs. I added transfer tape to the top of the designs.
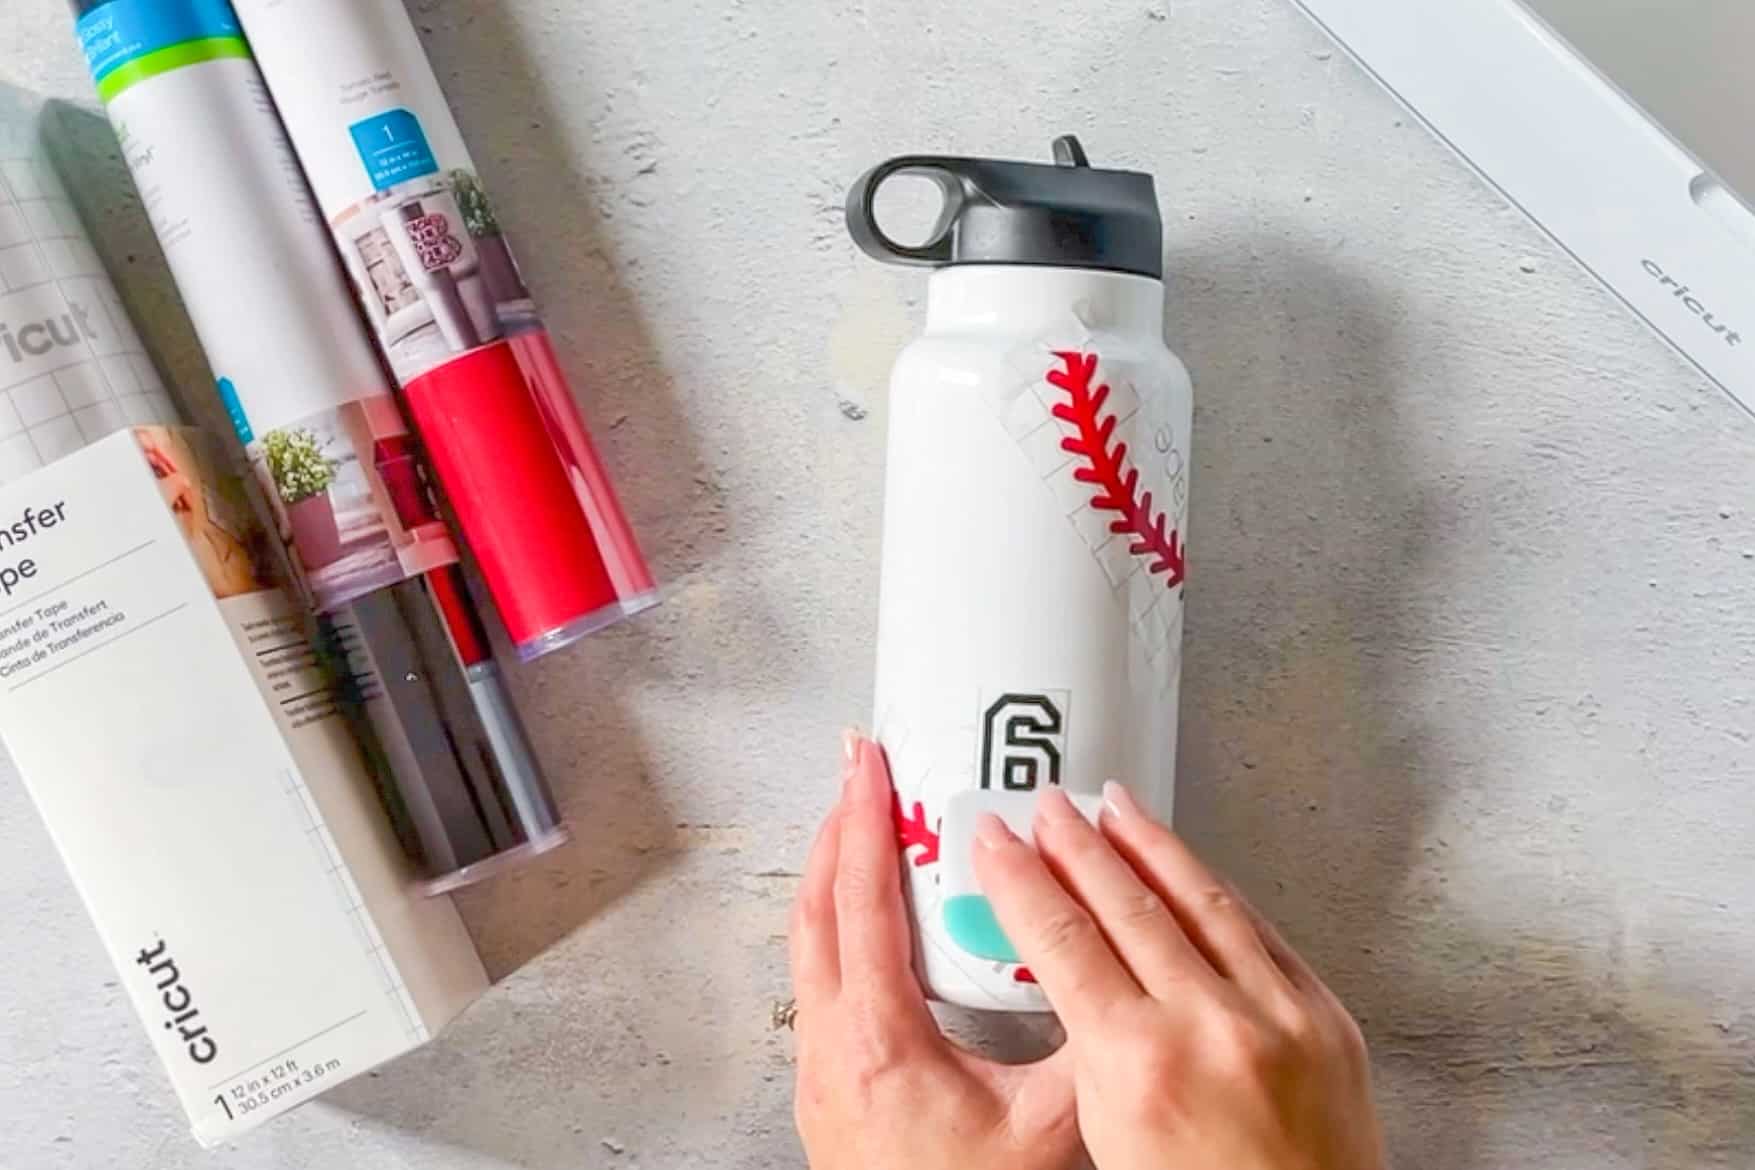
Remove the art from their backing before placing them onto the blank water bottles. After placing them and rubbing them down onto the water botte surface, remove the transfer sheets, and voila!
Personalized Baseball Decals for Cars (baseball vinyl decals)

To make these baseball window decals, I chose to use Smart Materials to save time and the step of adding the material to a cutting mat. This vinyl has a matte finish and is weather-resistant so your creations will last even in the great outdoors – like on your car! Get the Baseball Car Decals Project on Cricut Design Space, or if you’d like to make the design from scratch, follow the steps below.
What you need to make baseball vinyl decals:
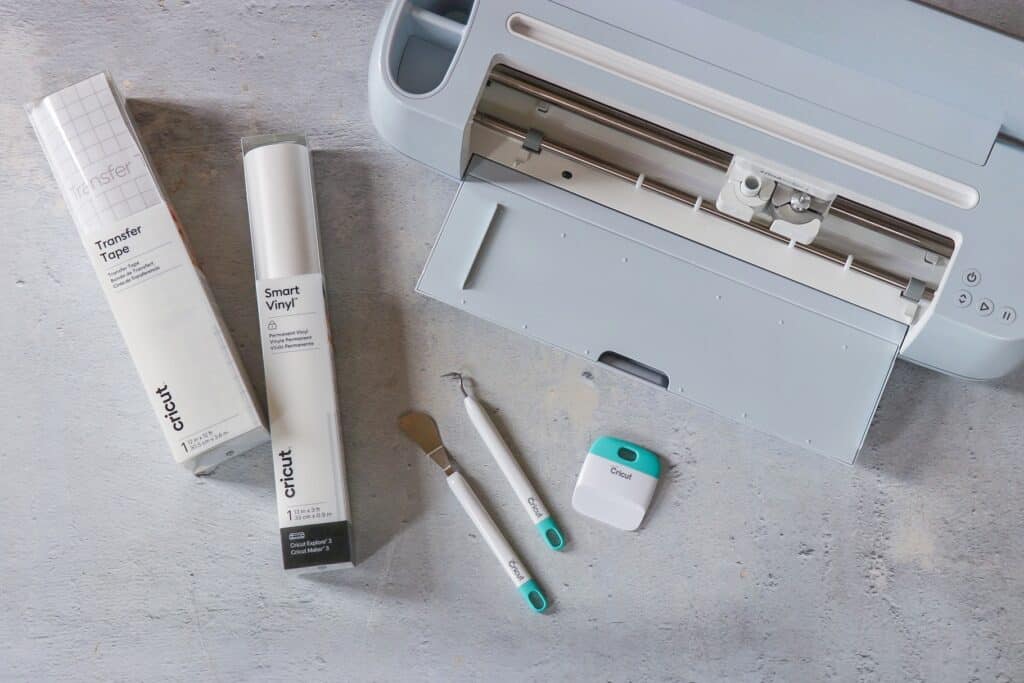
- Cricut Maker 3
- Cricut Weeding Tools
- Cricut Smart Vinyl™ – Permanent (White)
- Cricut Bulk Transfer Tape
How to make custom baseball decals for cars:
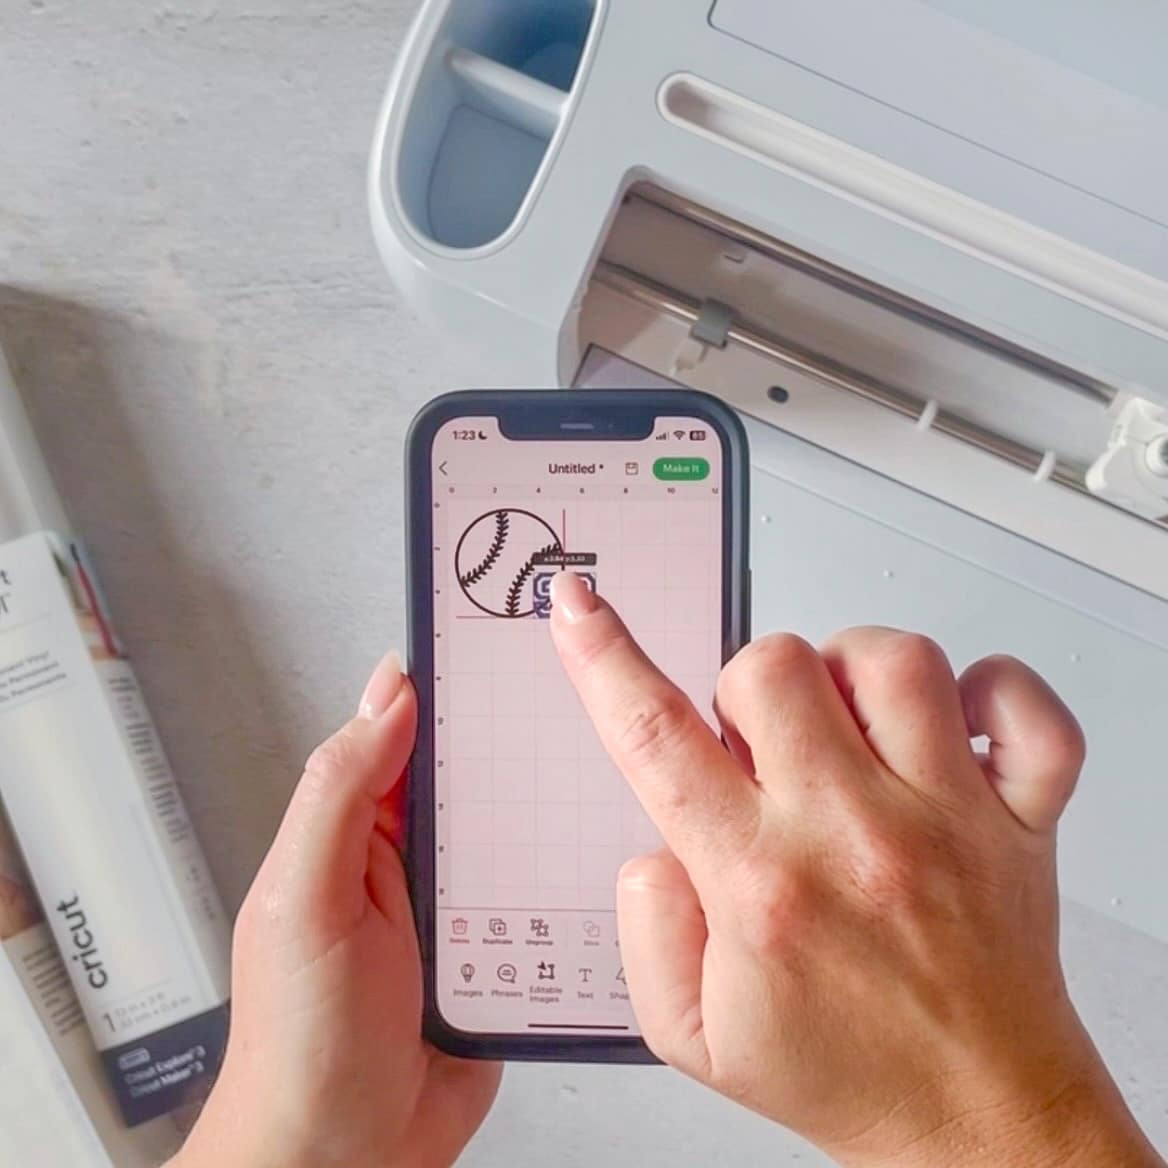
To make a personalized baseball car decal, start by creating your design in the free Cricut Design Space software. I used a simple baseball image then added the player’s number in Varsity font, positioning it over the baseball. I added a square shape so I could slice out that section of the baseball, then removed the parts of the ball that I didn’t want. After placing the number back with the baseball, I selected everything and united them into a single image.
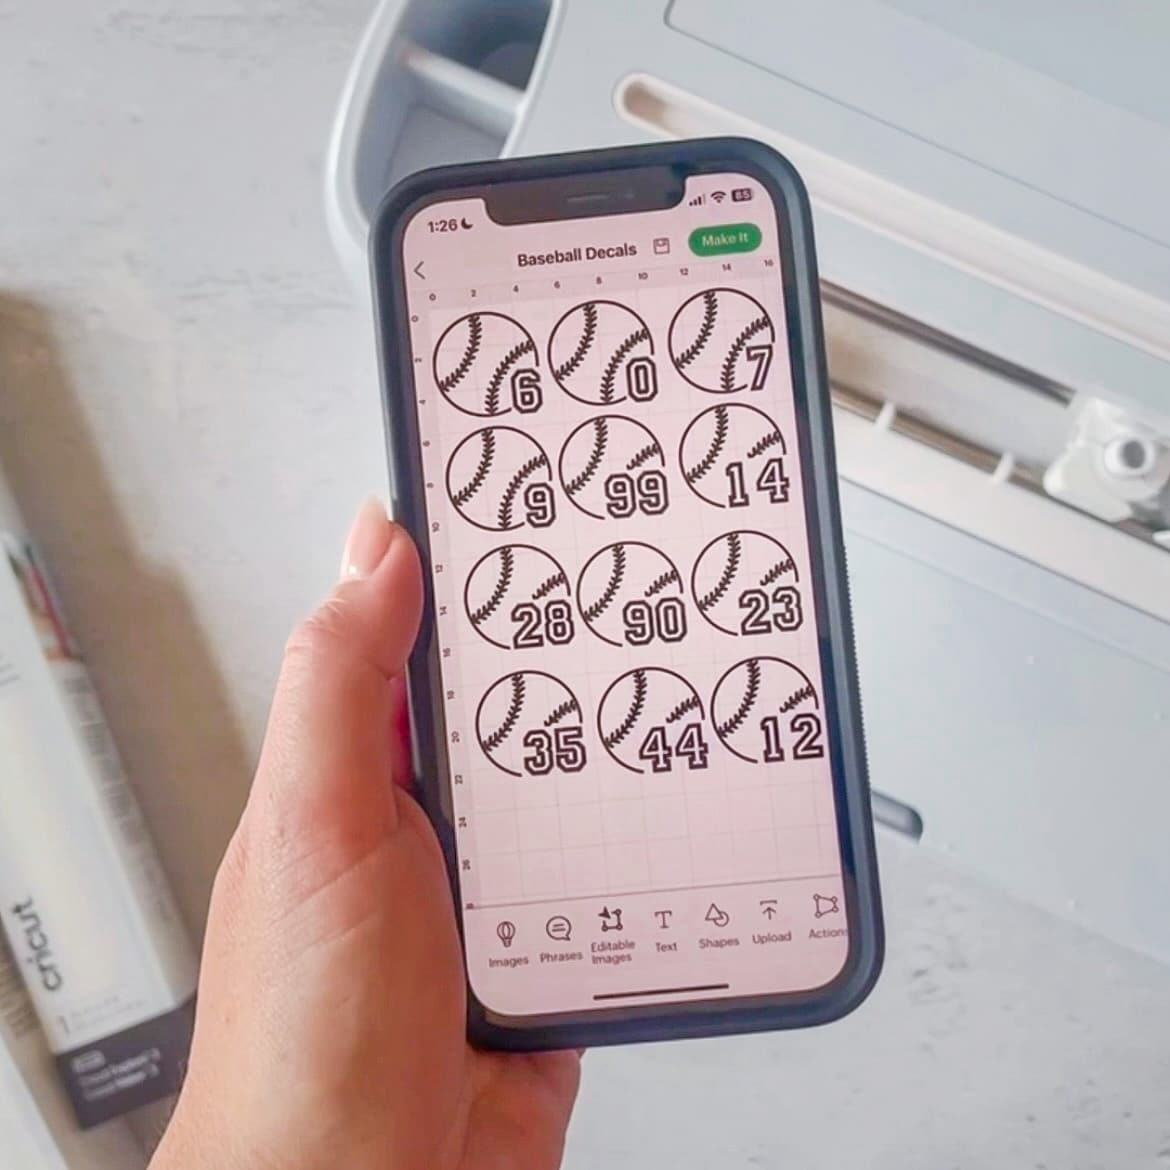
I duplicated the personalized baseball decal art to create a ball for each player’s number, then cut them with my Maker 3 – no mat needed since I’m using Smart Vinyl!
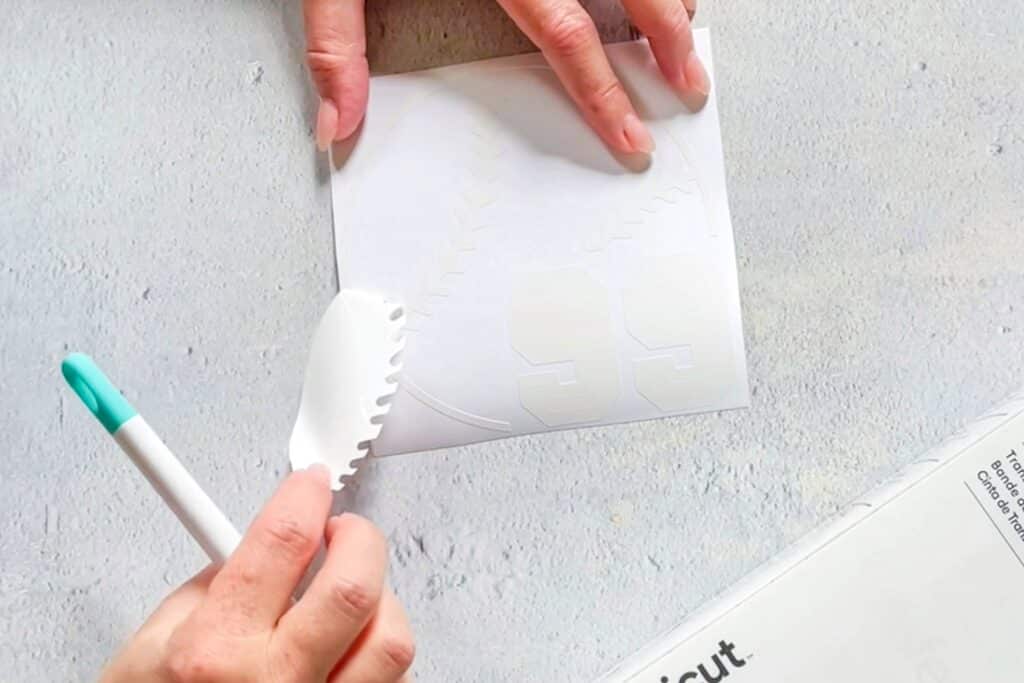
Weed the excess material from the artwork.
Add a square of transfer tape over each of the baseball window decals.
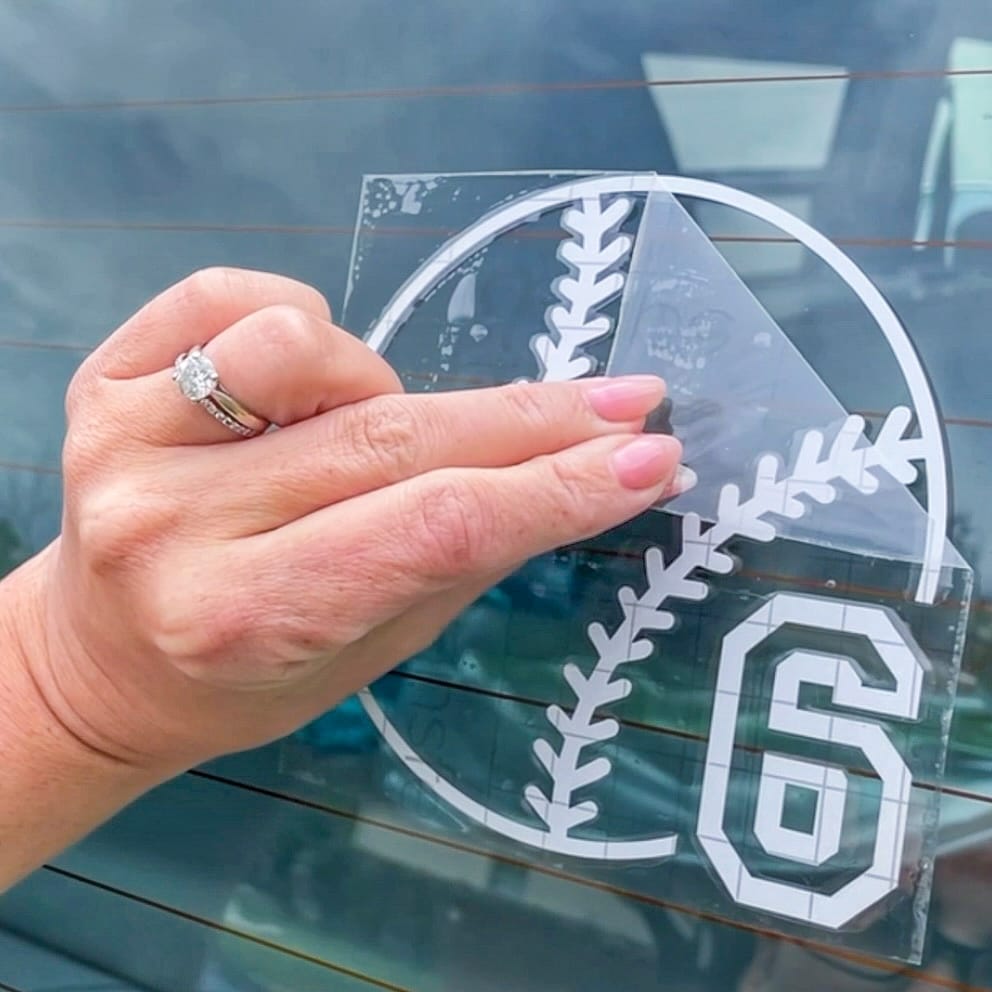
I left the backing on each of the baseball vinyl decals so that families could remove it themselves when ready to place the decal on their vehicle (or anywhere else they choose to display their personalized baseball decal).
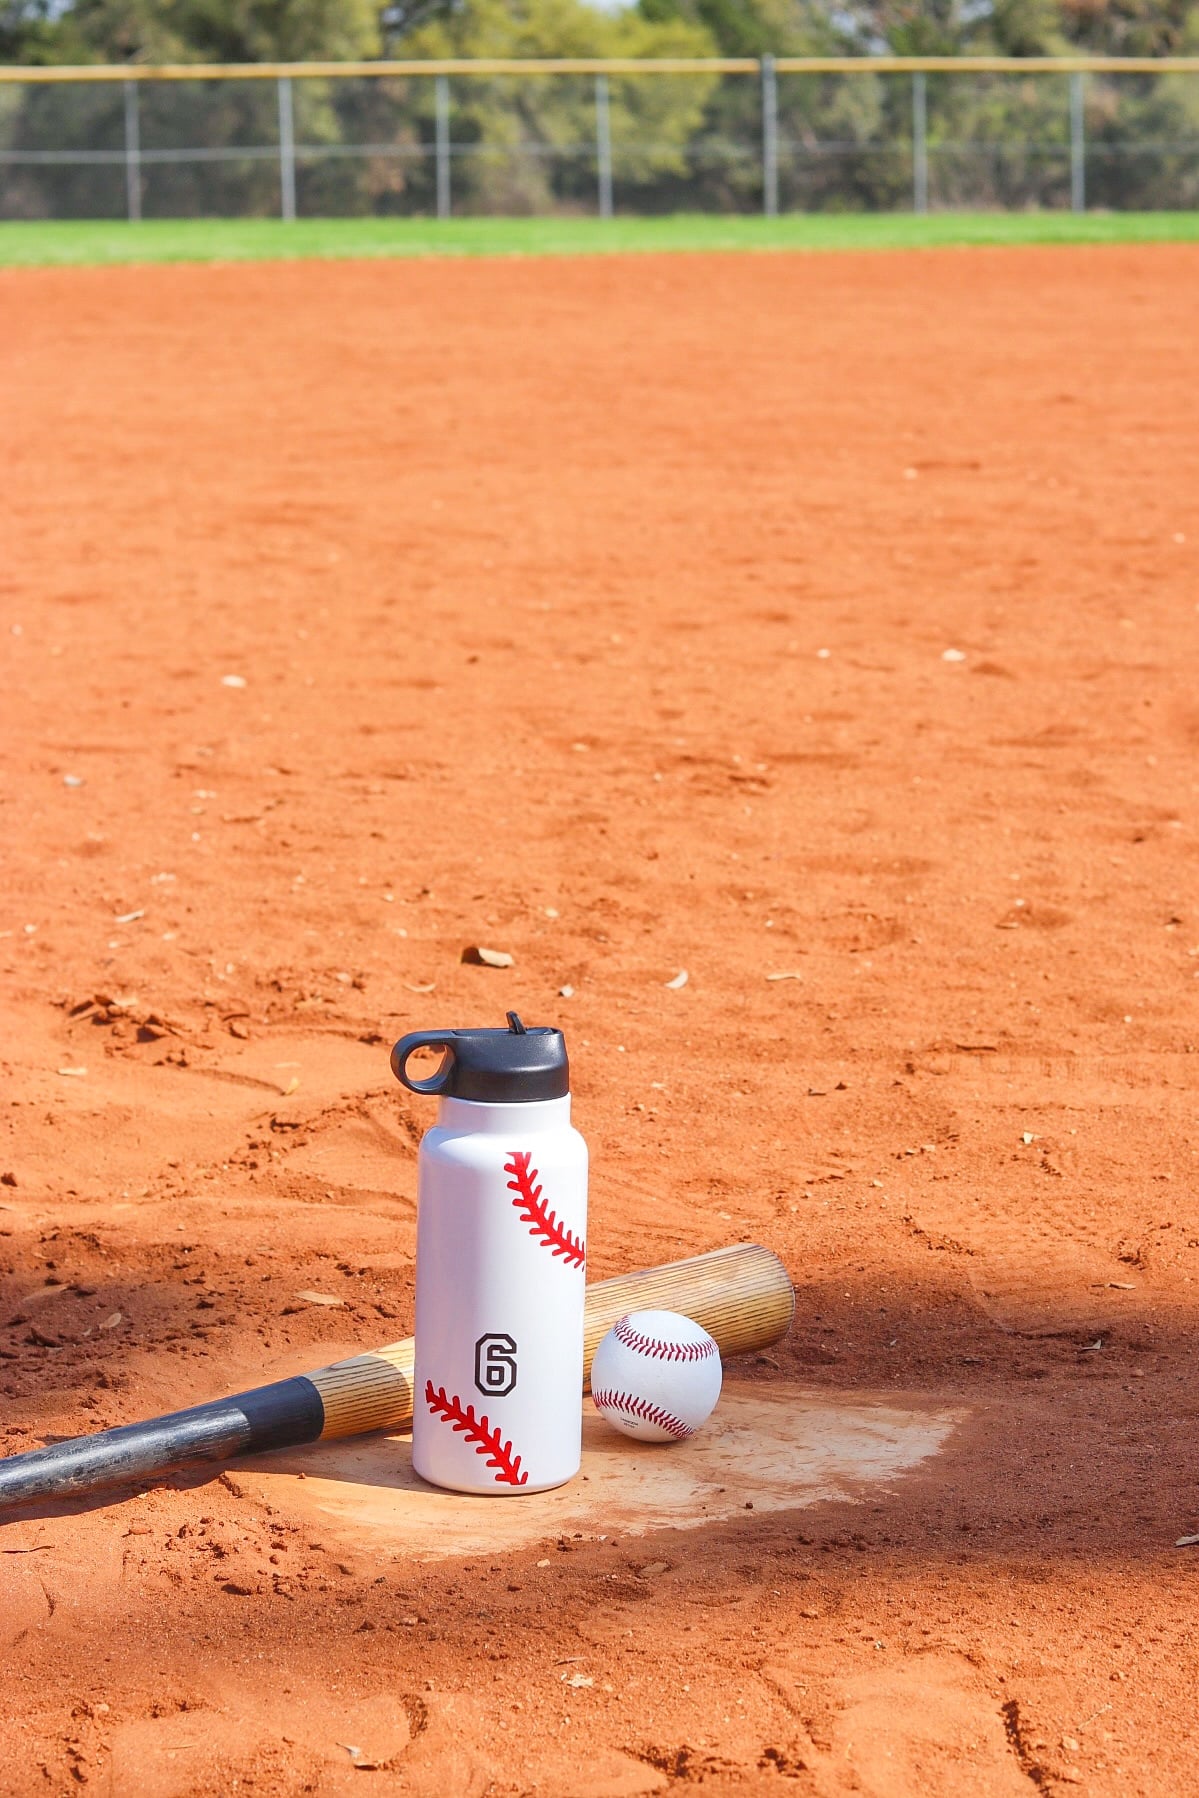
I’m so happy with how these baseball fan gifts came out and can’t wait to give them to our families! Be sure to save and share this if you’re looking for baseball family, baseball team, or baseball mom gift ideas!

Deanne Bellamy says
Hello. I love your ideas and videos. Can you tell me where to go to get the template for the baseball strings. I need them a bit bigger for a bucket. And what type vinyl do you suggest?
Thank you in advance.
Ramona Cruz-Peters says
The laces were from a design in the Cricut Design Space (“Baseball” #M45D028C9). Hopefully that info helps you find it, and that you’re able to manipulate the size for your needs! For a bucket, I’d recommend Permanent Vinyl or even the Premium Permanent Vinyl (as that one is meant to last well outdoors with wear and tear – that’s what I use for decals for our player’s baseball helmets too and it seems to hold up pretty well).