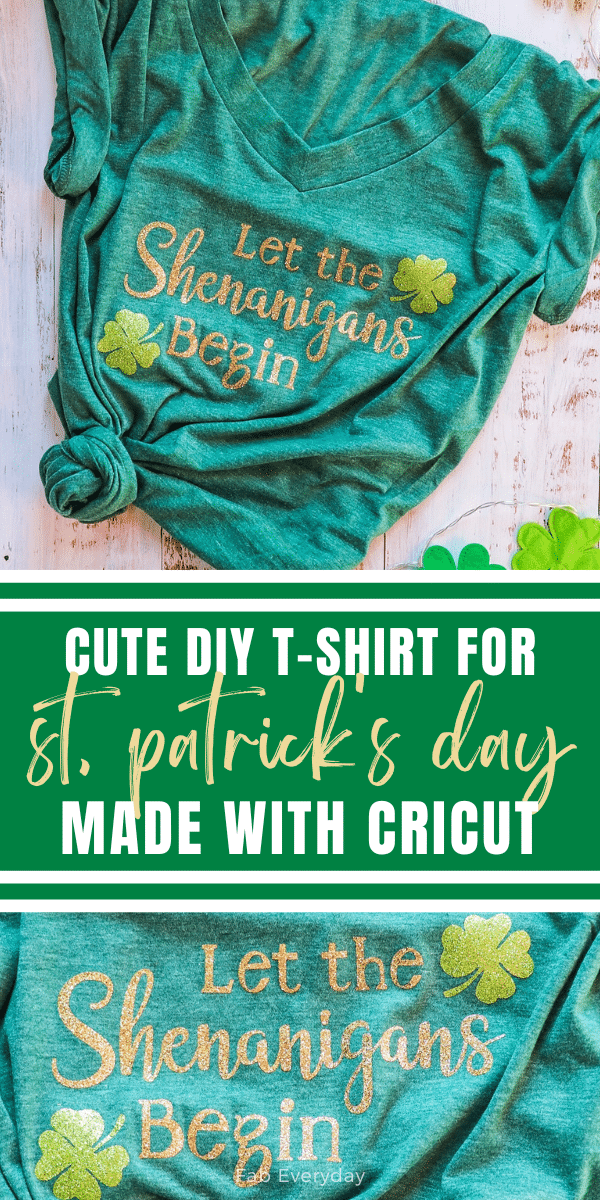
Looking for St. Patrick’s Day Cricut ideas or cool St. Patrick’s Day shirts? I’m sharing a step-by-step process for adding a custom St. Patrick’s Day design to a t-shirt using your Cricut and Cricut Smart Materials. Whether you’re a beginning crafter or newly gifted Cricut owner, or an expert maker, this St. Patrick’s Day shirt Cricut project is really easy to make thanks to Cricut’s latest generation of smart cutting machines and Smart Materials (they really have been a game changer for Cricut crafting). This ‘let the shenanigans begin’ shirt is an easy DIY St. Patrick’s Day shirt. I made it with a ladies’ t-shirt because I wanted cute women’s St. Patrick’s Day shirts, but the design would work on men’s or unisex shirts, too. Here’s everything you’ll need to make this Cricut St. Patrick’s Day shirt!
Disclosure: This post contains some affiliate links, which means that if you click on one of the product links and make a purchase, I may receive a commission. This does not cost you anything additional, and helps me to keep the rest of my content free, so thank you!
More St. Patrick’s Day ideas like this DIY St. Patrick’s Day shirt
- St. Patrick’s Day Snacks for Kids: Easy, Kid-Friendly St. Patrick’s Day Dessert Ideas
- St. Patrick’s Day Snack Board (St. Patrick’s Day treats for kids)
- St. Patrick’s Day Lucky Charms Treats
- Mint Swirl Shamrock Brownies
- Shamrock Cupcakes (St. Patrick’s Day Cupcakes)
- Dublin Kiss shot recipe for St. Patrick’s Day (with Jameson and Baileys)
- Spiked Mint Chocolate Pudding Parfaits (boozy St. Patrick’s Day desserts)
- Instant Pot Irish Stout Beef Stew (or try this Vegetarian Instant Pot Irish Stout Stew)
What you need to make cool St. Patrick’s Day shirts and other St. Patrick’s Day Cricut ideas
To make this DIY St. Patrick’s Day shirt, you’ll need the following materials:
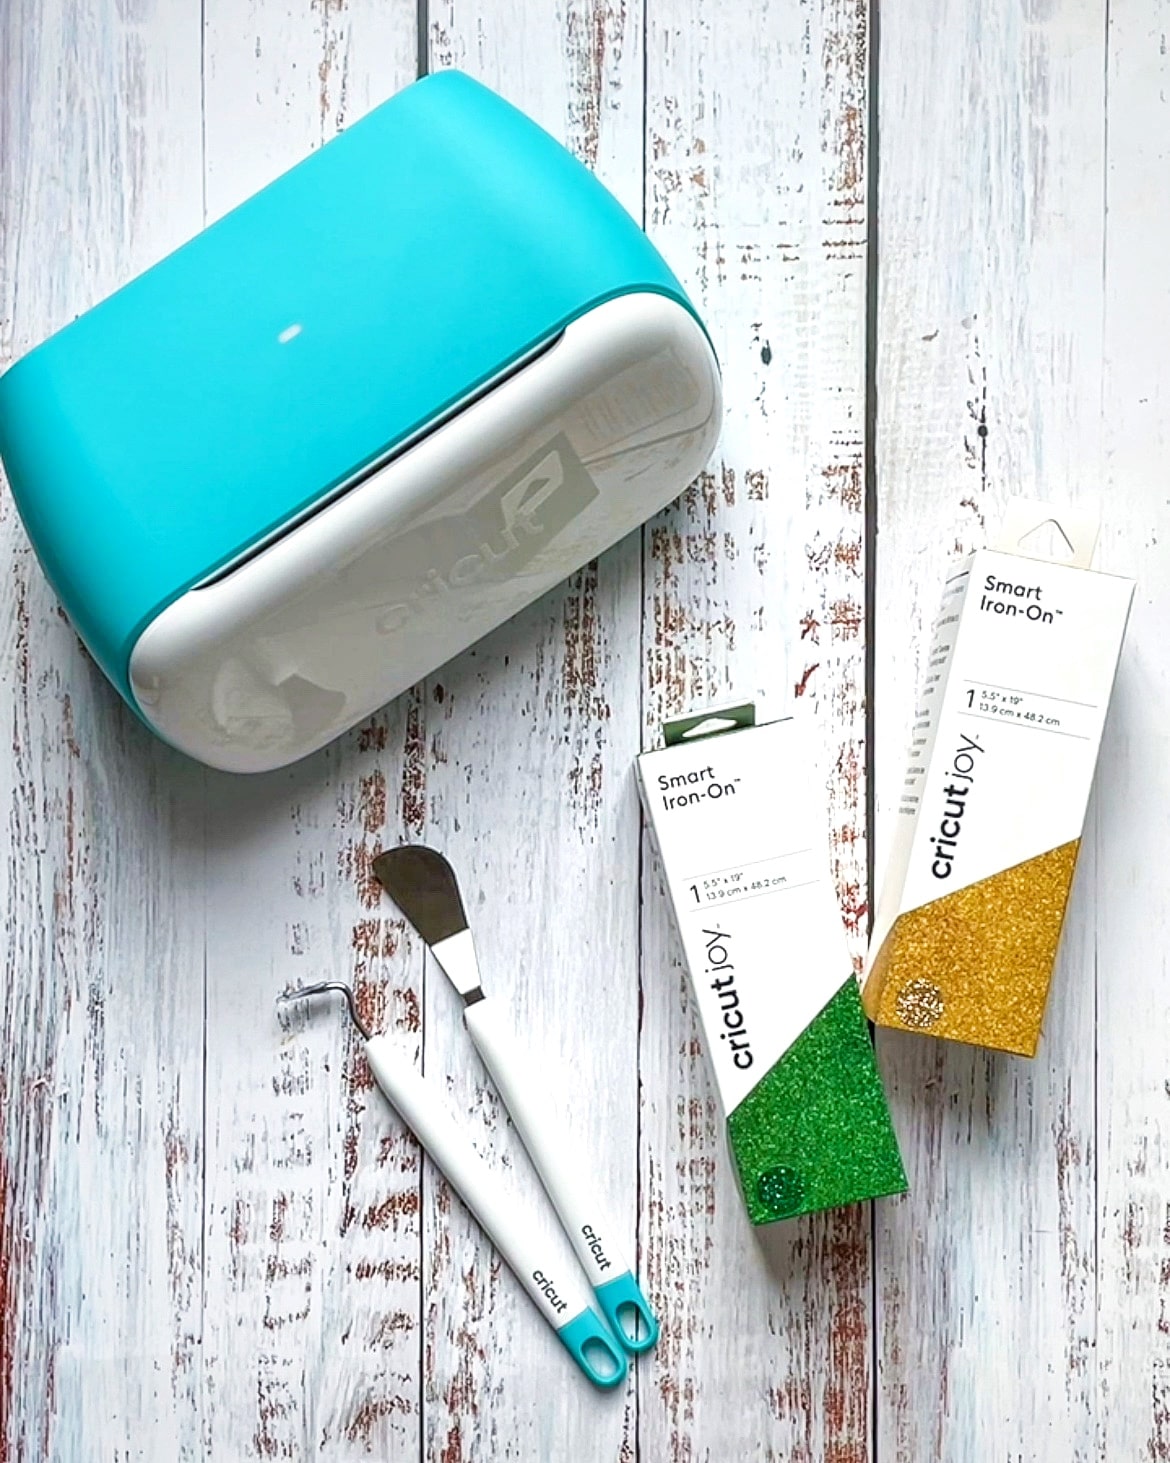
- Cricut Joy cutting machine (this St. Patrick’s Day Cricut project will also work with Cricut Maker 3 and compatible Maker 3 Smart Materials)
- Cricut Joy Smart Iron-On Glitter, Gold
- Cricut Joy Smart Iron-On Glitter, Green-Apple
- Cricut weeding tools
- Green T-shirt
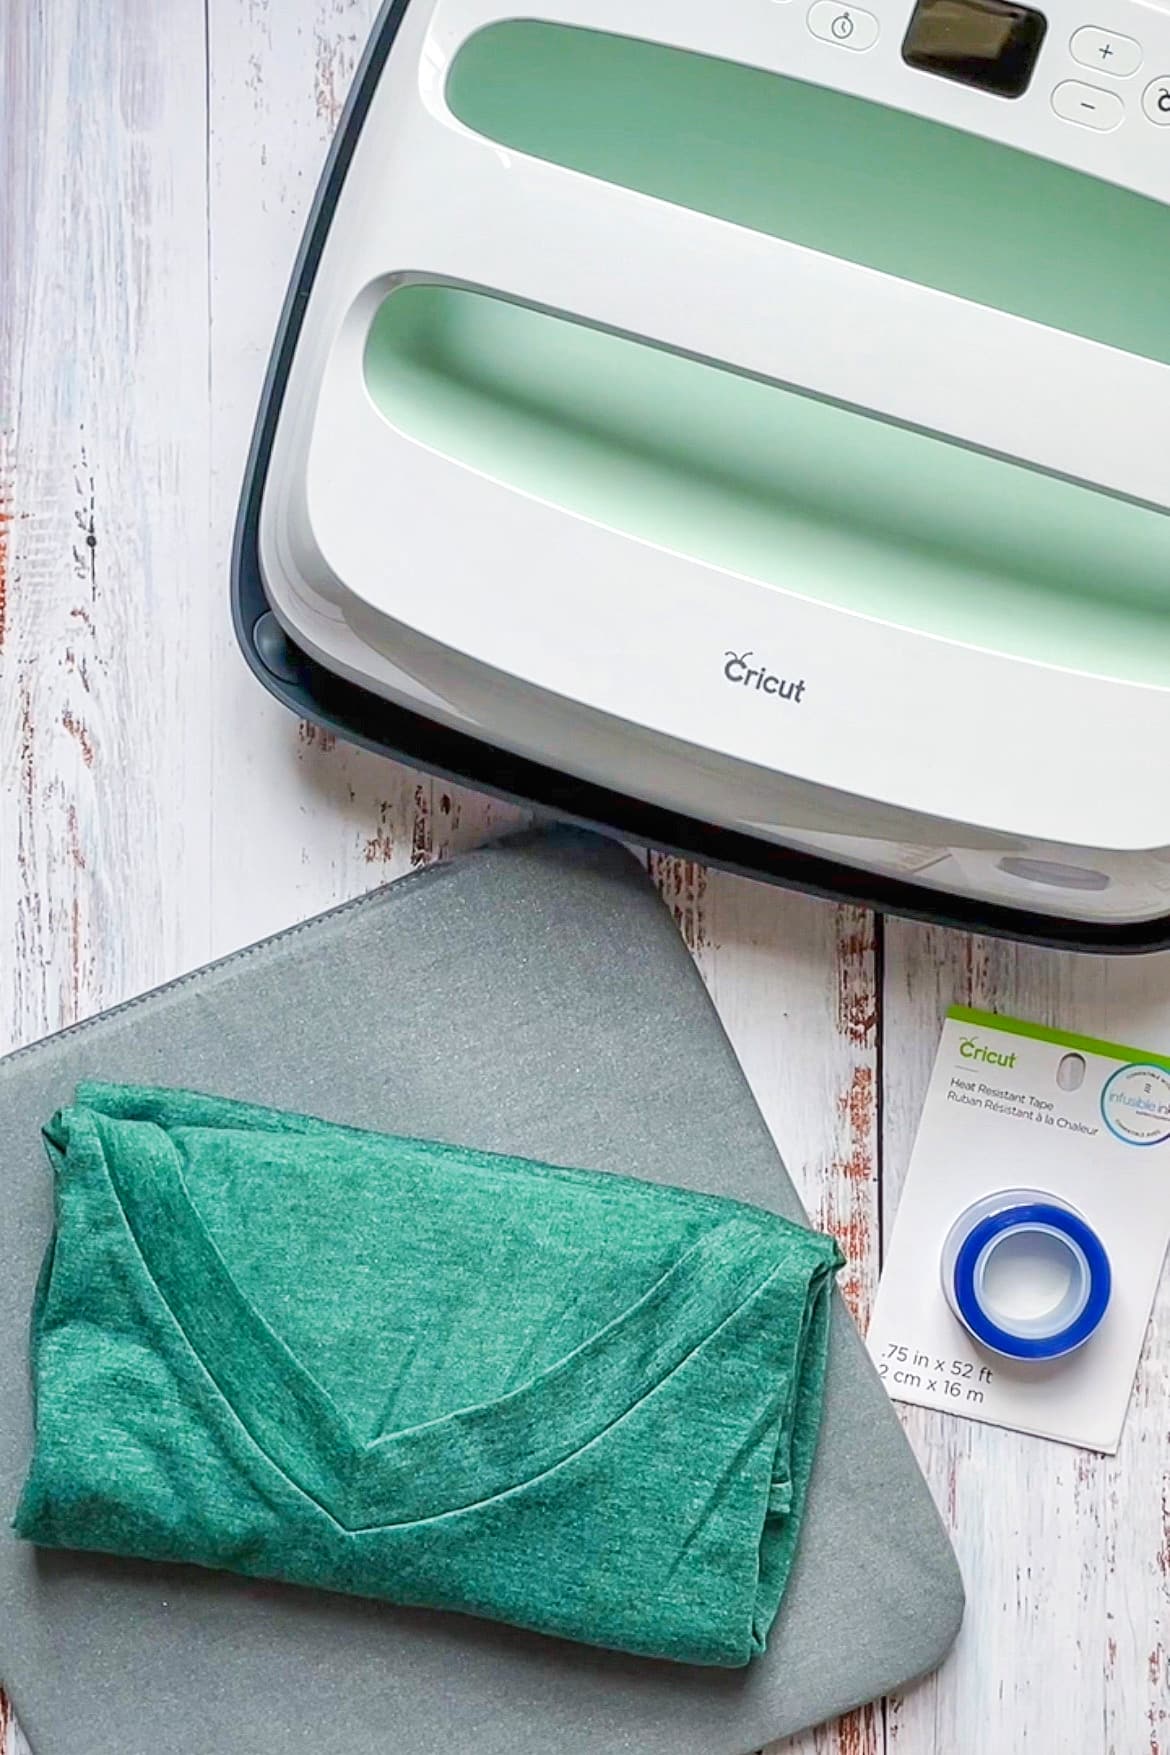
- Cricut EasyPress (I used the 12″x10″ size)
- Cricut EasyPress Mat
- Optional: Cricut Heat Resistant Tape
Instructions for making a ‘let the shenanigans begin’ shirt (and other cute women’s St. Patrick’s Day shirts like it)
Here are the detailed instructions for how to make these cool St. Patrick’s Day shirts with your Cricut. If you’d like to see a video of these steps, you can watch how to make this Cricut St. Patrick’s Day shirt in this Pinterest Idea Pin.
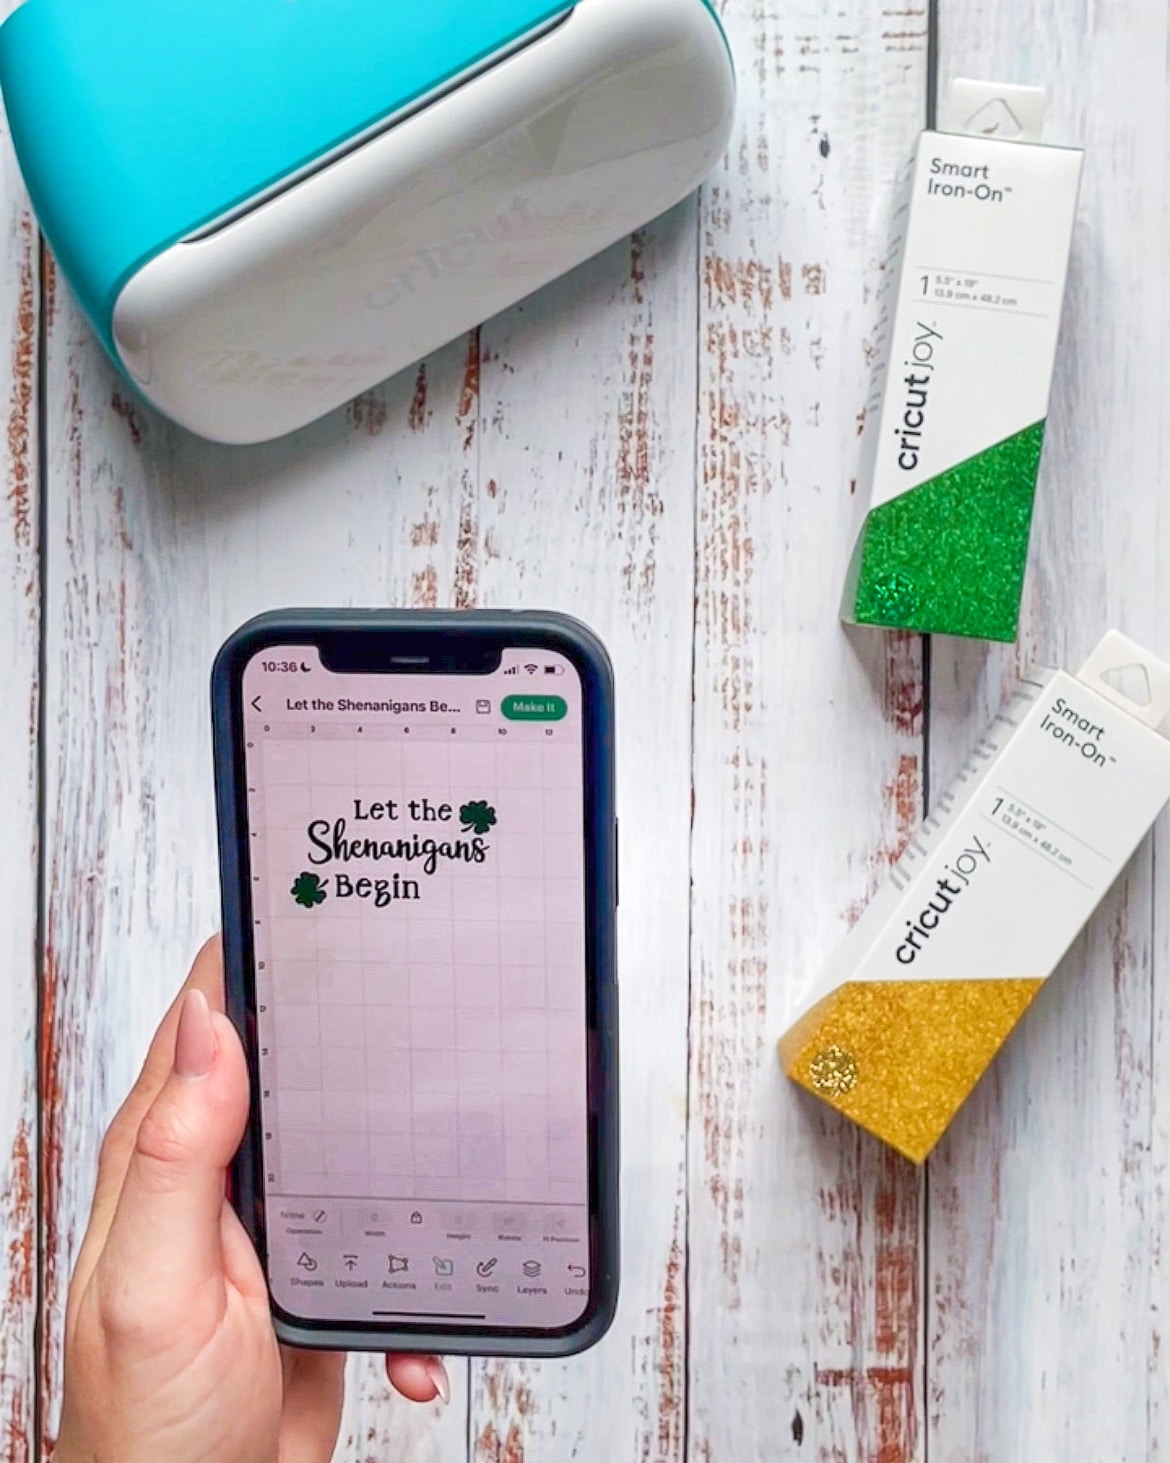
- Design your “Let the Shenanigans Begin” shirt art in the Cricut Design Space app. I used the font “A Child’s Year” for the words “Let the” and “Begin,” and the font “Annie Leu” for the word “Shenanigans.” I added a few shamrock images from the Cricut Design Space library. After arranging the art, select all of it then Group them together. Resize the design to your desired width to fit nicely on the front of your shirt.
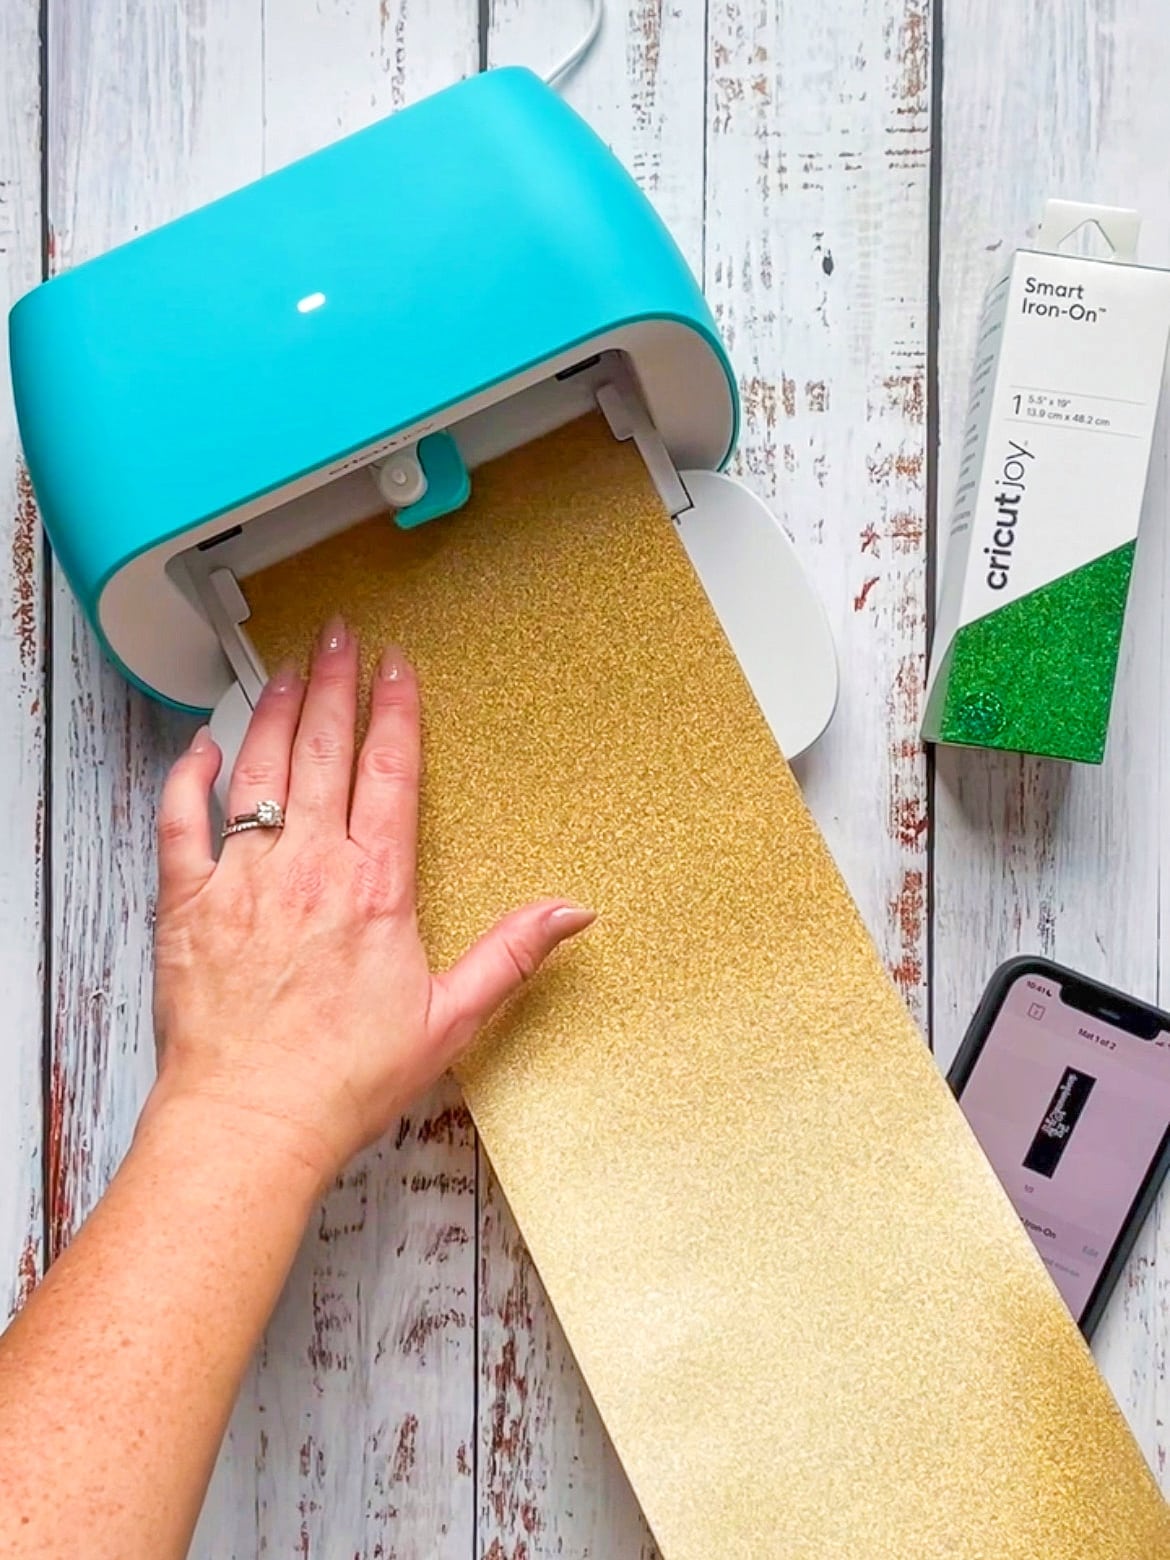
- Follow the instructions on your app and Cricut Joy to “Make It,” choosing Without Mat (since you’re using Smart Materials), turning Mirror on (since you’re using iron-on material), then selecting Cricut Smart Iron-On Glitter as the material, followed by the appropriate size. Load the material into the Cricut Joy shiny side down. Cut the text in gold and the shamrocks in green.
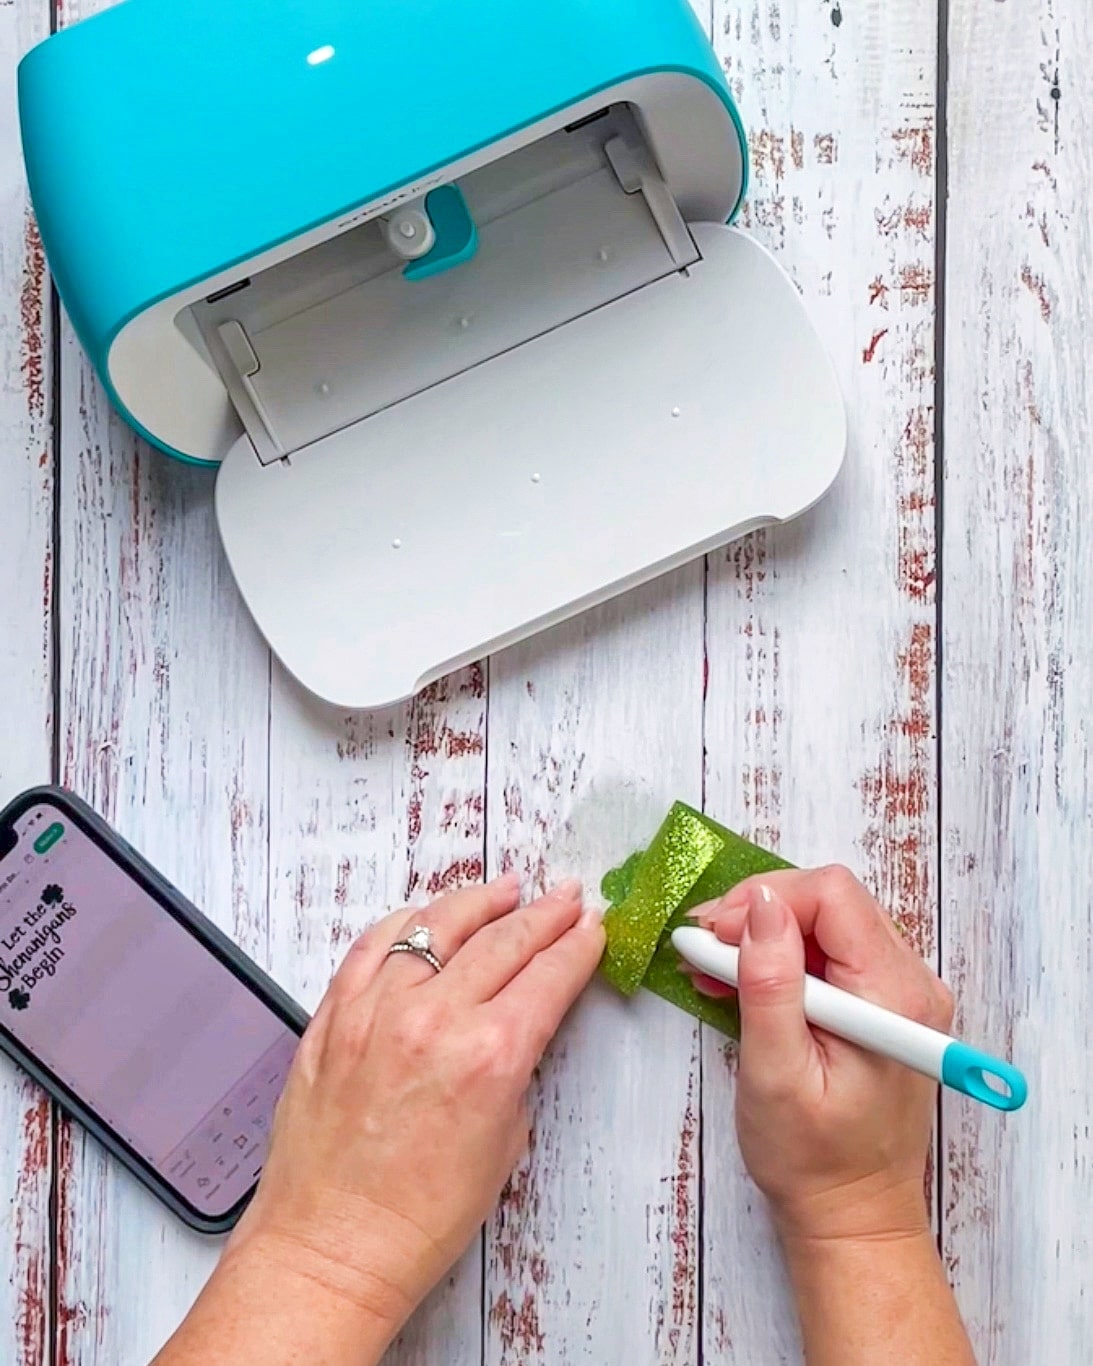
- Use your weeding tools to remove the excess iron-on material, leaving just the mirrored letters and artwork on the clear plastic backing.
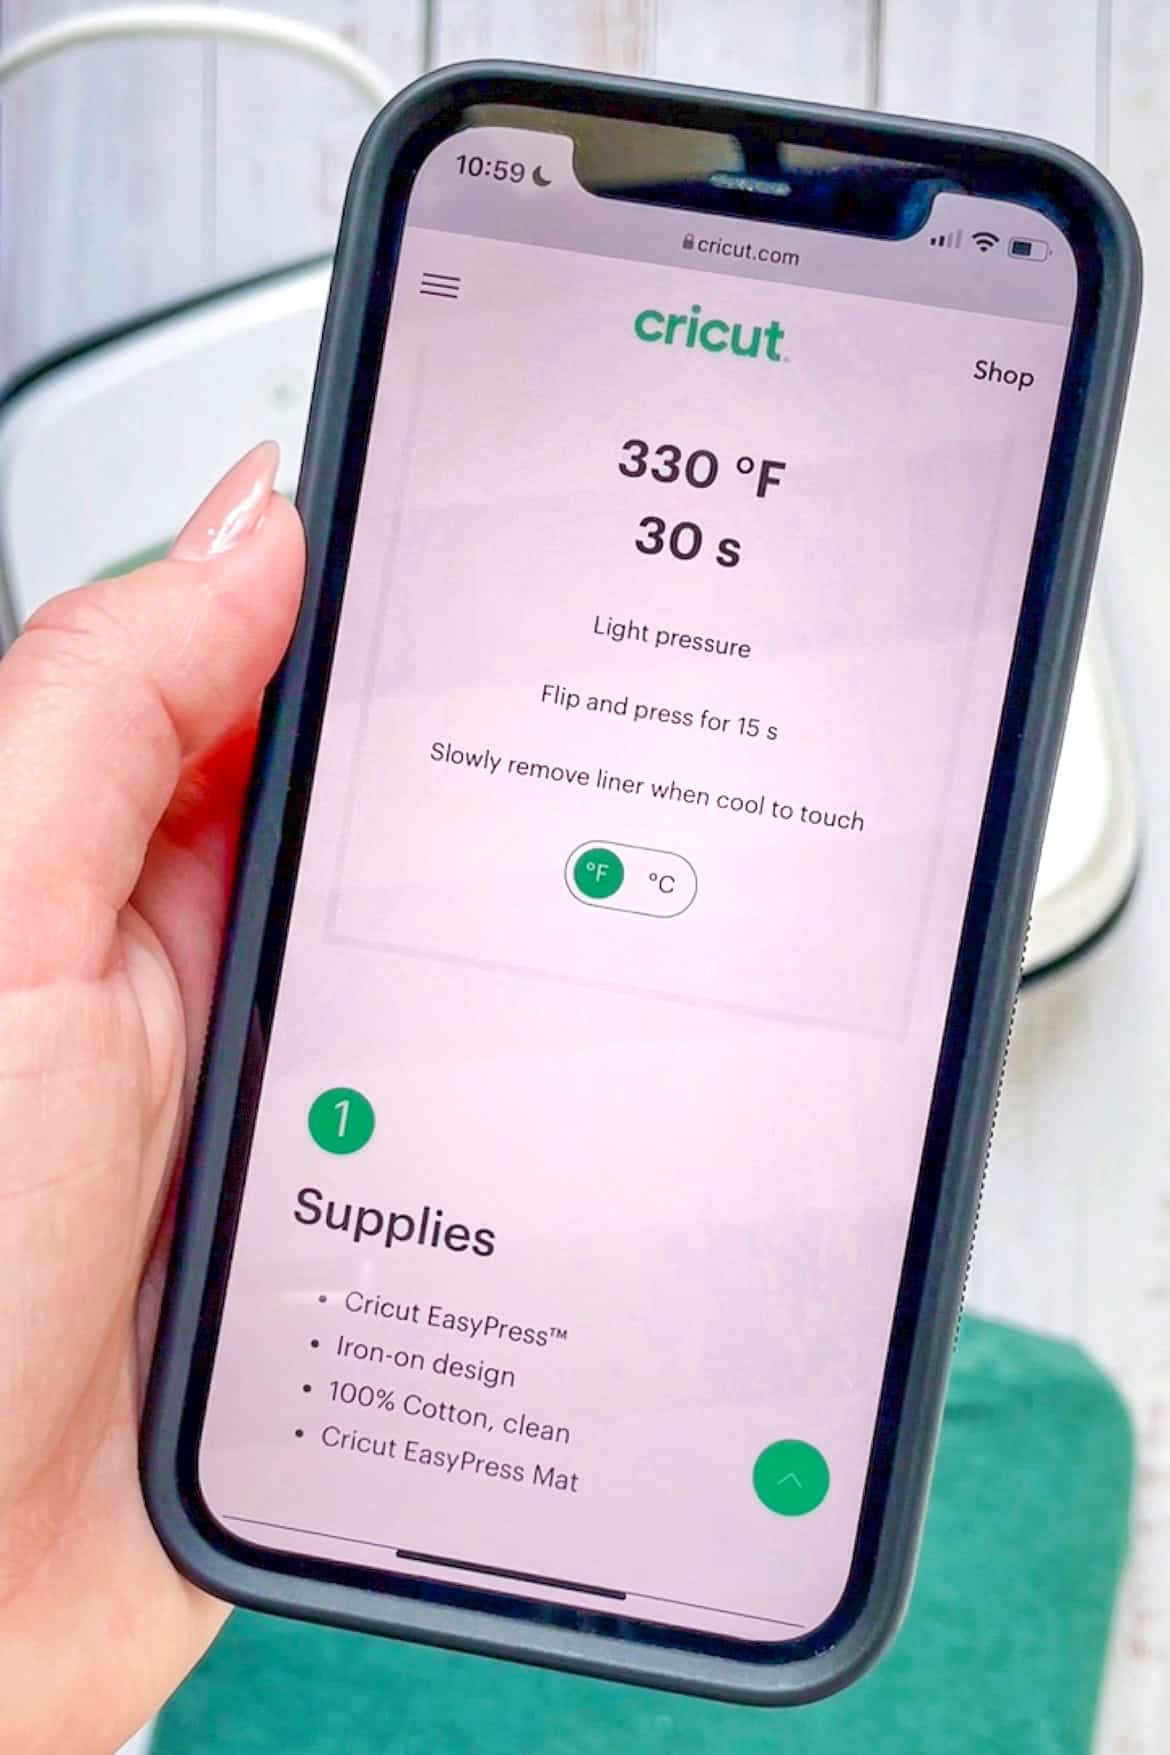
- Place the shirt on the Cricut EasyPress Mat. Heat the EasyPress to 330 degrees F and set the timer to 30 seconds. Before adding the iron-on material, pre-heat the shirt by pressing the hot EasyPress onto the shirt for 30 seconds.
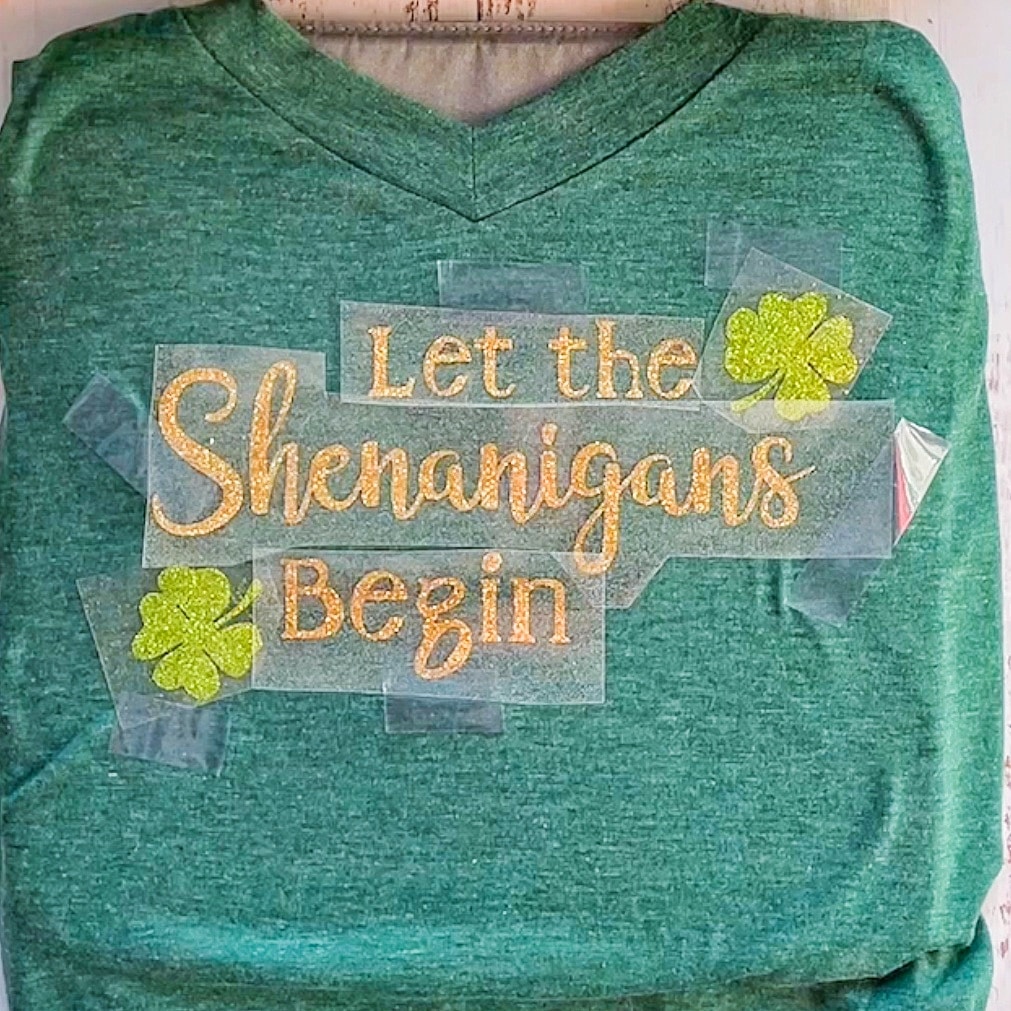
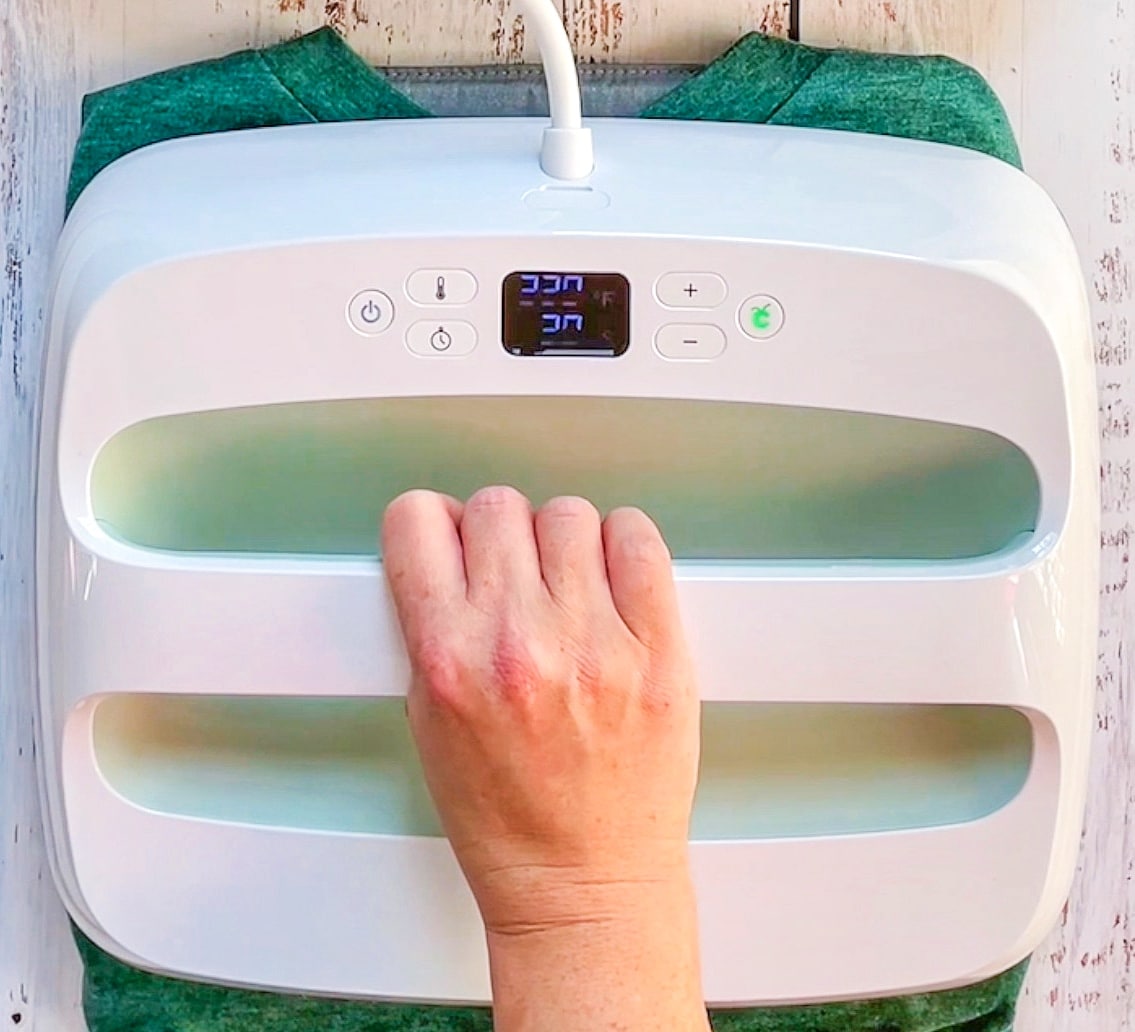
- Arrange the let the shenanigans begin shirt art, clear plastic side up, on the shirt. Use Cricut Heat Resistant Tape to secure the design in place. Place the EasyPress over the art and press lightly for 30 seconds. Carefully turn the shirt inside out and place it back onto the mat. Set the EasyPress timer to 15 seconds, and press down on the back side of the shirt art for 15 seconds.
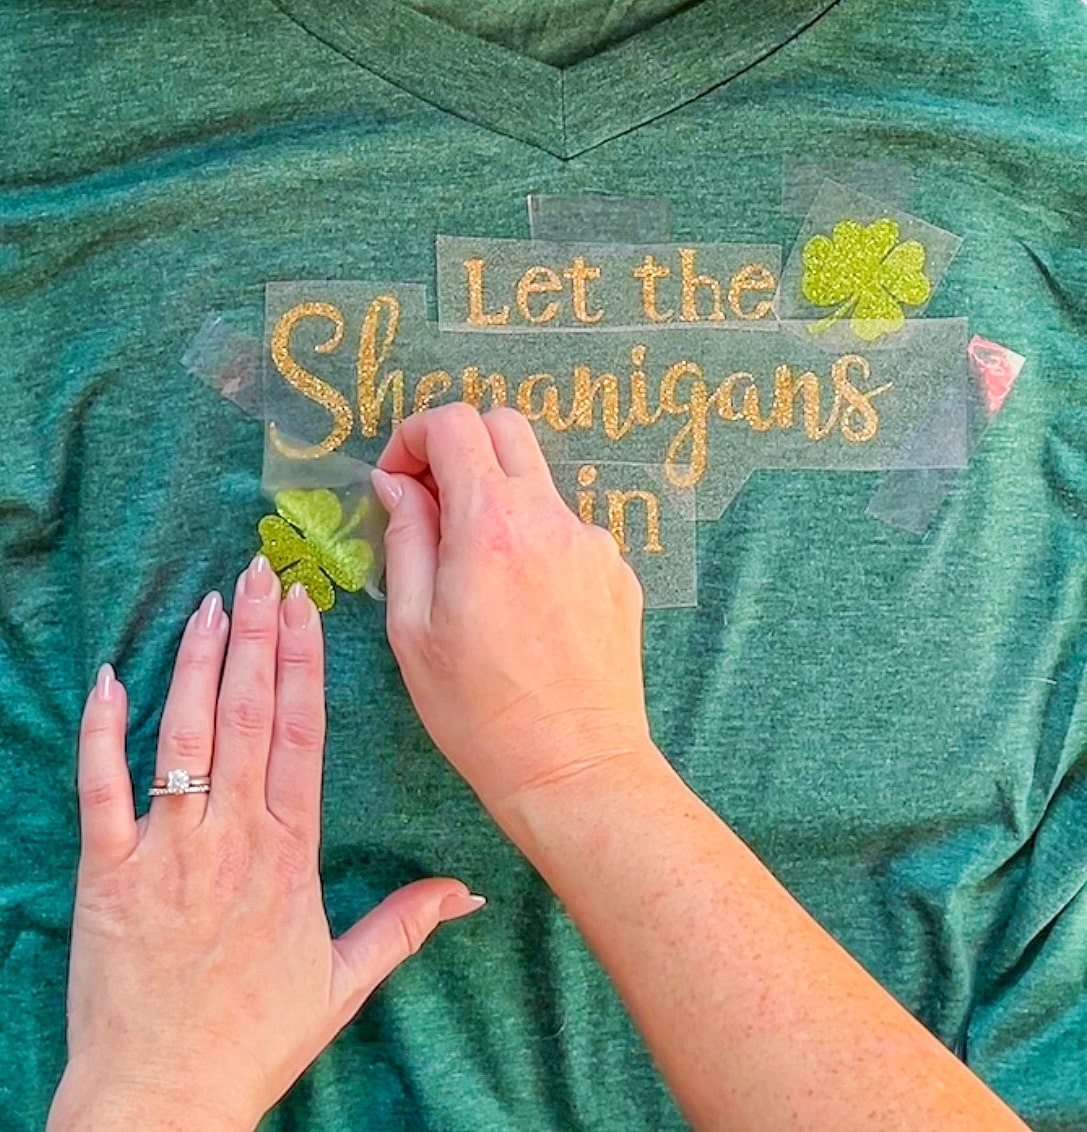
- When the art is cool to the touch, slowly remove the clear plastic liner from your DIY St. Patrick’s shirt.

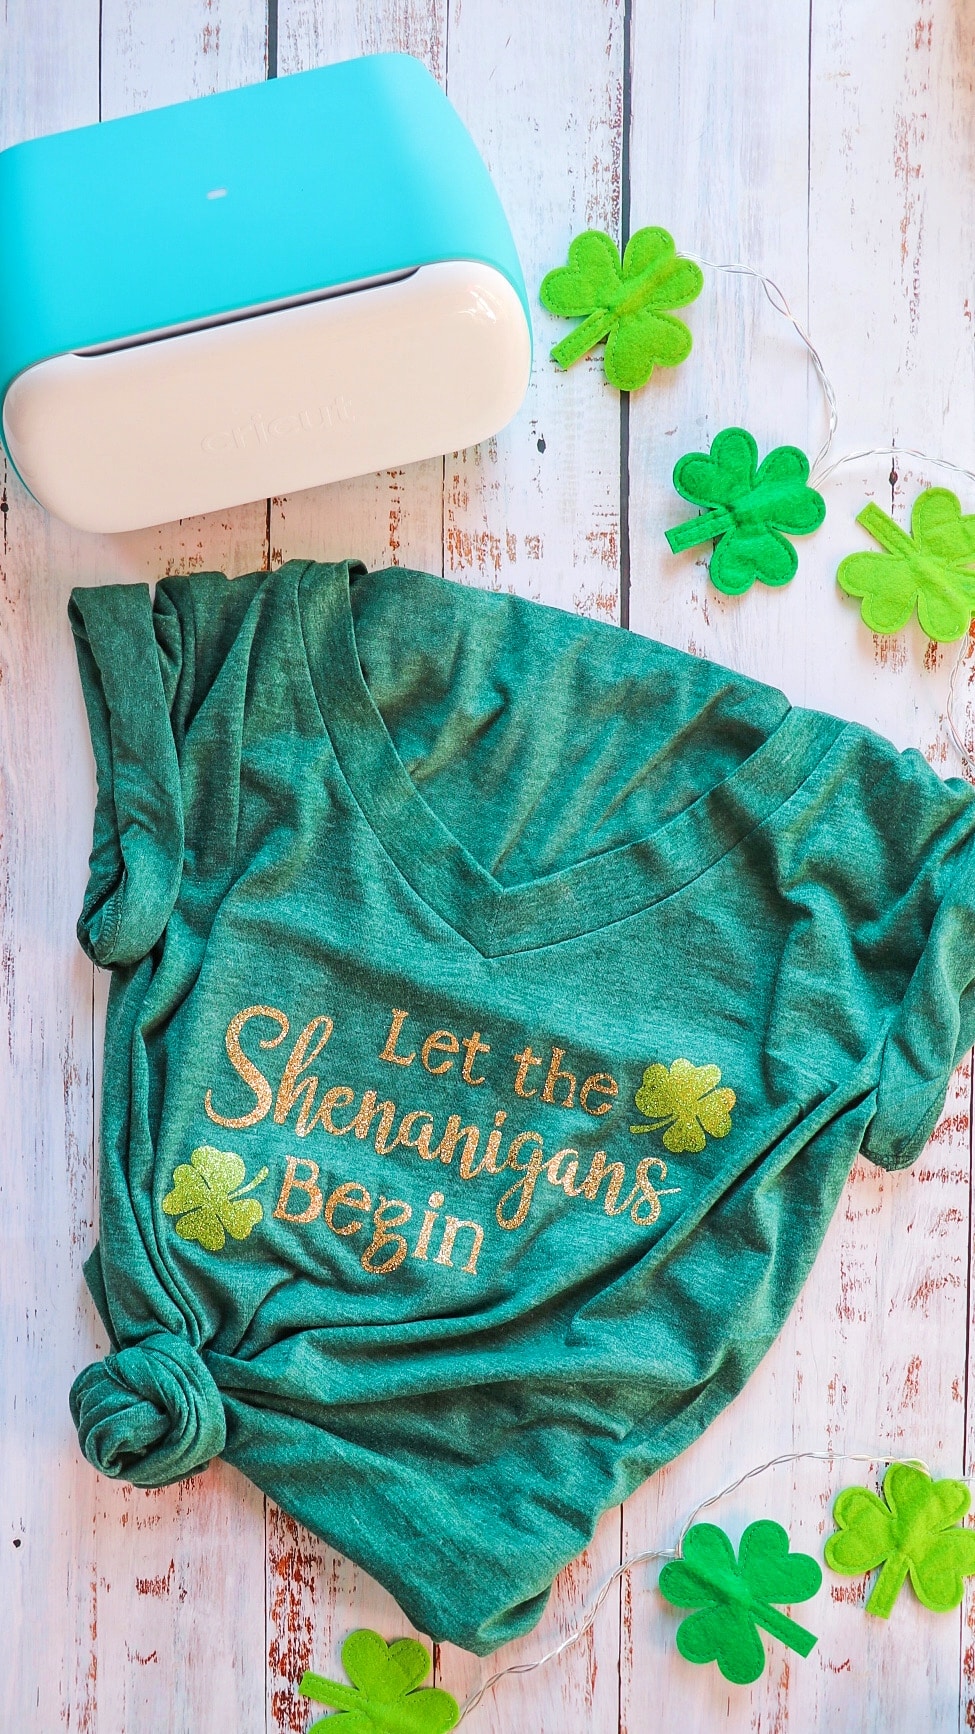
I love how this DIY St. Patrick’s Day shirt came out! If you’re looking for cute women’s St. Patrick’s Day shirts, this is a fun and easy one to make.
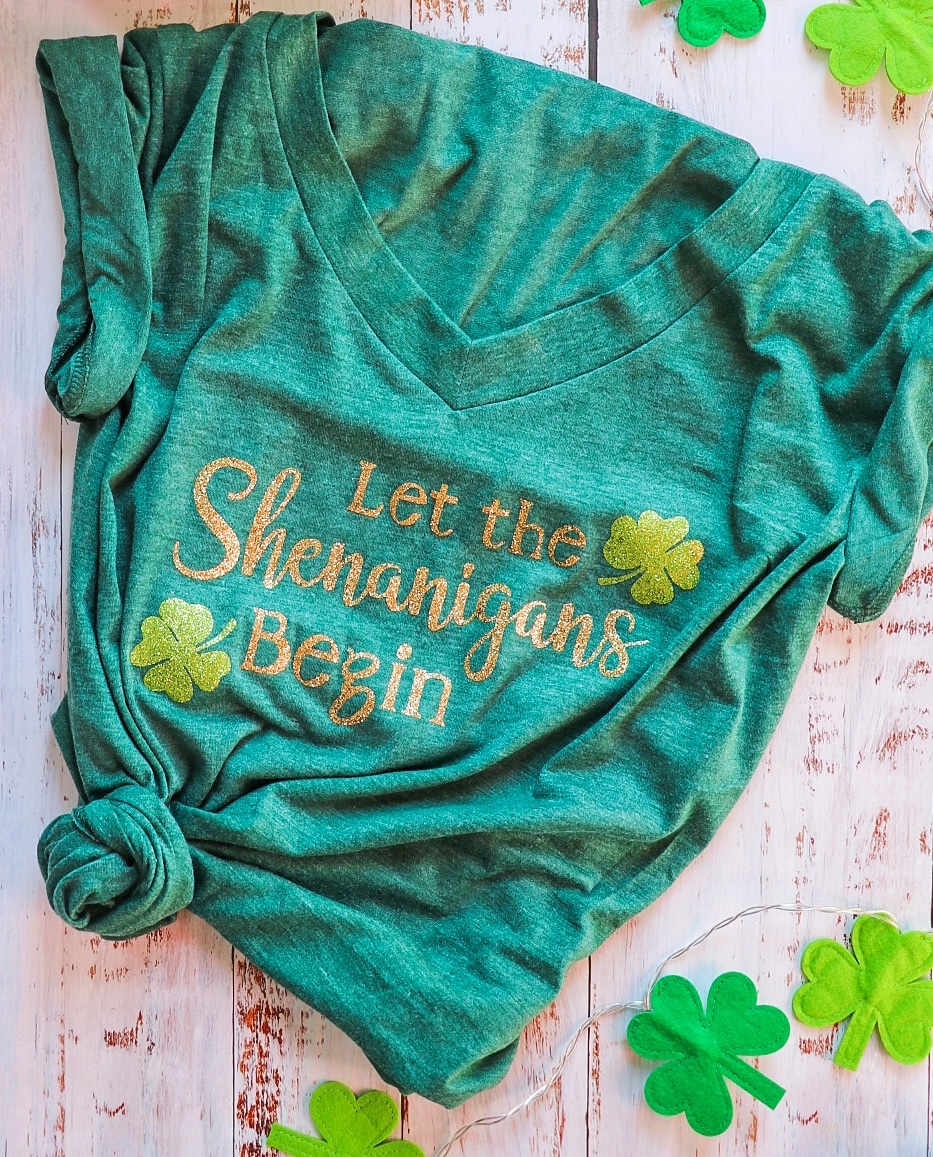
This is one of my favorite St. Patrick’s Day Cricut ideas, and I can see myself wearing this let the shenanigans begin shirt every year for St. Paddy’s Day. If you make your own DIY St. Patrick’s Day shirt, I’d love to see it! Tag me @fabeveryday on social media to show off your work!

Leave a Reply