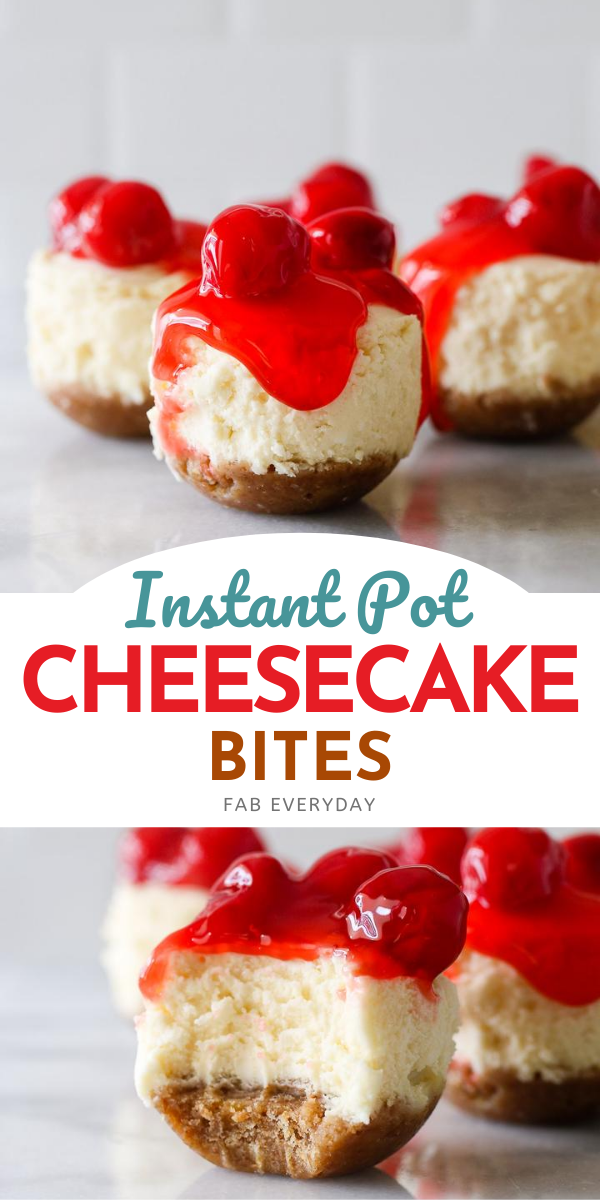
Cheesecake is unbelievably easy to make in the pressure cooker. Not only does it cook quickly, but it cooks perfectly in the moist, high-pressure environment without the frequent monitoring required for oven-baked cheesecakes. These Instant Pot mini cheesecake bites are prepared in an Instant Pot silicone egg bite mold to make the perfect serving size. Also great for single serving party desserts, you can top these Instant Pot cheesecake bites with cherry pie filling like the recipe states, with blueberry topping, strawberries, or eat them just as they are. You’ll want to pin this one if you’re looking for Instant Pot silicone mold recipes. Want more recipes like these cheesecake bites in the Instant Pot? Try my Instant Pot Cinnamon Roll Cheesecake Bites and check out my Instant Pot archive.
I’ve got the full Instant Pot Mini Cheesecake Bites recipe at the bottom of this post (click the Jump to Recipe button above to go straight to it), but first I’ll share recommended tools, tips, and step-by-step instructions and pictures to help you make this and other Instant Pot dessert recipes to perfection.

For more quick and easy Instant Pot recipes like this, you’ll love my new cookbook, 30-Minute Instant Pot Cookbook! Get your copy now!
More Instant Pot silicone mold recipes
- Bacon and Gruyere Instant Pot Egg Bites recipe
- Sun-Dried Tomato, Spinach, and Feta Instant Pot Egg Bites
- Instant Pot Pumpkin Spice Donut Holes
- Instant Pot Mini Funfetti Cupcakes
- Instant Pot Cinnamon Roll Cheesecake Bites (mini cinnamon roll cheesecakes)
- Instant Pot Bacon Mini Meatloaf recipe
- Instant Pot Cornbread Muffins
- Instant Pot Brownie Bites
Tools needed to make Instant Pot cheesecake bites
Disclosure: This post contains some affiliate links, which means that if you click on one of the product links and make a purchase, I may receive a commission. This does not cost you anything additional, and helps me to keep the rest of my content free, so thank you!
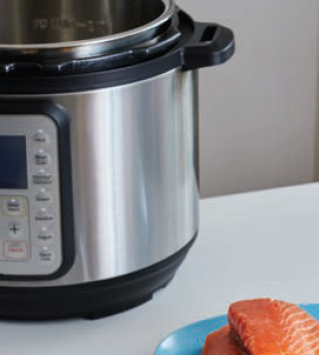
Electric or stovetop pressure cooker. I own the Instant Pot DUO Plus 6-Quart 9-in-1 pot, which works out great for my family of four.
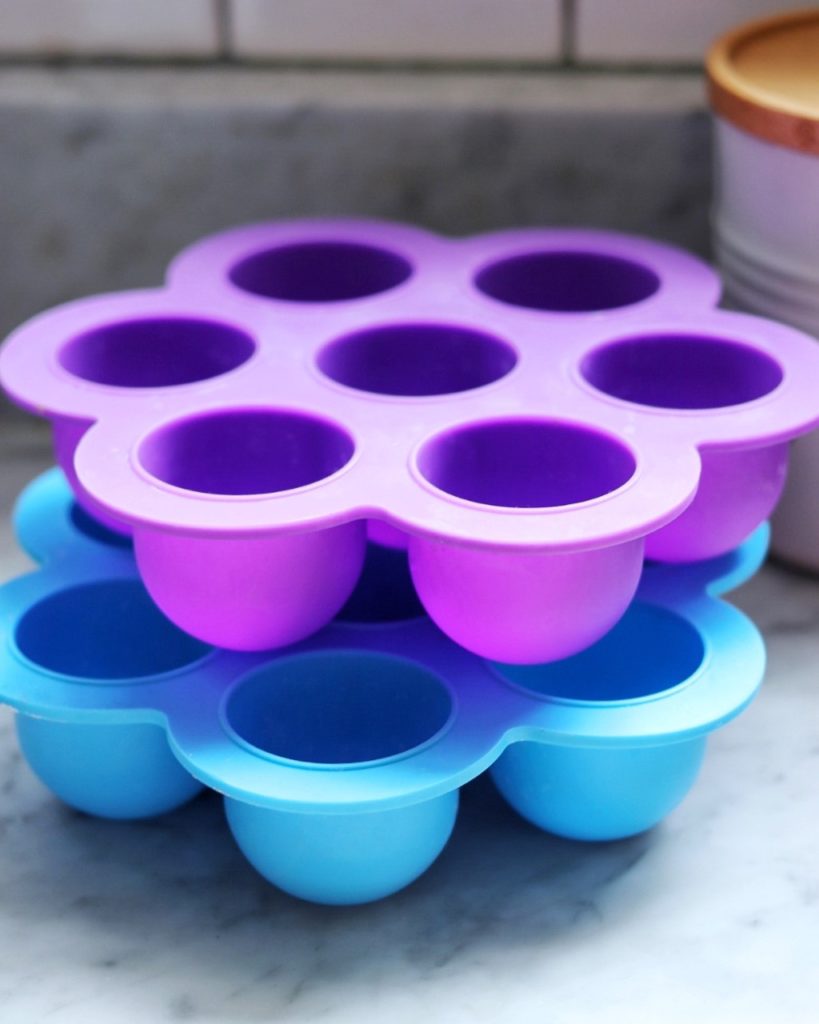
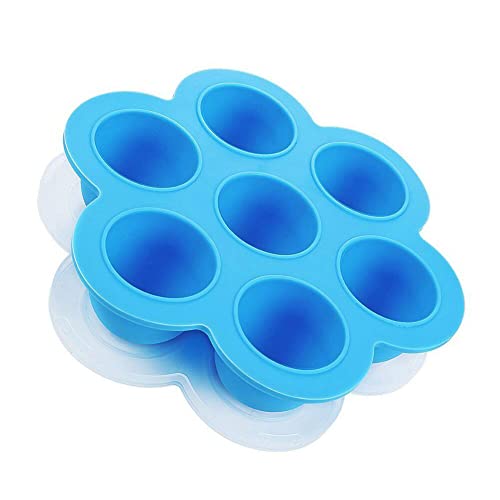
Silicone egg bites mold. The Instant Pot makes amazing breakfasts that are also super convenient for making in advance to save time on busy mornings. Egg bite molds are one of the best accessories for your Instant Pot, and not just for making copycat Starbucks sous-vide egg bites; you can also use them for making muffins and other recipes with individual-size portions (like today’s Instant Pot Mini Cheesecake Bites).

Optional: Bakeware sling. This is my second favorite Instant Pot accessory, and it gets used almost daily. While your pot likely came with a steamer rack trivet, this sling acts as both a trivet and a convenient way to lower and raise food into and out of the pot.
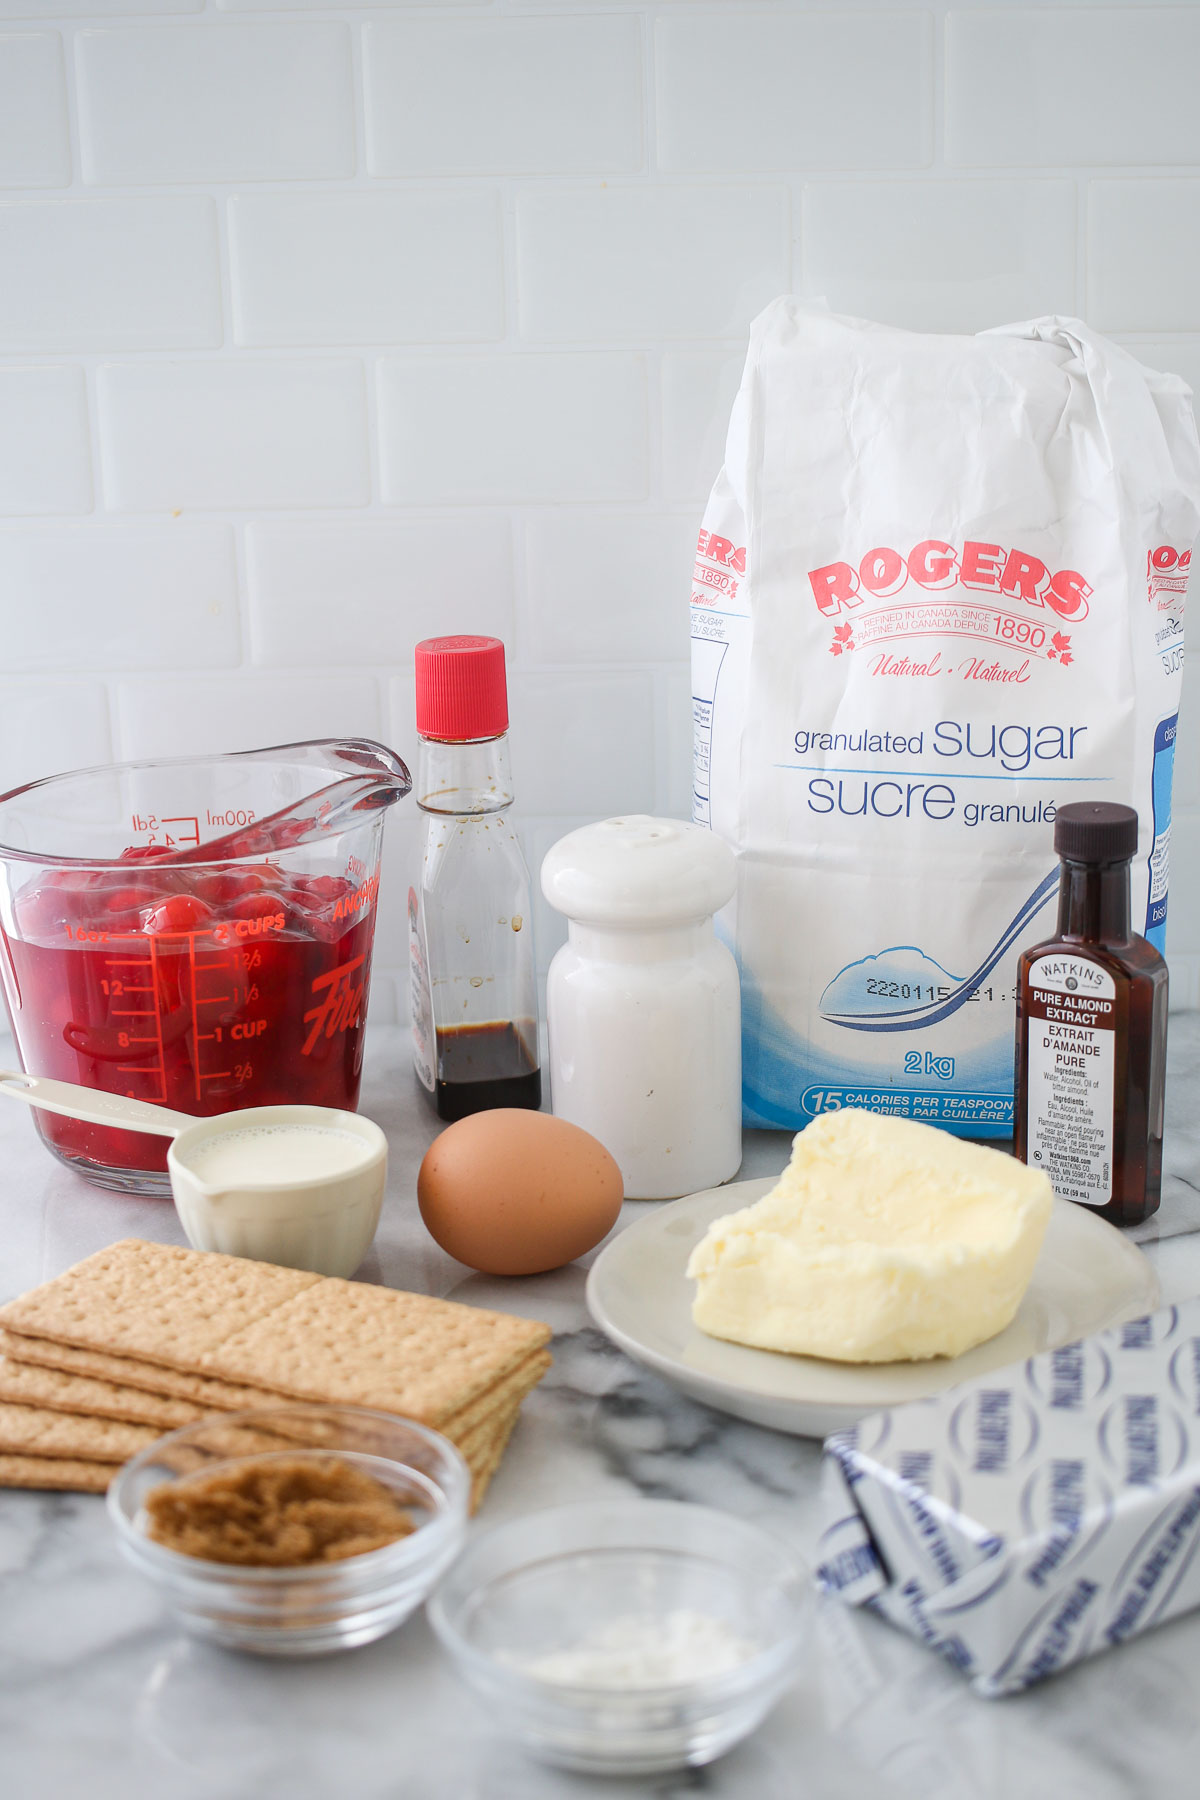
Instant Pot mini cheesecake ingredients
How to make Instant Pot mini cheesecake bites
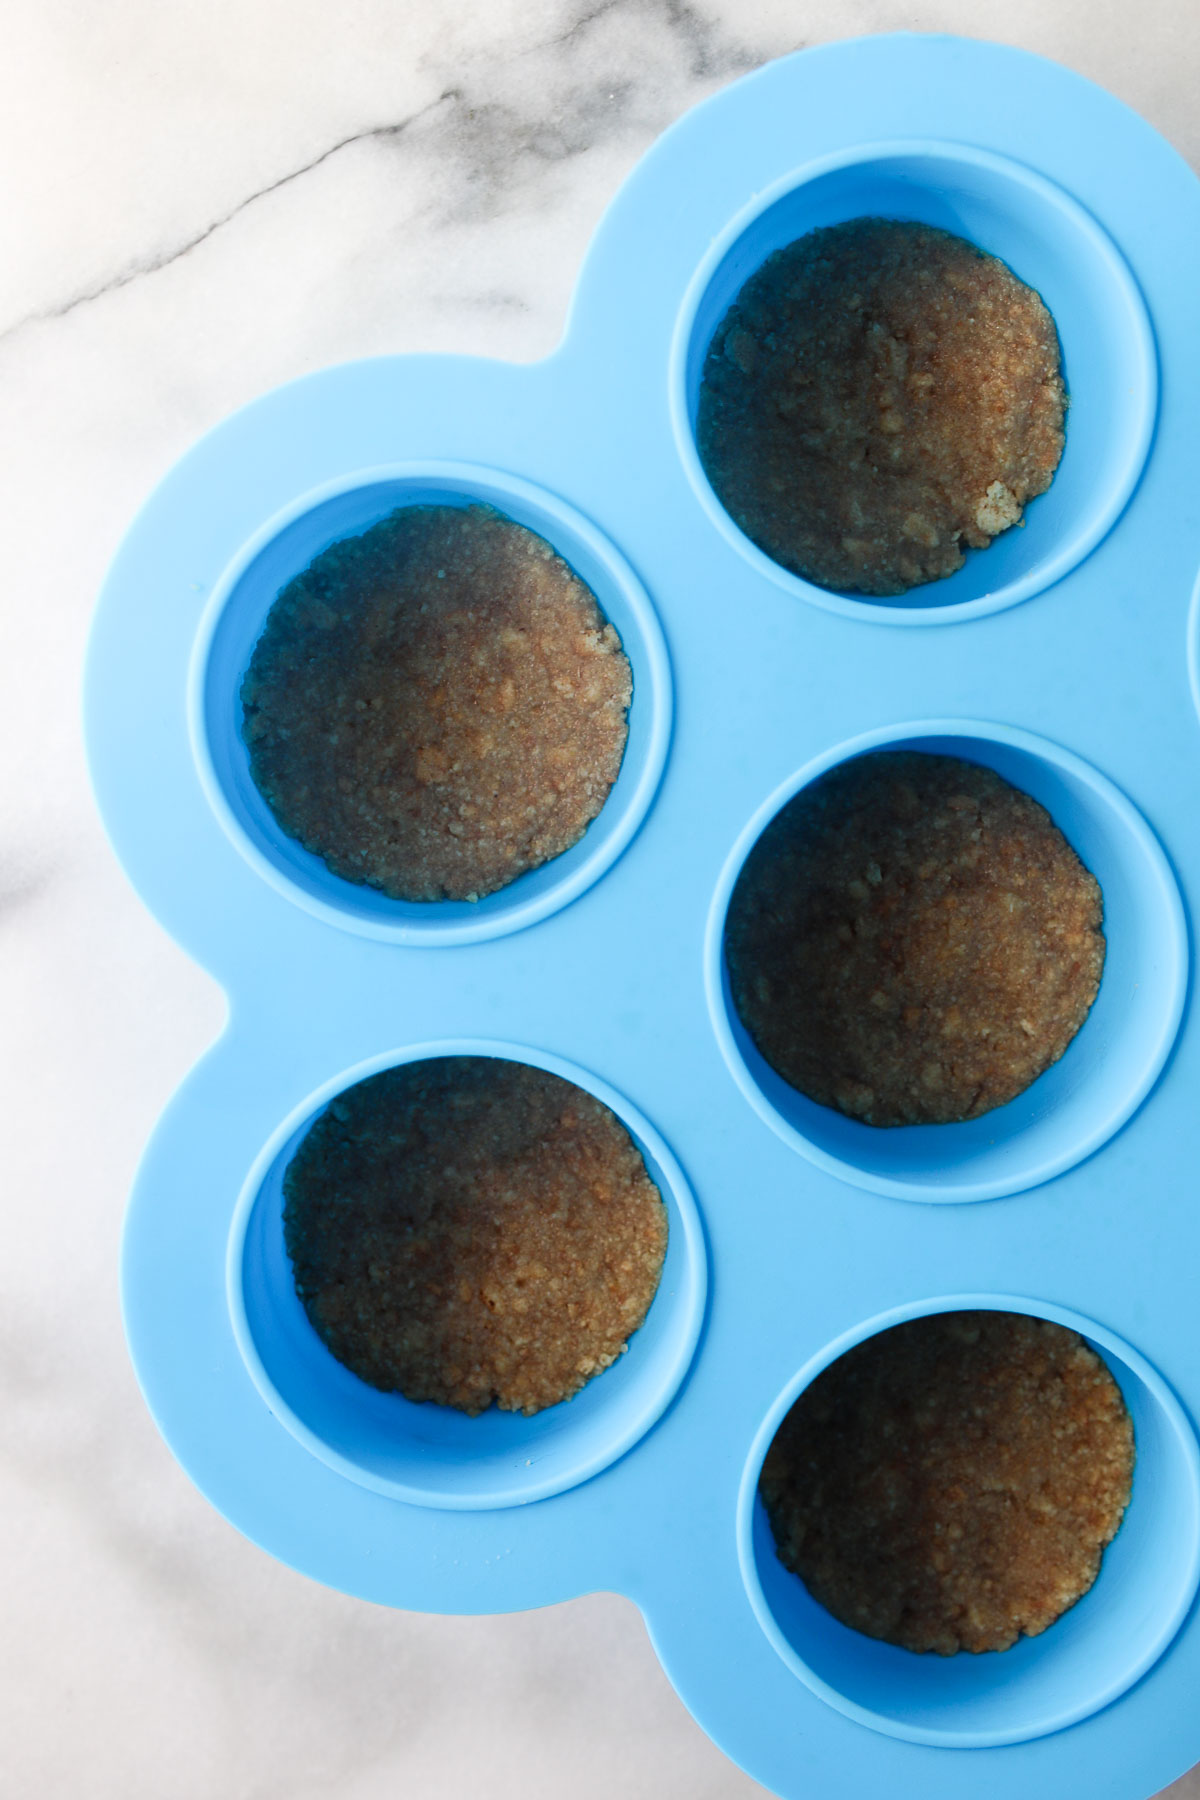
To make Instant Pot cheesecake bites, you’ll start by making the graham cracker crust. In a small bowl, mix graham cracker crumbs, melted butter, brown sugar, and a pinch of salt together until all the crumbs are moistened. Press 1 packed tablespoon of the graham cracker mixture into the bottom of each of the cups of a silicone egg mold. Place the mold in the freezer for 10 minutes for the crust to set while you’re working on the next step.
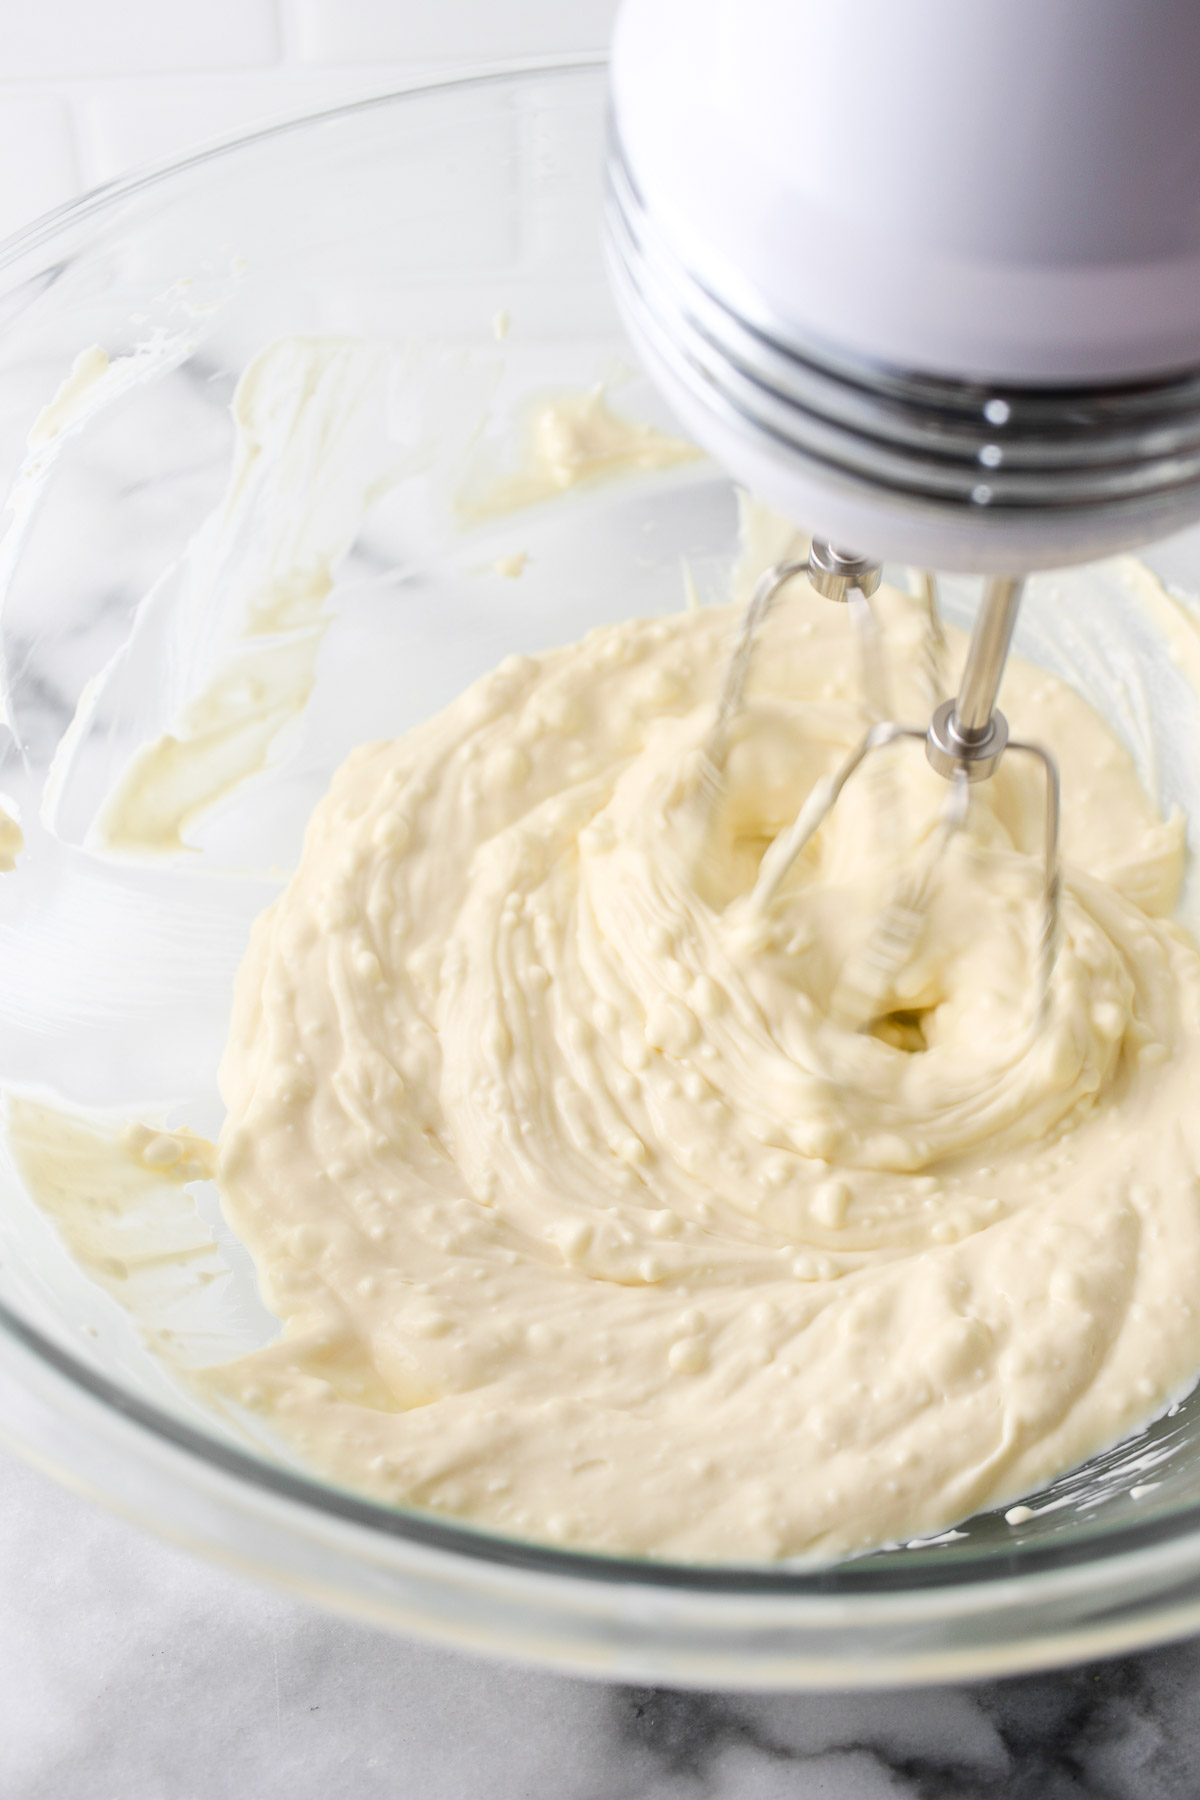
Meanwhile, beat together room temperature cream cheese, room temperature heavy cream, sugar, a room temperature egg, cornstarch, vanilla extract, and almond extract until everything is well mixed and slightly fluffy. Why room temperature for all of the cold ingredients? It will help them blend together better, ensuring a smoother cheesecake.
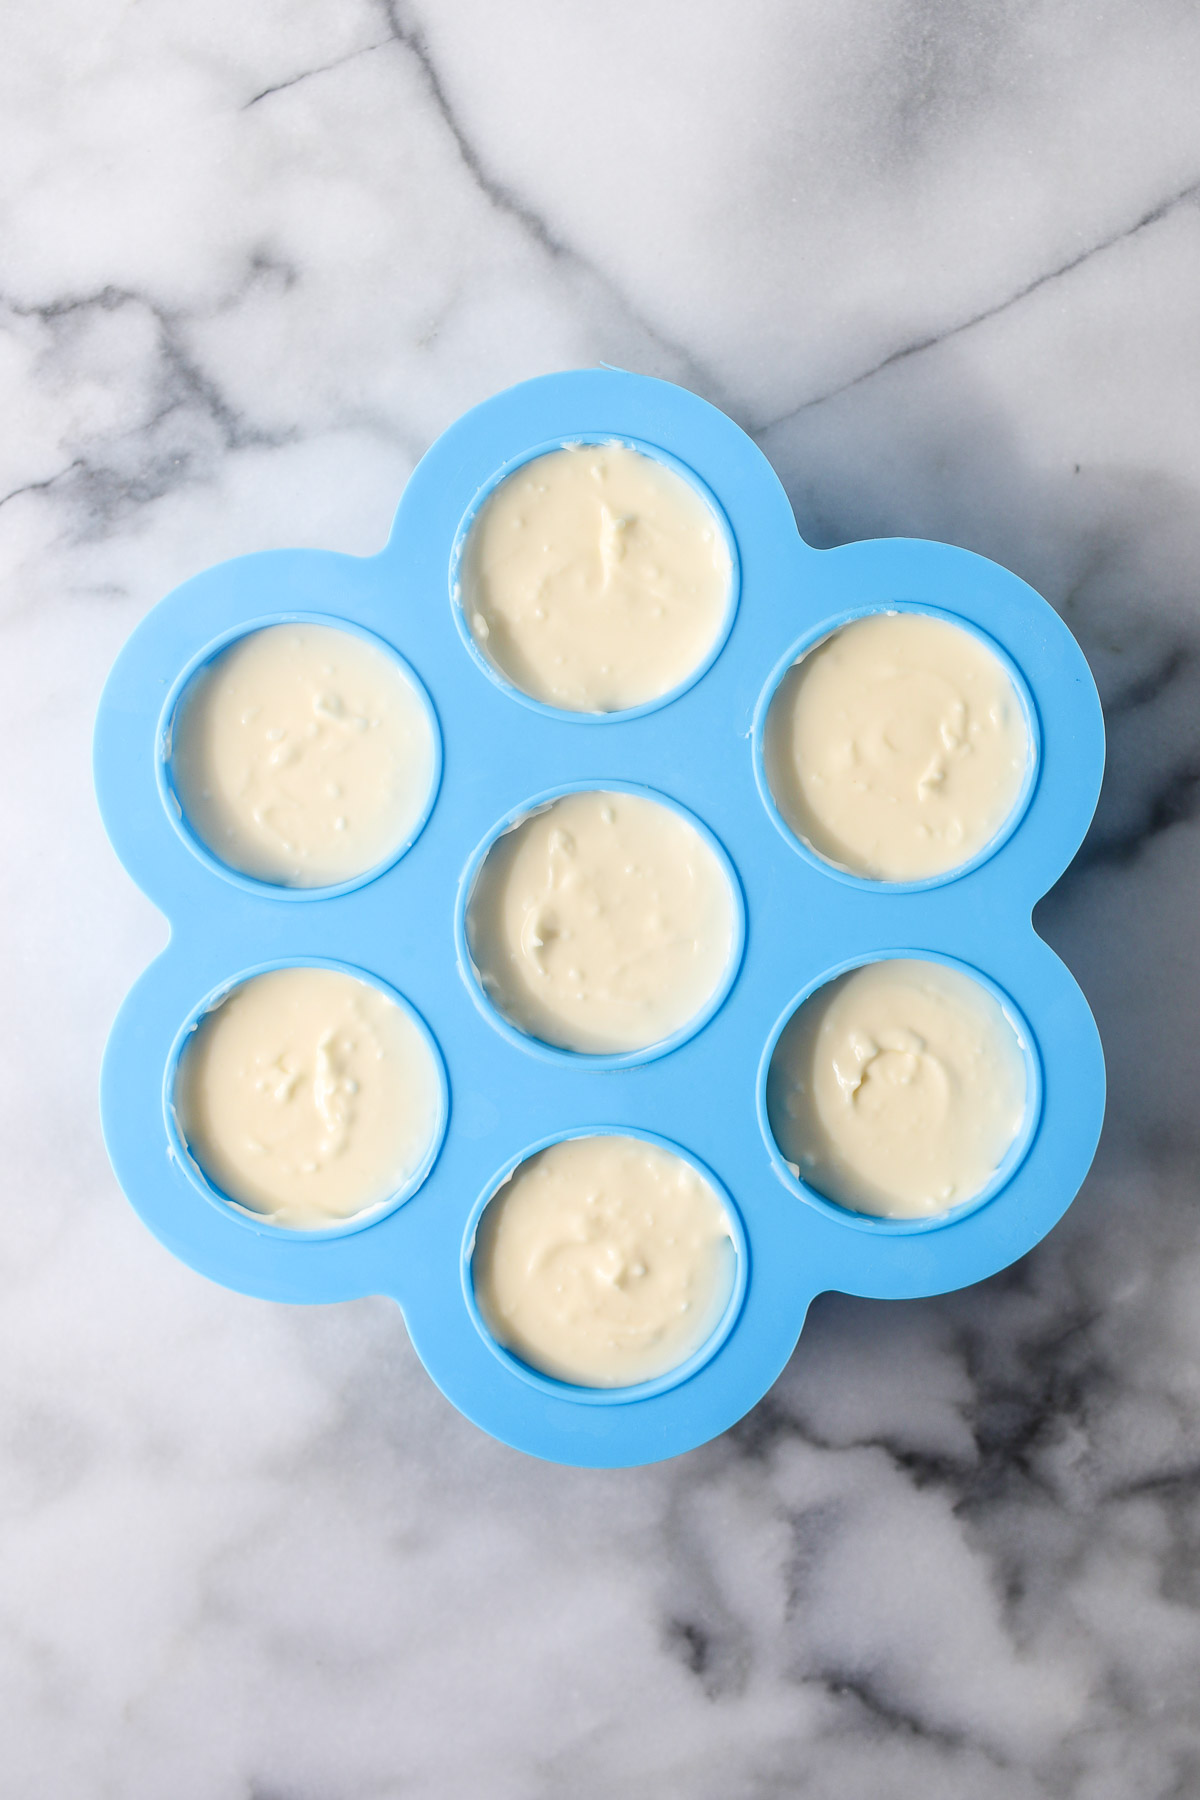
Pour the cream cheese mixture on top of the crust in the egg bite molds, filling the cups all the way.
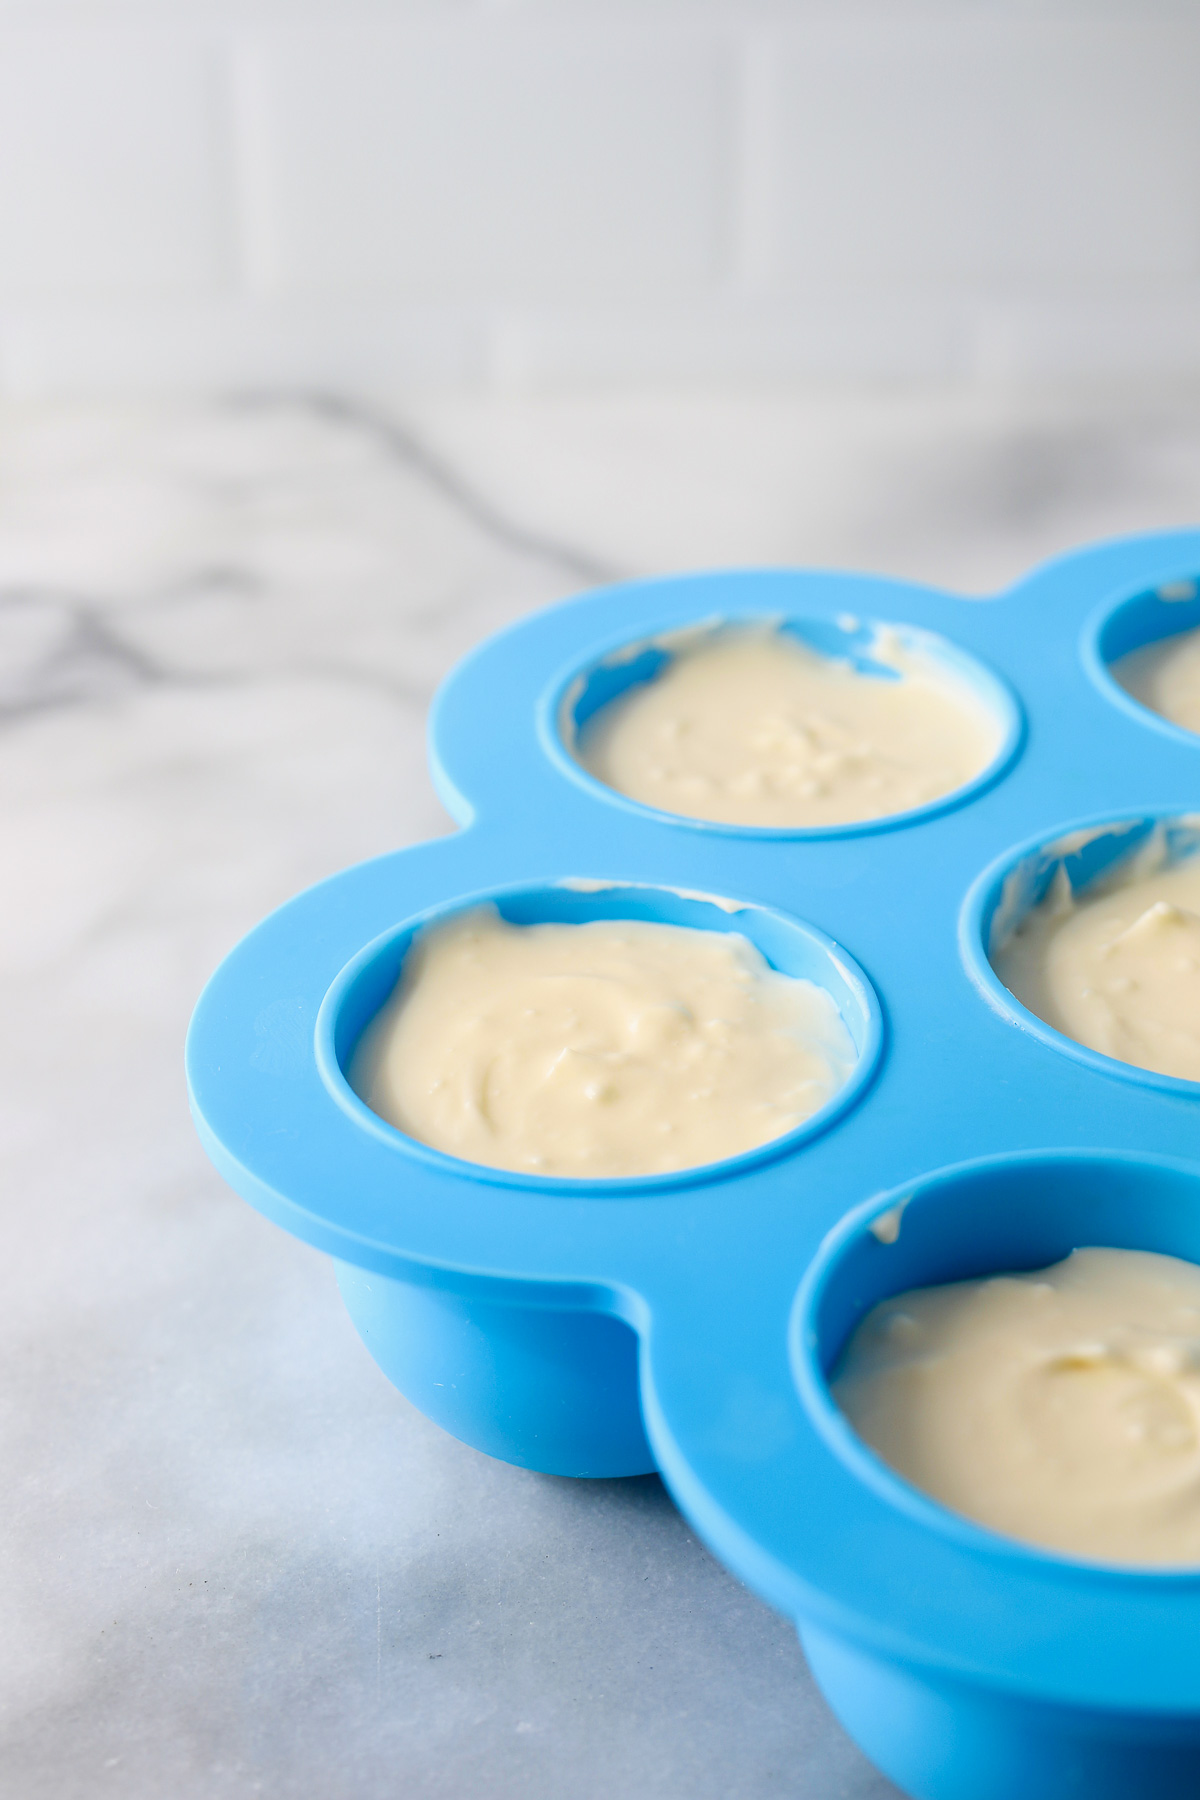
Shake the mold a bit so that the cream cheese settles evenly over the crust without bubbles.
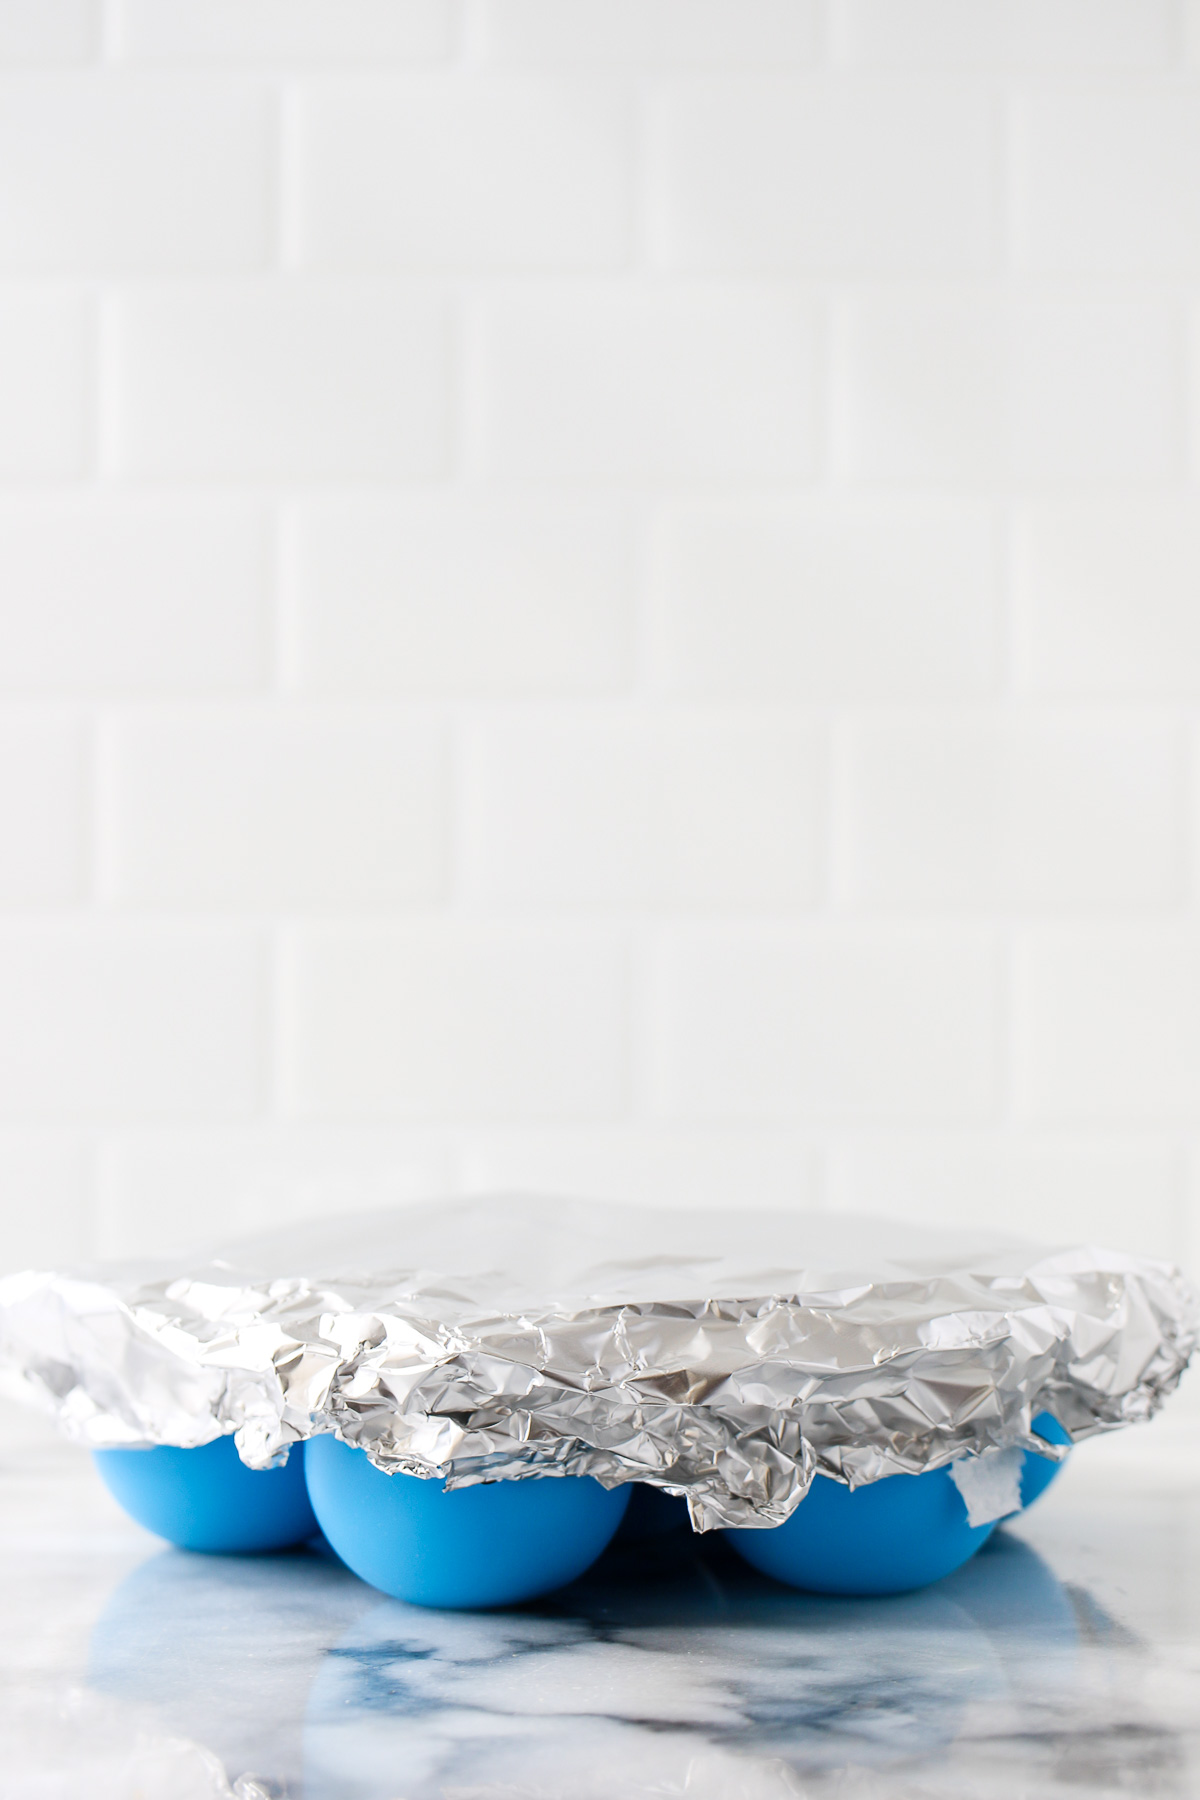
Lay a paper towel over the top of the silicone mold (this will help catch excess moisture from the steam inside the pot), then cover the paper towel and mold loosely with aluminum foil.
Pour the water into the Instant Pot inner pot and place a steamer rack trivet in the bottom (if you are using a bakeware sling you won’t need to use the trivet). Place the egg bites mold on top of the trivet. Close and lock the lid, make sure the pressure/steam release switch is set to sealing, and set the cooking time to 8 minutes at high/normal pressure. It will take about 7 minutes for the pot to come to pressure before the cooking time begins. After the pressure cooking time ends allow the pressure to release from the pot naturally for 10 minutes before releasing the remaining pressure using the manufacturer’s quick release method.
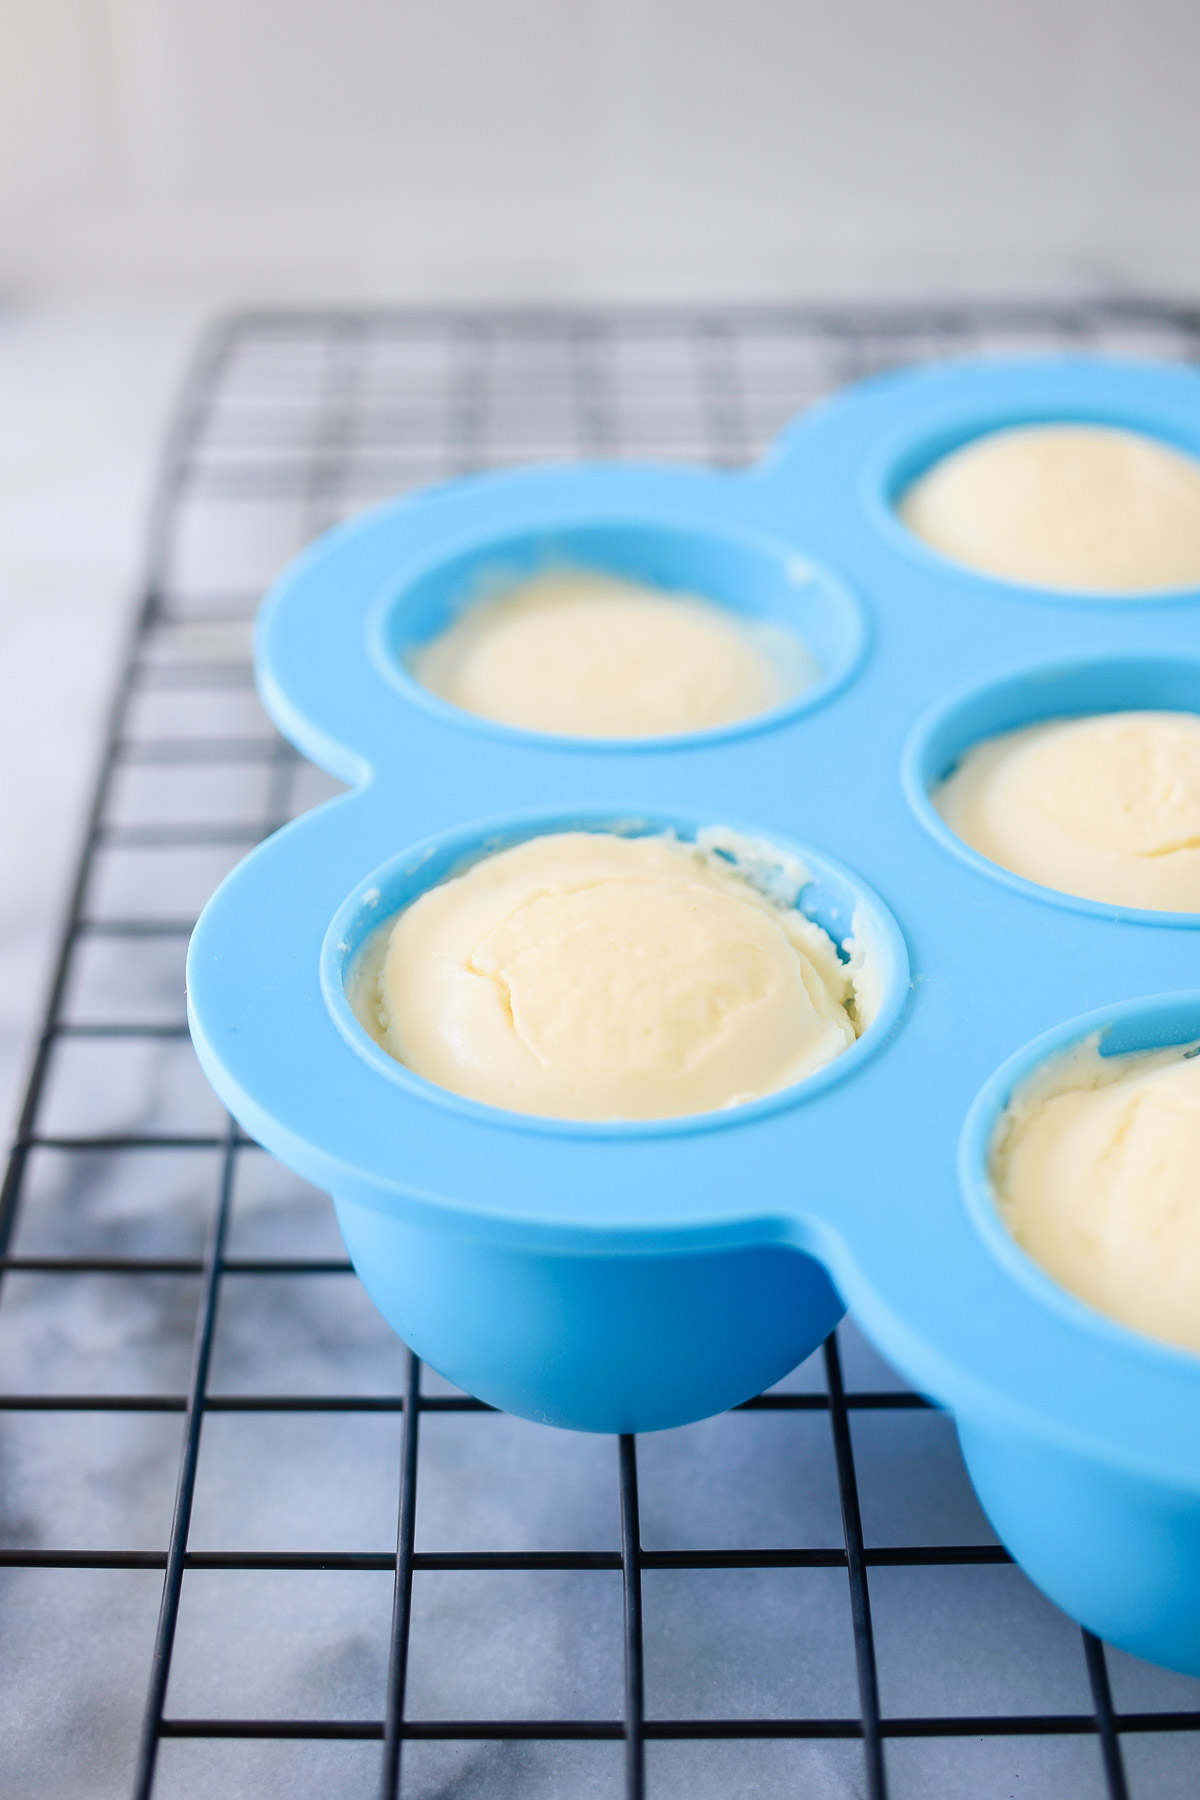
Open the lid, carefully remove the mold from the pot, and place the mold on a wire rack on the counter. Remove the foil and paper towel. If any condensation managed to gather on top of the Instant Pot cheesecake bites you can use another paper towel to blot the tops to absorb any water that may have accumulated on them from the steam.
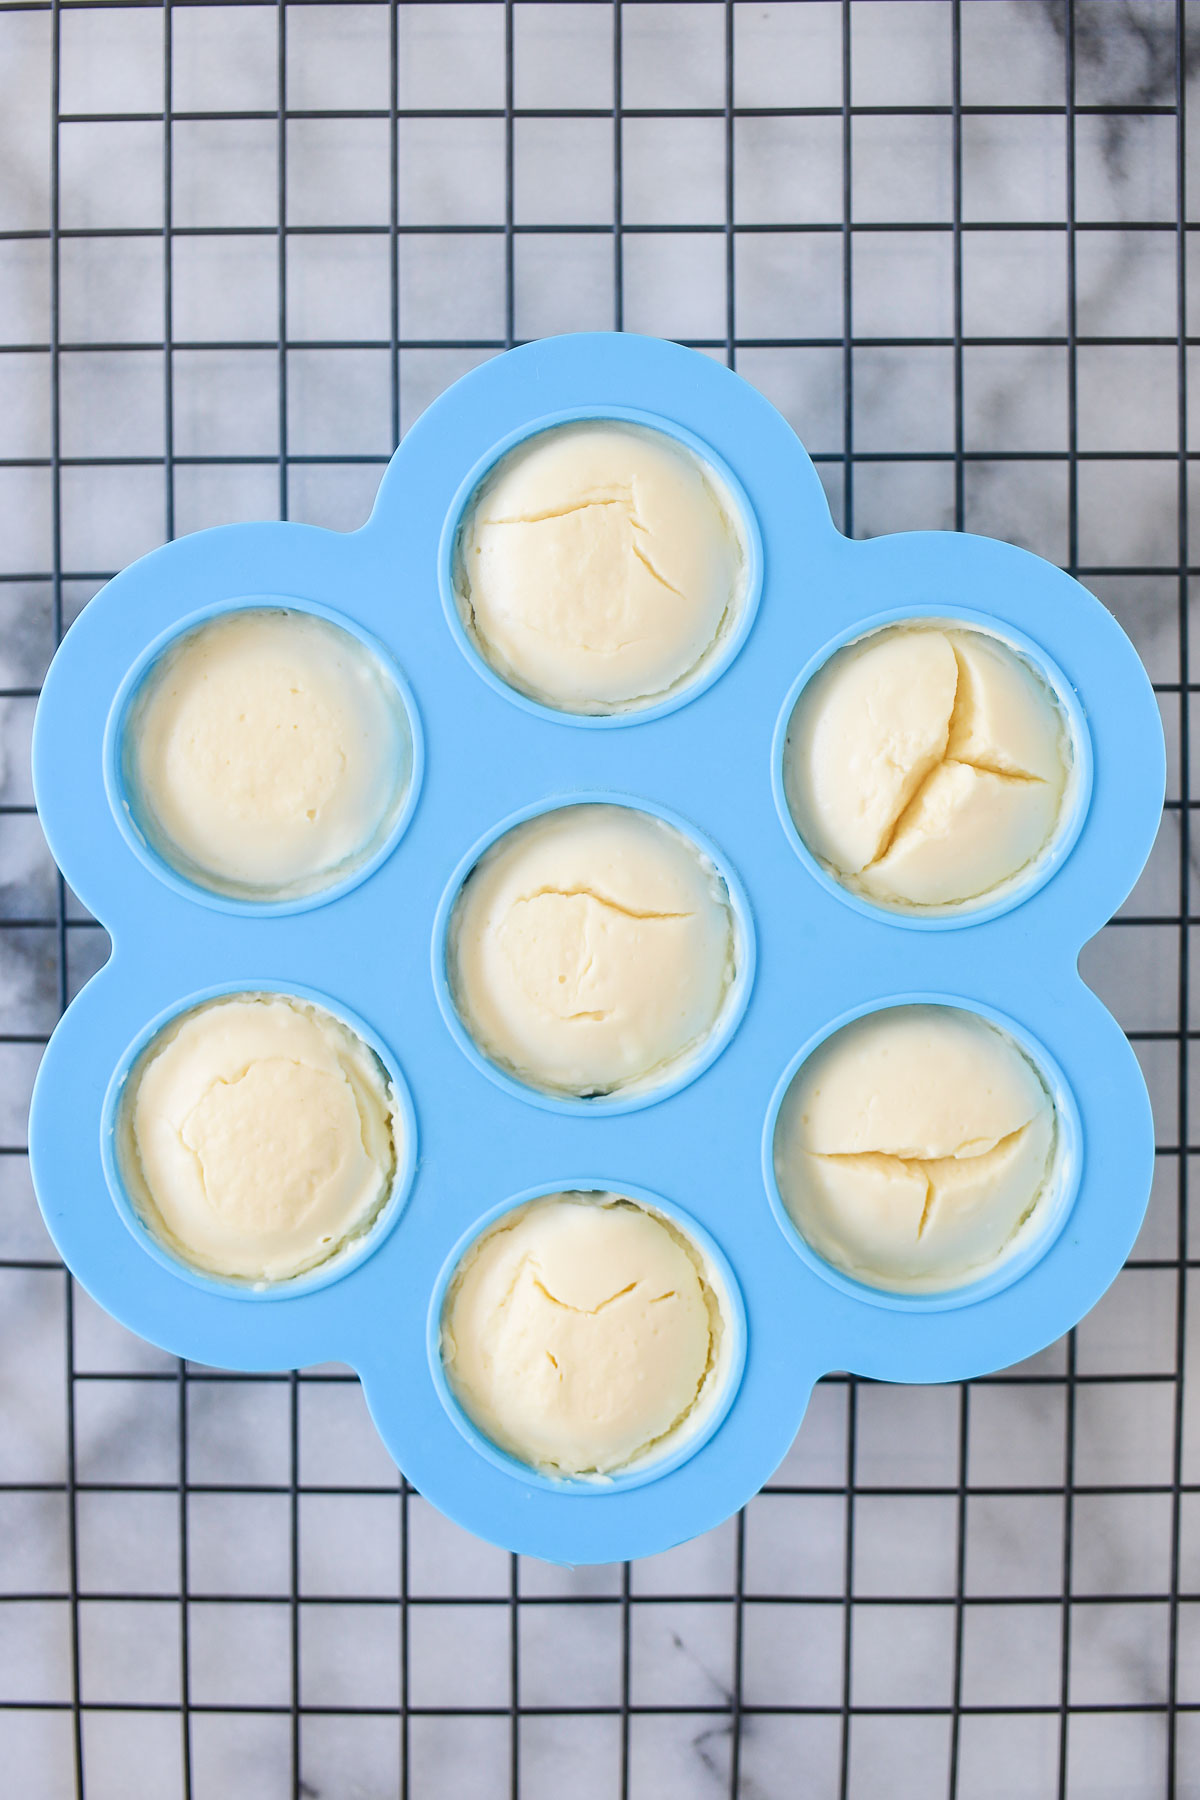
Cool the Instant Pot cheesecake bites on the wire rack on the counter for 30 minutes before transferring the mold to the fridge to cool the mini cheesecakes for at least 4 hours.
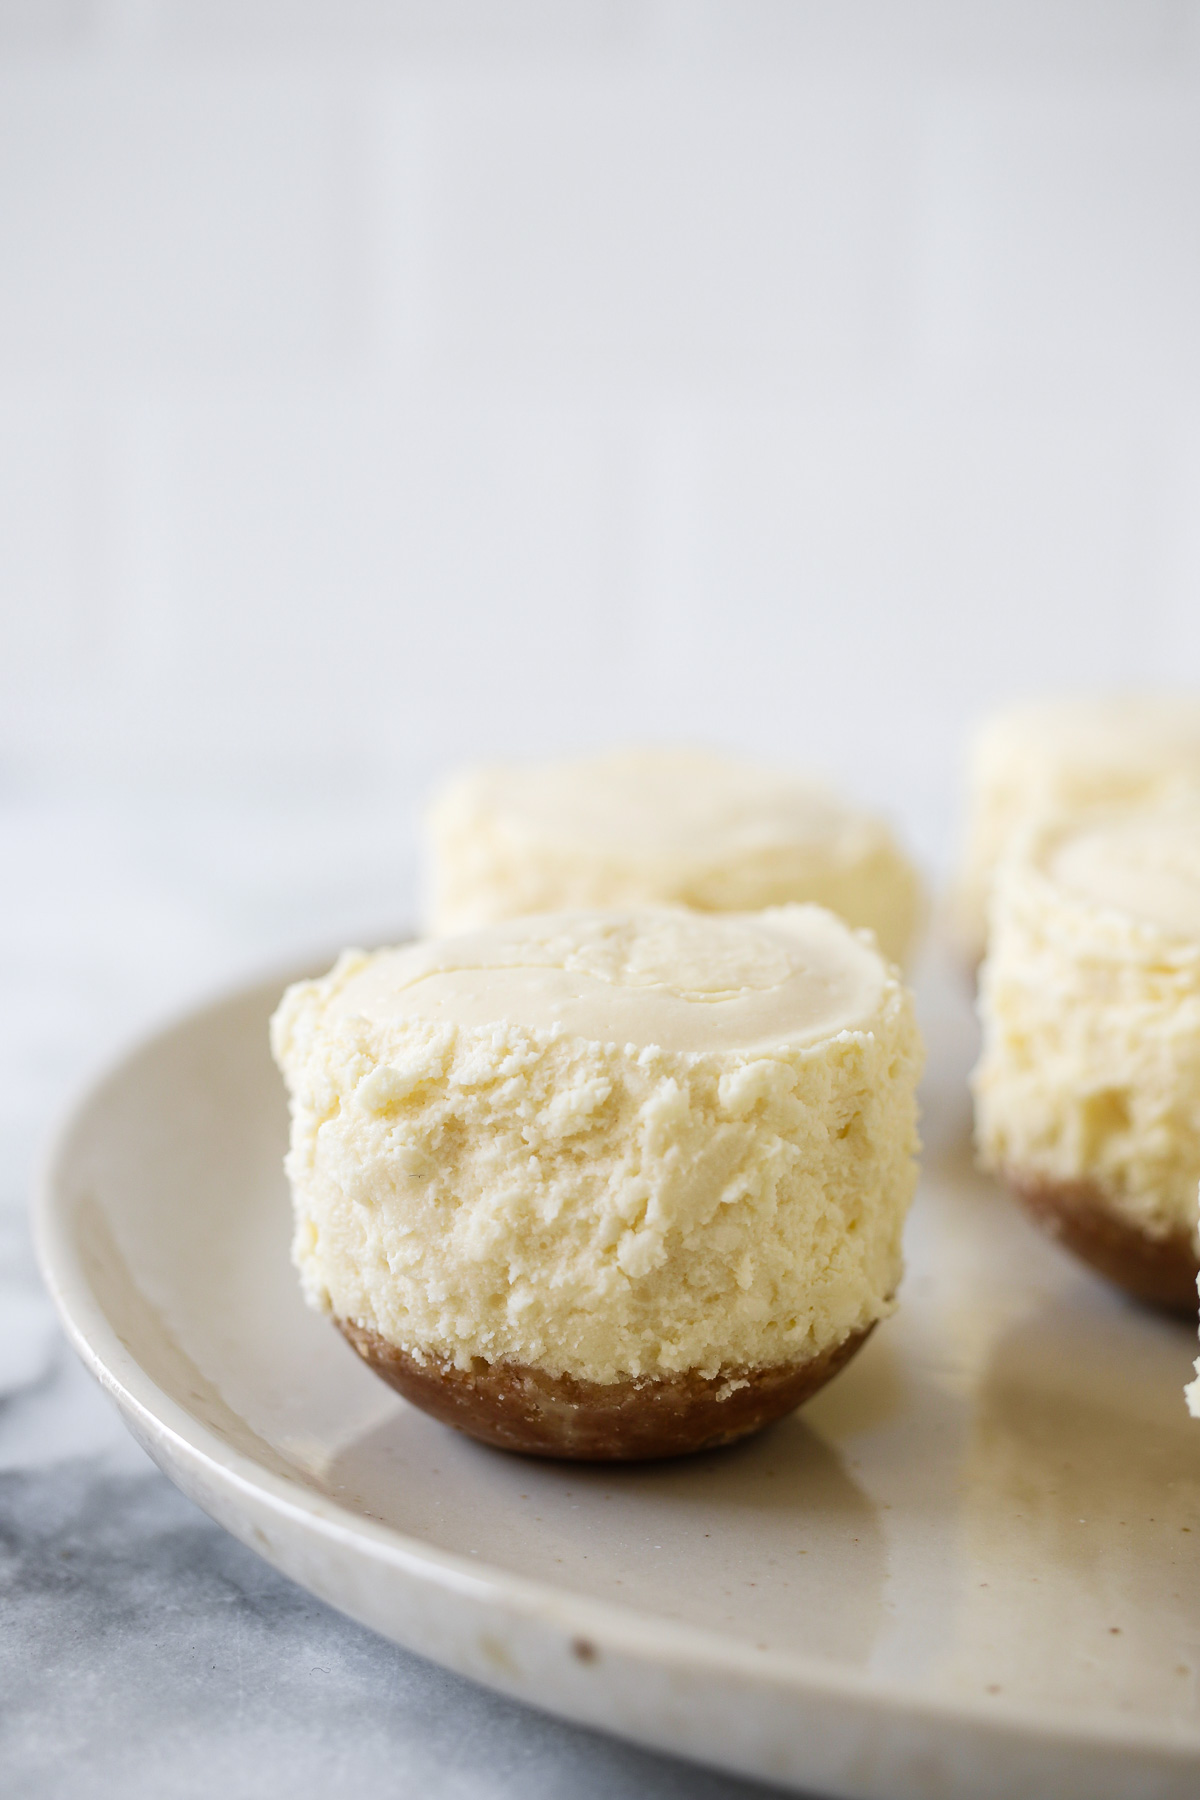
To remove the Instant Pot cheesecake bites from the egg bite mold, run a butter knife or small spatula around the edges of each cup, then push upwards from the bottom to pop the mini cheesecakes from the mold.
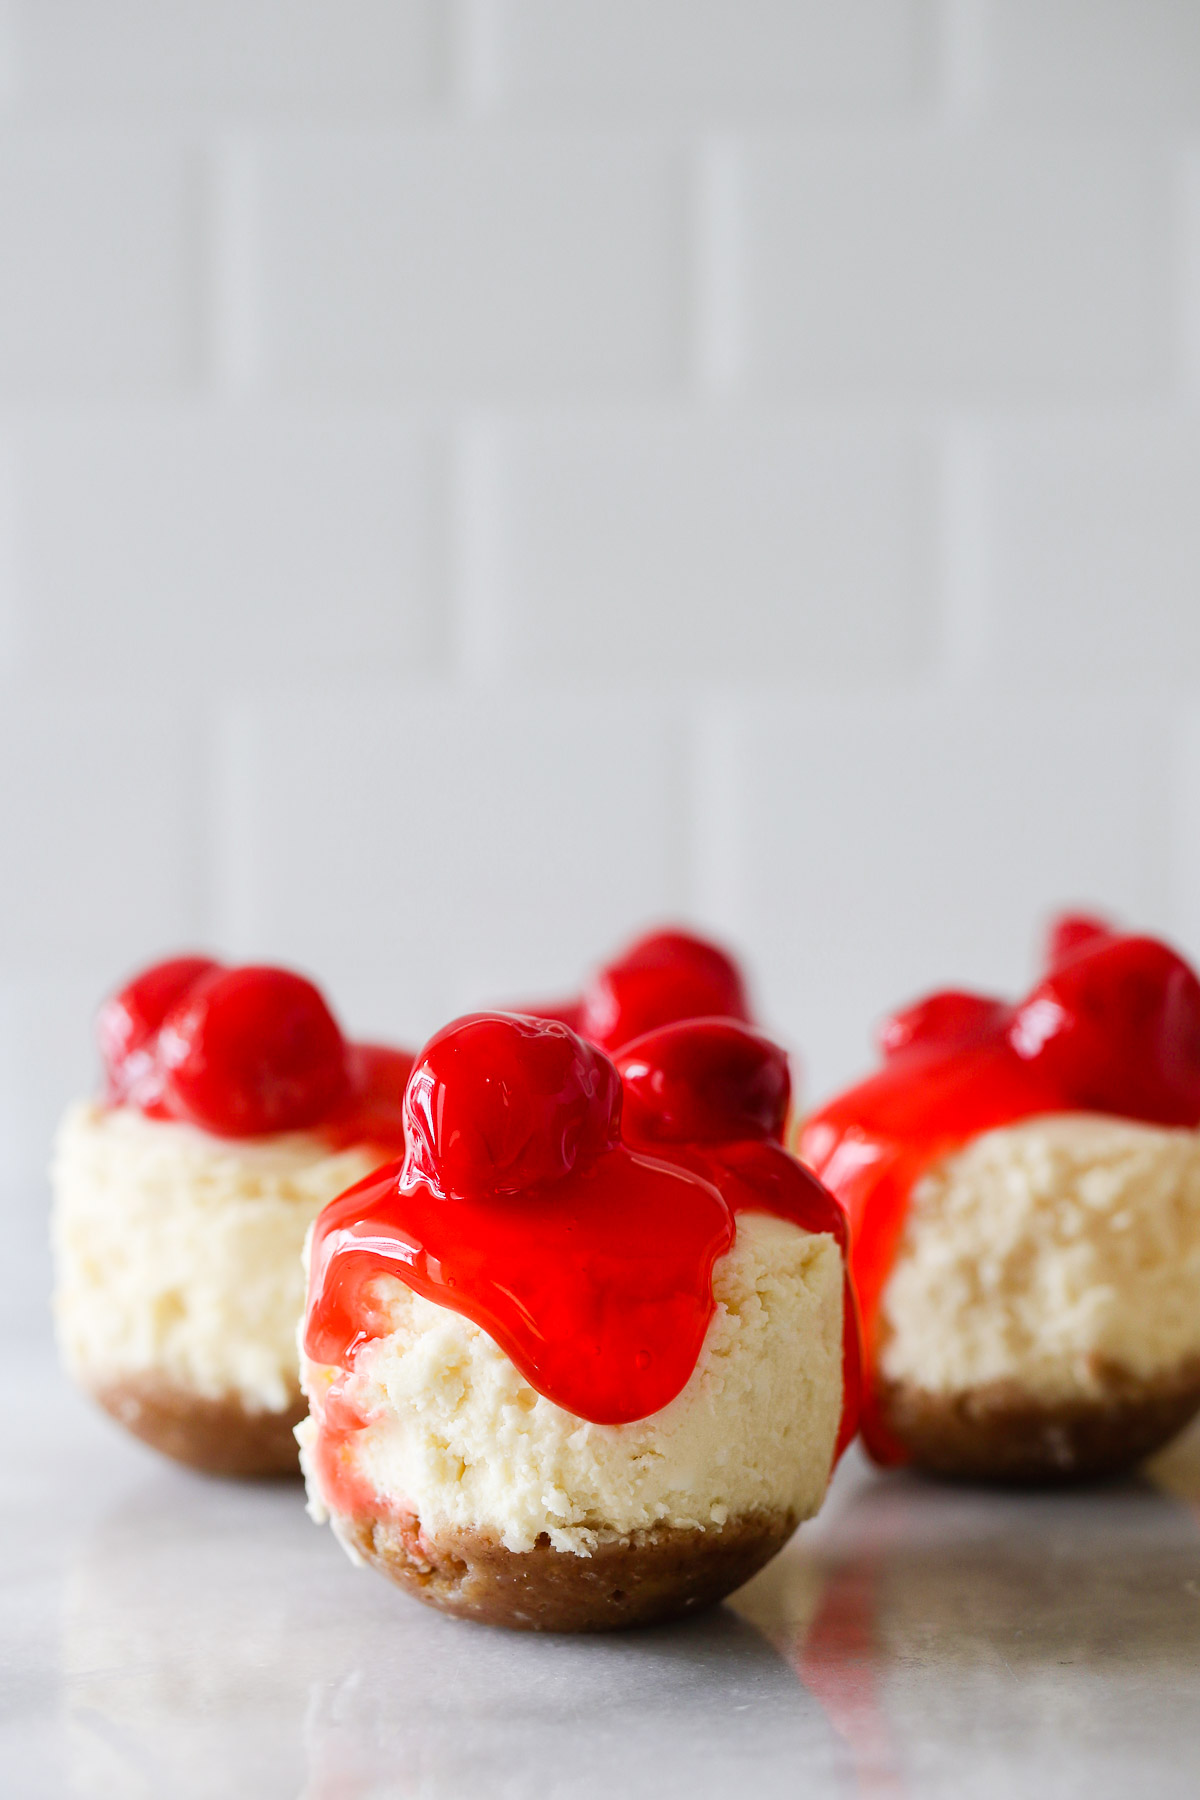
To serve, top the Instant Pot mini cheesecake with cherry pie filling to taste.
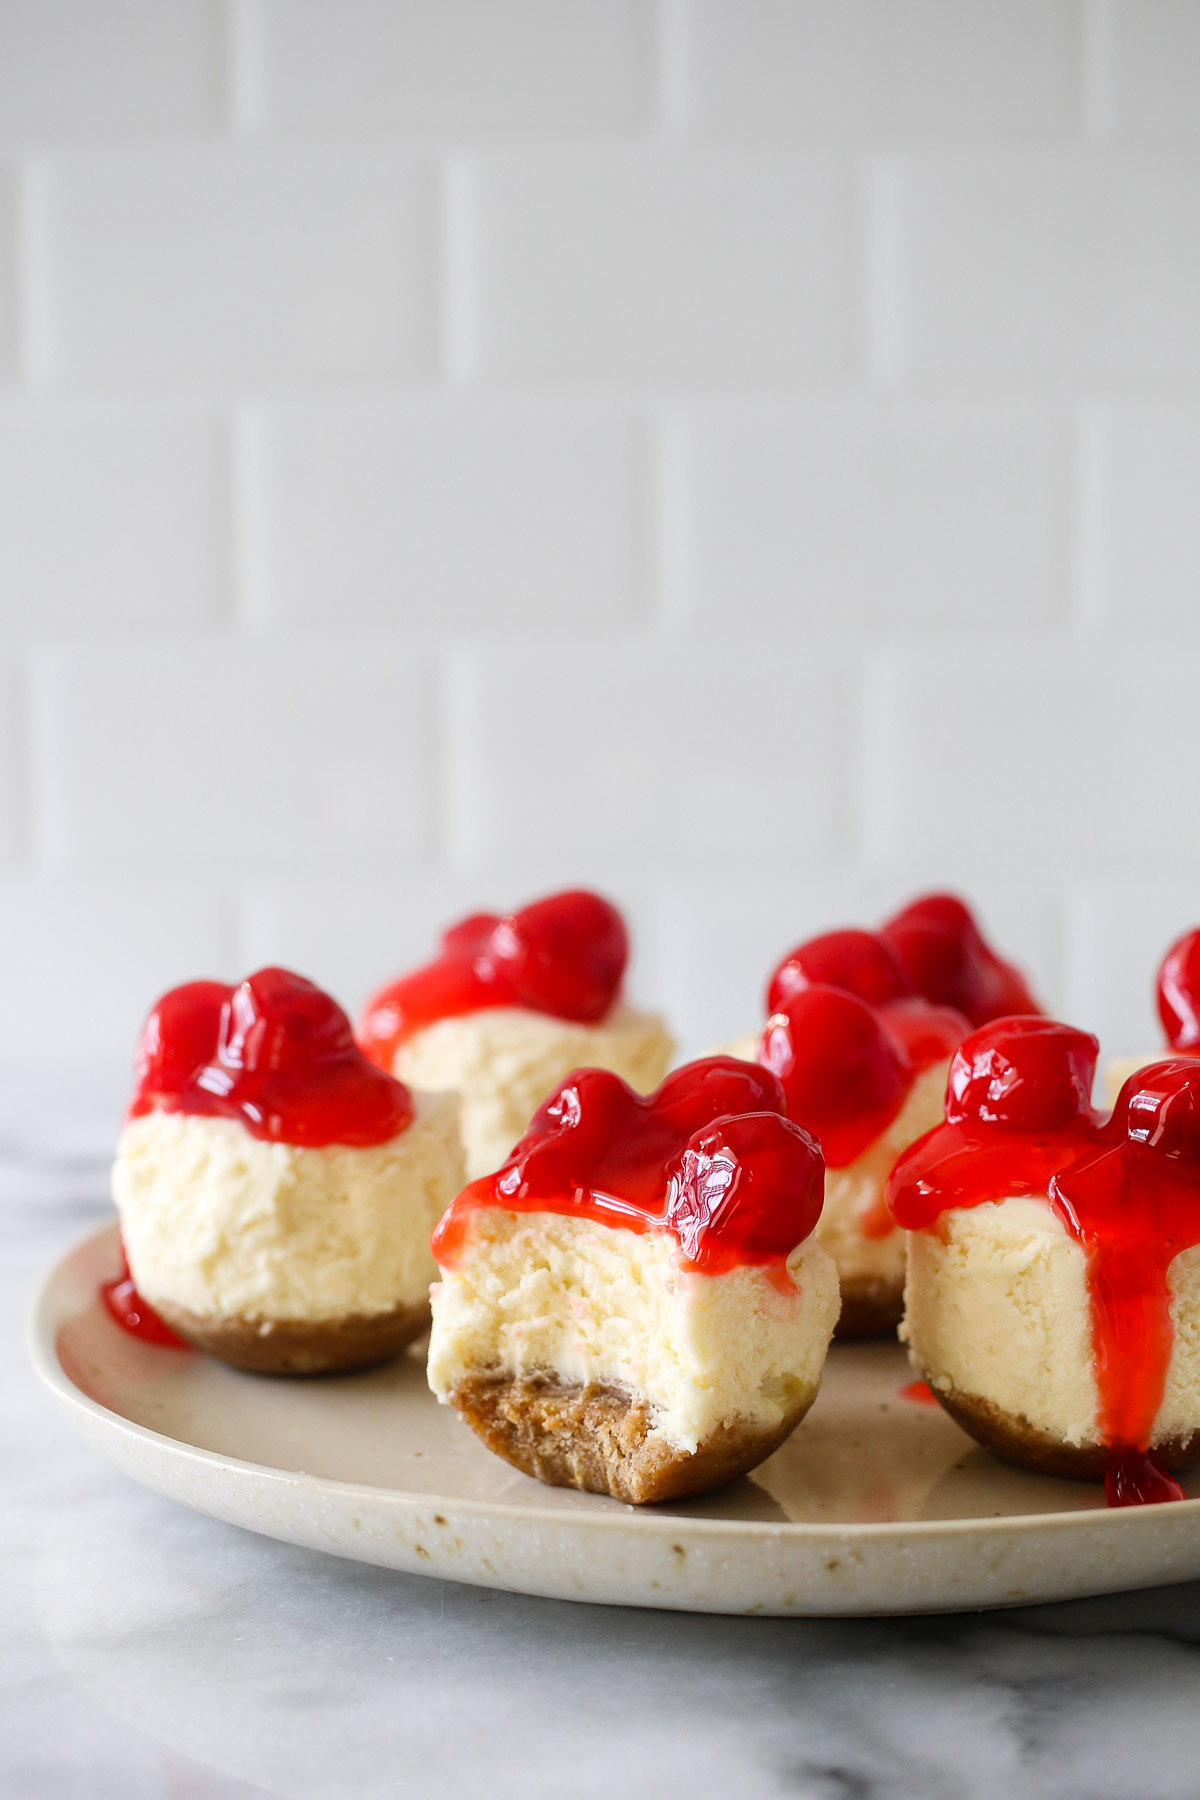
You can also serve Instant Pot mini cheesecake with blueberry pie filling, sliced strawberries with glaze, or just eat them on their own.
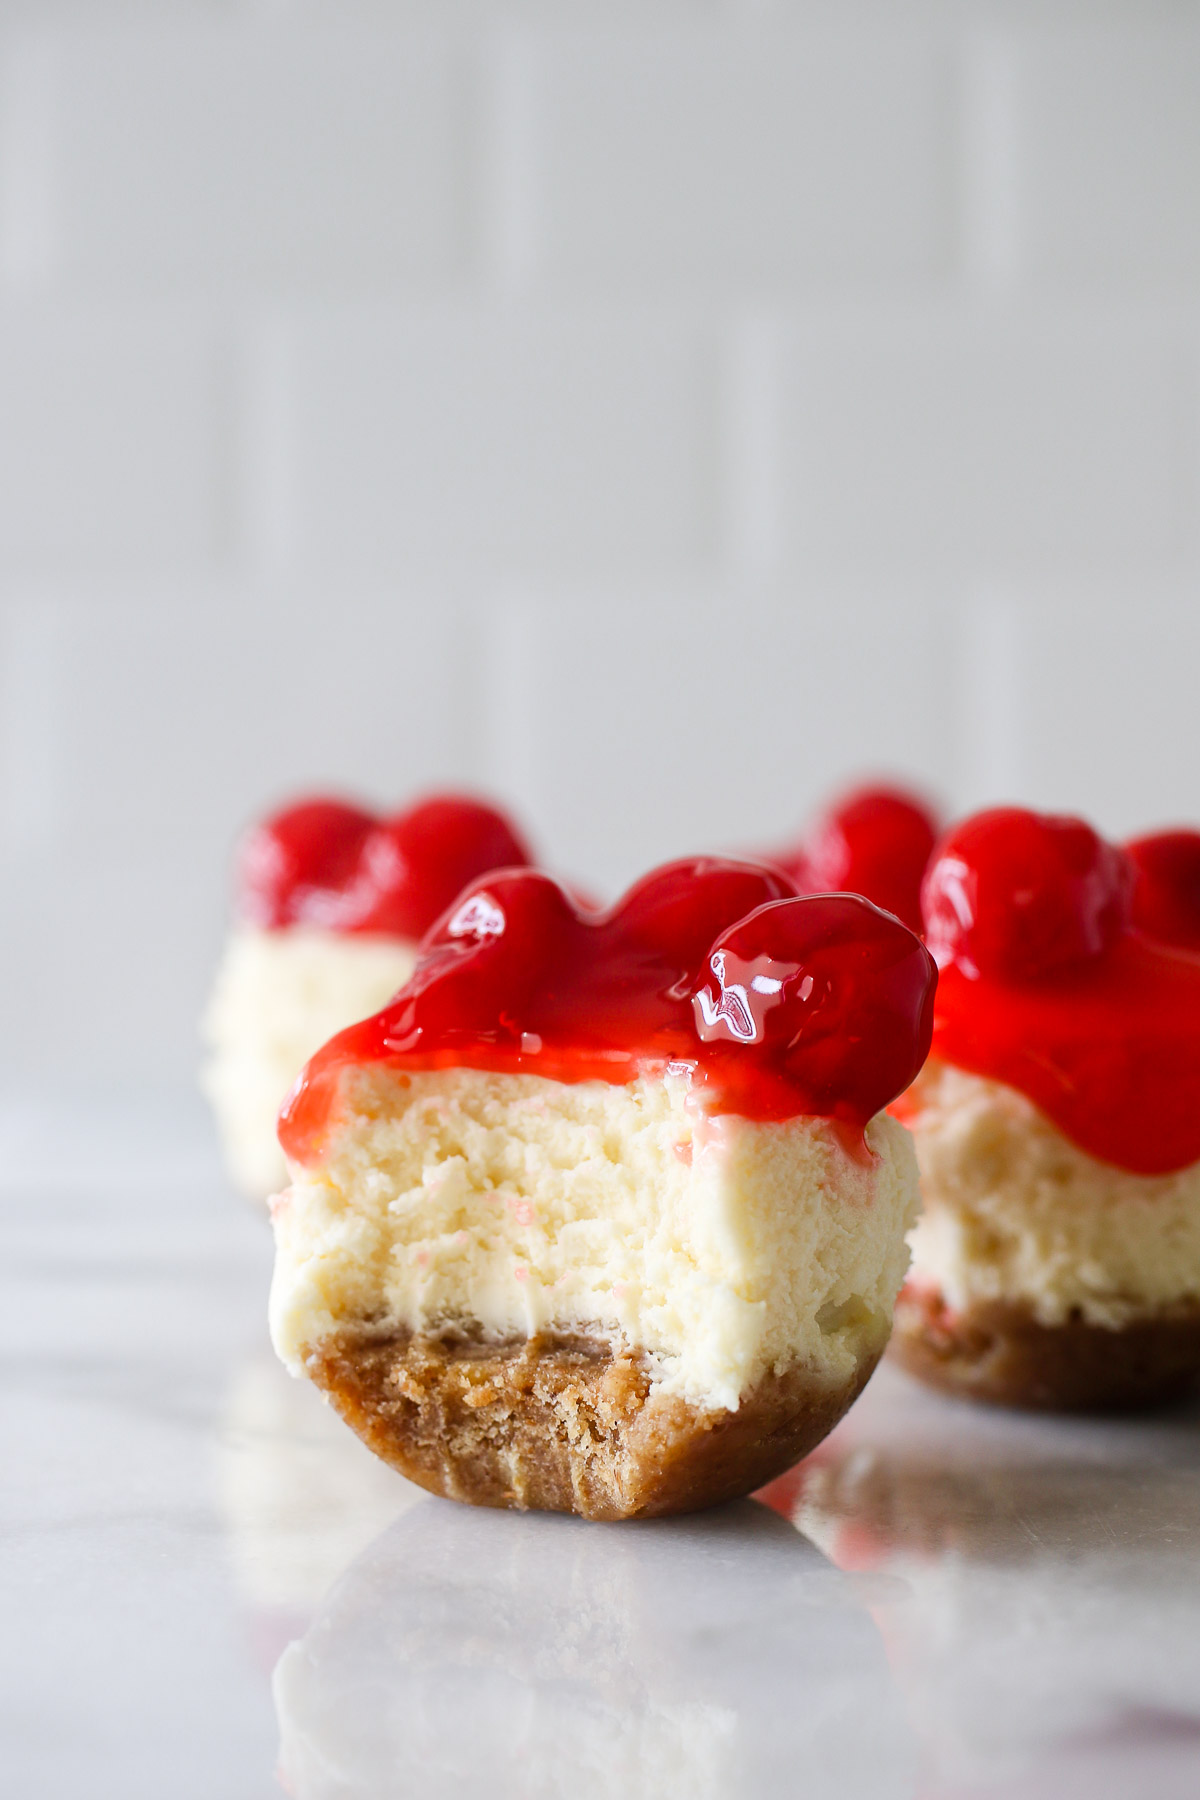
These little guys are SO good! Here’s the full recipe for cheesecake bites in the Instant Pot. Enjoy!
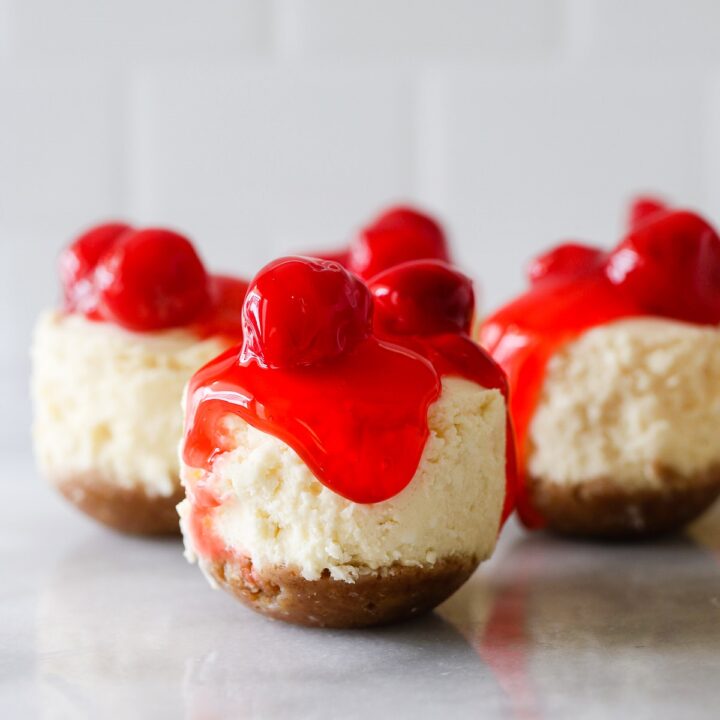
Instant Pot Mini Cheesecake Bites
Cheesecake is unbelievably easy to make in the pressure cooker. Not only does it cook quickly, but it cooks perfectly in the moist, high-pressure environment without the frequent monitoring required for oven-baked cheesecakes. These Instant Pot mini cheesecake bites are prepared in an Instant Pot silicone egg bite mold to make the perfect serving size. Also great for single serving party desserts, you can top these Instant Pot cheesecake bites with cherry pie filling like the recipe states, with blueberry topping, strawberries, or eat them just as they are.
Ingredients
- 3/4 cup graham cracker crumbs
- 1/4 cup unsalted butter, melted
- 1 tablespoon brown sugar
- pinch salt
- 1 (8-ounce) package cream cheese, at room temperature
- 1/4 cup heavy cream, at room temperature
- 1/4 cup sugar
- 1 large egg, at room temperature
- 1 teaspoon cornstarch
- 1/2 teaspoon vanilla extract
- 1/4 teaspoon almond extract
- 1 cup water
- cherry pie filling from a 21-ounce can
Instructions
- In a small bowl, mix the graham cracker crumbs, butter, brown sugar, and salt together until all the crumbs are moistened. Press 1 packed tablespoon of the graham cracker mixture into the bottom of each of the cups of a silicone egg bite mold. Place the mold in the freezer for 10 minutes for the crust to set.
- Meanwhile, beat together the cream cheese, heavy cream, sugar, egg, cornstarch, vanilla extract, and almond extract until well mixed and slightly fluffy. Pour the cream cheese mixture on top of the crust in the egg bite molds, filling the cups all the way. Shake the mold a bit so that the cream cheese settles evenly over the crust without bubbles. Lay a paper towel over the top of the silicone mold (this will help catch excess moisture from the steam inside the pot), then cover the paper towel and mold loosely with aluminum foil.
- Pour the water into the Instant Pot inner pot and place a steamer rack trivet in the bottom. Place the egg bites mold on top of the trivet.
- Close and lock the lid, make sure the pressure/steam release switch is set to sealing, and set the cooking time to 8 minutes at high/normal pressure. It will take about 7 minutes for the pot to come to pressure before the cooking time begins.
- After the pressure cooking time ends allow the pressure to release from the pot naturally for 10 minutes before releasing the remaining pressure using the manufacturer’s quick release method.
- Open the lid and carefully remove the mold from the pot to a wire rack on the counter. Remove the foil and paper towel. If any condensation managed to gather on top of the cheesecake bites you can use another paper towel to blot the tops to absorb any water that may have accumulated on them from the steam.
- Cool the cheesecake bites on the wire rack on the counter for 30 minutes before transferring to the fridge to cool for at least 4 hours.
- To remove the cheesecake bites from the egg bite mold, run a butter knife or small spatula around the edges of each cup, then push upwards from the bottom to pop the cheesecake bites from the mold.
- To serve, top with cherry pie filling to taste.
Recommended Products
As an Amazon Associate and member of other affiliate programs, I earn from qualifying purchases.


")

Dave says
Tried this recipe, Graham crumb base didn’t hold well, came apart trying to remove them from the mold. Tasty but fell apart
Ramona Cruz-Peters says
I’m sorry to hear that! I haven’t experienced that issue myself, it has always been very firm for me. I recommend packing it down into the cups pretty firmly.
Shanthe says
Have you ever tried freezing these? I love freezing things to avoid the temptation of eating more than one serving!
Ramona Cruz-Peters says
I haven’t frozen them, but I think they would freeze well (without the fruit topping).
Paula Baldwin says
Can’t believe how well these turned out. I was worried because I let it naturally relase cuz I got side tracked.
But they were yummy and a great texture
Made a strawberry sauce by putting a 16 oz tub of sweetened sliced strawberries in a sauce pan mixed in 1 tbsp cornstarch heated to thickened.
Ramona Cruz-Peters says
I’m so happy that you loved them! That sauce sounds delicious!
Melissa says
How long will these stay fresh and together once they are removed from the egg mold?
Ramona Cruz-Peters says
I have never had them last more than a few days, so I am not sure how long they stay fresh, however I have heard that they freeze well (and you can just defrost in the fridge prior to serving). As far as staying together, they stay together really well.
Kelly says
I have 2 molds and want to double the recipe. Any problems cooking both molds at the same time?
Ramona Cruz-Peters says
Hello Kelly! I’ve noticed when making double batches of egg bite mold “baked” goods that the bottom one doesn’t seem to cook as fast as the top, and often needs to go back in for a few more minutes. Sometimes the bottom one will even rise differently (and have a different shape than the ones on top). Because of this, I tend to try and split them into two cooking batches if it is a quick recipe.
Jessica says
Can you use the silicone lid that comes with the mold instead of aluminum foil to cover? If so, do you still need a paper towel?
Ramona Cruz-Peters says
From what I understand, if the lid is silicone, yes you can use it, but if it is plastic, the plastic might not be able to hold-up under the heat, which is why you’d want to use foil instead. I don’t use a silicone lid, but if it is secure, I don’t think the paper towel is needed.
Diane Carver says
I use the silicone lids.
Tanya says
When I took mine out the filling covered the mold. As they cooled they shrank back. The filling was still a little soft so I pushed it back into the mold. What do you think went wrong?
Ramona Cruz-Peters says
I am sorry to hear that this happened! I have personally not seen that happen, so don’t know how to trouble shoot. Did it work out after it had set in the fridge?
Jessica says
I had this problem as well!
Ramona Cruz-Peters says
Jessica and Tanya – I wonder if this happens with the silicone lid, since I think both of you used the mold’s lid, correct? Perhaps it doesn’t allow the same air flow or room to expand while cooking as the paper towel/foil cover method that I use.
Diana says
I had the same problem! This is a lot of work for a small yield. I would just go back to making cheesecakes in the IP. Thanks anyaway.
Diane Carver says
I did too! I just pushed it back into mold. Recipe says to fill molds to top. Next time I’ll leave some headroom. Did anyone else have filling left over?
Robbie says
I had a bit of left over filling. I also cooked with the silicone lid. Right now they’re cooling in the fridge, can’t wait to see (ok, TASTE 🙂 how they are!
Ramona Cruz-Peters says
Keep me posted!
Crystal says
I had this same problem…. and I did not use the silicone lid. Did the paper towel and foil.
Ramona Cruz-Peters says
Sorry to hear that, Crystal! The filling does expand then contract/shrink back down. Hope they still turned out for you!
Tanya says
They came out of the mold beautifully. Looked uneven on top but tasted great. I took a picture if you would like to see it.
Ramona Cruz-Peters says
I’m glad to hear they tasted great at least! If you want to share a picture, I always love to see them. You can email me at [email protected] or DM/tag me at @fabeveryday on social media.
Steven S Sekol says
My mom used to make something like this years ago in mini cupcake wrappers, but would use vanilla wafers instead for the crust, would this work instead of your crust recipe?
Ramona Cruz-Peters says
I think they would work! If you do try it, let me know how it turns out.
Doreen McElreavy says
Well need to try this again. I had leftover creamcheese mix, then had a hard time taking them out of my pot.
Ramona Cruz-Peters says
Sorry to hear that you had difficulty getting it out. Did you have trouble taking the egg bite mold out of the Instant Pot, or taking the mini cheesecakes out of the mold?
Sue says
Those who froze them, did you freeZe in the mold or after you took it out?
Debbie Lamastra says
Can you use this recipe in the Instant Pot Mini 3 quart Duo?
Ramona Cruz-Peters says
As long as you have an egg bite mold that fits inside your pot, it should work. You might just need to do more than one batch.
Nanci Ostrosky says
Can you add things to the batter (oreos, crushed Butterfingers etc) to change the flavor?
Ramona Cruz-Peters says
I’ve not personally experimented with adding solids to the wet batter, but I imagine Oreos would be great in the crust (or as a topping after it cooks) and crushed Butterfingers great as a topping after cooking.