Confession time: When we first moved into our house 10 years ago, we did a lot of DIY work, but I was completely at a loss for what to do with our backyard… so we barely did anything. We did a few non-permanent projects (a hanging potted herb garden, a cinder block bench, and a cinder block raised garden bed) while we decided what to do with the yard in general. 10 years later, and it was still a blank slate. One of the things that we never could decide was what to do with our plain concrete slab patio. This year we decided that the most cost-effective and easy solution was to update and add new life to our existing patio with a SpreadStone™ Decorative Concrete Resurfacing Kit from Daich Coatings. I am so glad we did it! In this post I’m sharing all of the details on resurfacing a concrete patio, including concrete resurfacing cost, what you need for the project, and the steps for decorative concrete resurfacing in case it helps you make plans for your own DIY patio makeover on a budget. Later this week I’m sharing more of our budget patio makeover. Click here to see the complete details of our French country-inspired budget patio makeover.

Disclosure: I received Daich Coatings’ Decorative Concrete Resurfacing Kit for review purposes. The opinions are completely my own based on my experience. I was not financially compensated for this post.
Choosing a look for decorative concrete resurfacing
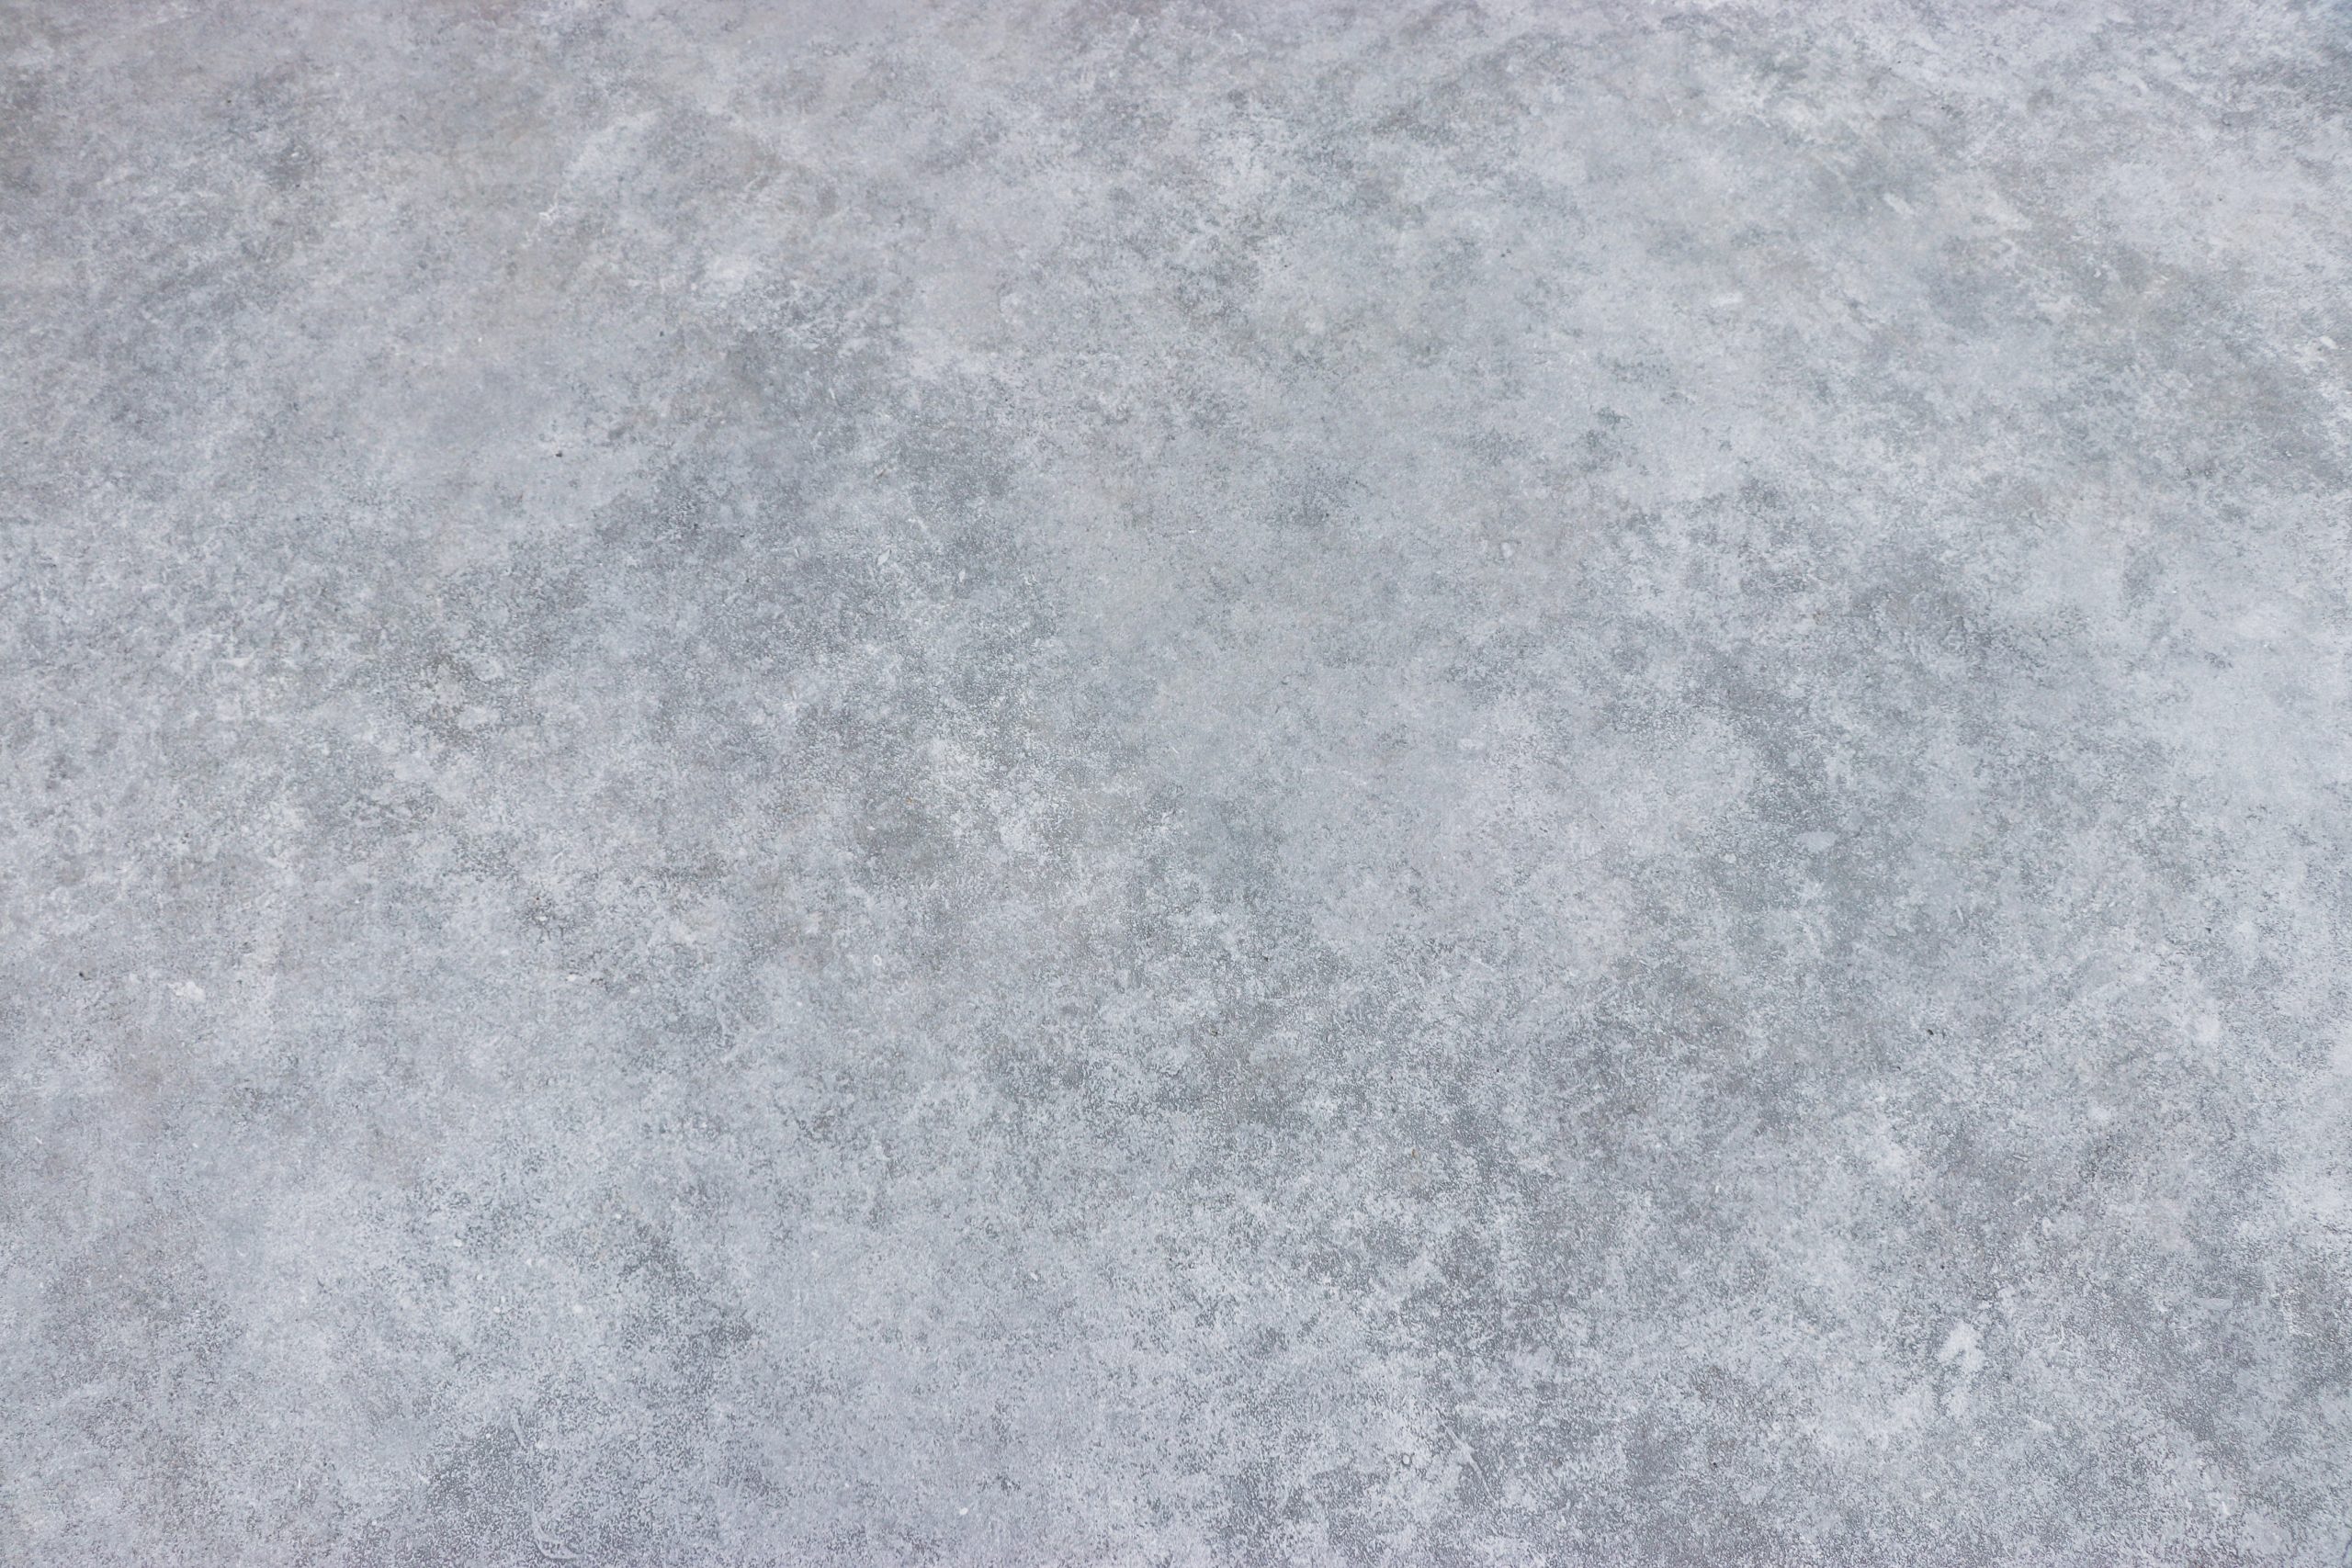
Daich Coatings has outdoor concrete resurfacing kits available in 5 different colors. We chose the Decorative Concrete Resurfacing Kit in the color Summit Grey so that we could have a nice blank slate for a French Country patio look that we were going for. It worked perfectly with the new additions to our patio plus our existing rustic wood and cinder block benches. The color and texture proved to be a massive improvement to our dingy old concrete slab.
Benefits to resurfacing a concrete patio
In making our decision, we had to look at the benefits to DIY concrete resurfacing compared with replacing or doing something different with our patio. The decision ended up being really easy once we did our research. Since our slab was still in relatively good shape (some cracks, but nothing major), resurfacing was the perfect solution for us.
Here is a summary of the benefits of Daich Coatings’ Decorative Concrete Resurfacing Kits:
- The project can be completed in a weekend with minimal supplies
- Resurfacing yourself is much more cost-effective than replacing or paying someone else to do the project (see more on that below)
- The kits are made with real stone
- The surface is UV, heat, and extreme cold resistant
- They are industrial strength and heavy duty (great for high-traffic areas, including garages)
- The surfaces have superior traction and are water repellant
- No special skills are needed! The method and tools provided give your concrete an artistic look without any artistic skills needed on your part. I’m not exaggerating – it’s almost impossible to mess up the look.
- This solution is not just for patios! The same kit would also work for steps, pool decks, walkways, entrances, garage floors, balconies, foundation walls, interior shower areas, bathroom floors, basement floors, commercial concrete floors, and more.
Concrete resurfacing cost
The Daich Coatings SpreadStone™ kits cost about $150 for the 100 square feet kit and $500 for the 400 square feet kit (with free shipping on all orders). Only minimal additional supplies are needed, so the cost for the project stays very low, especially since you are doing it yourself. You can expect to pay 2-5 times that amount for professional resurfacing, and much more for a new patio.
Decorative concrete resurfacing before and after
The before and after results were even better than we imagined!
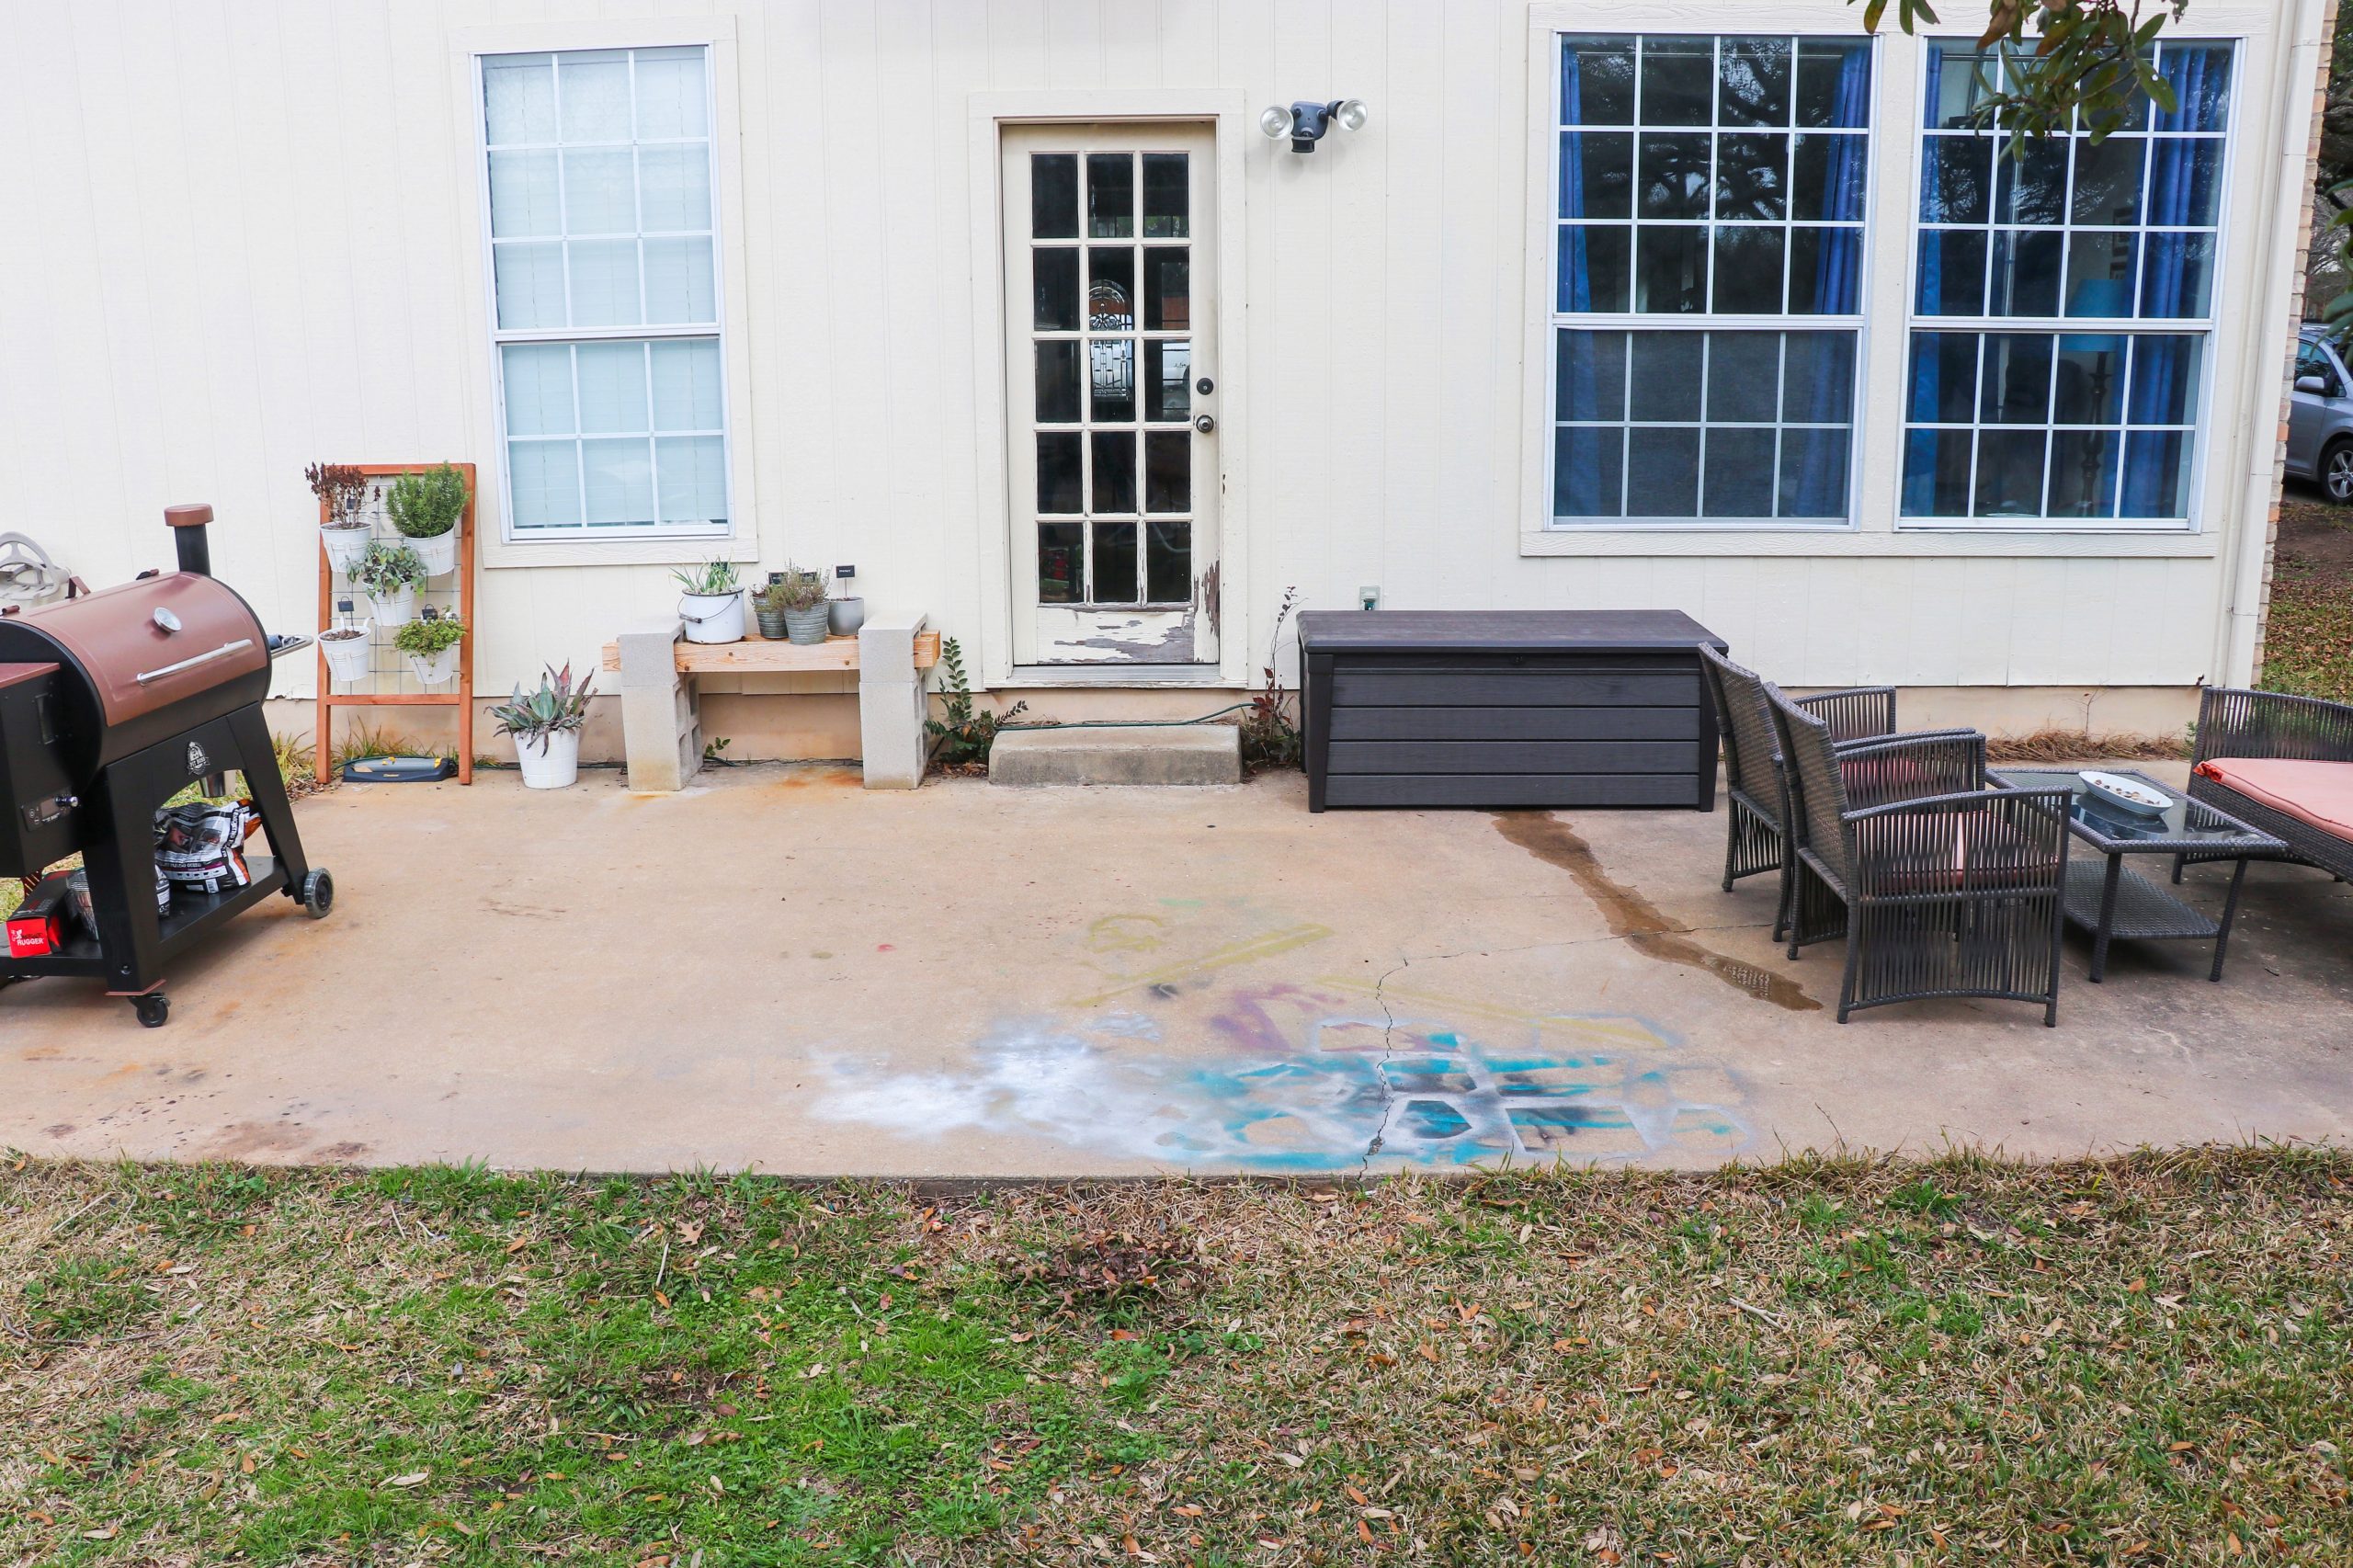
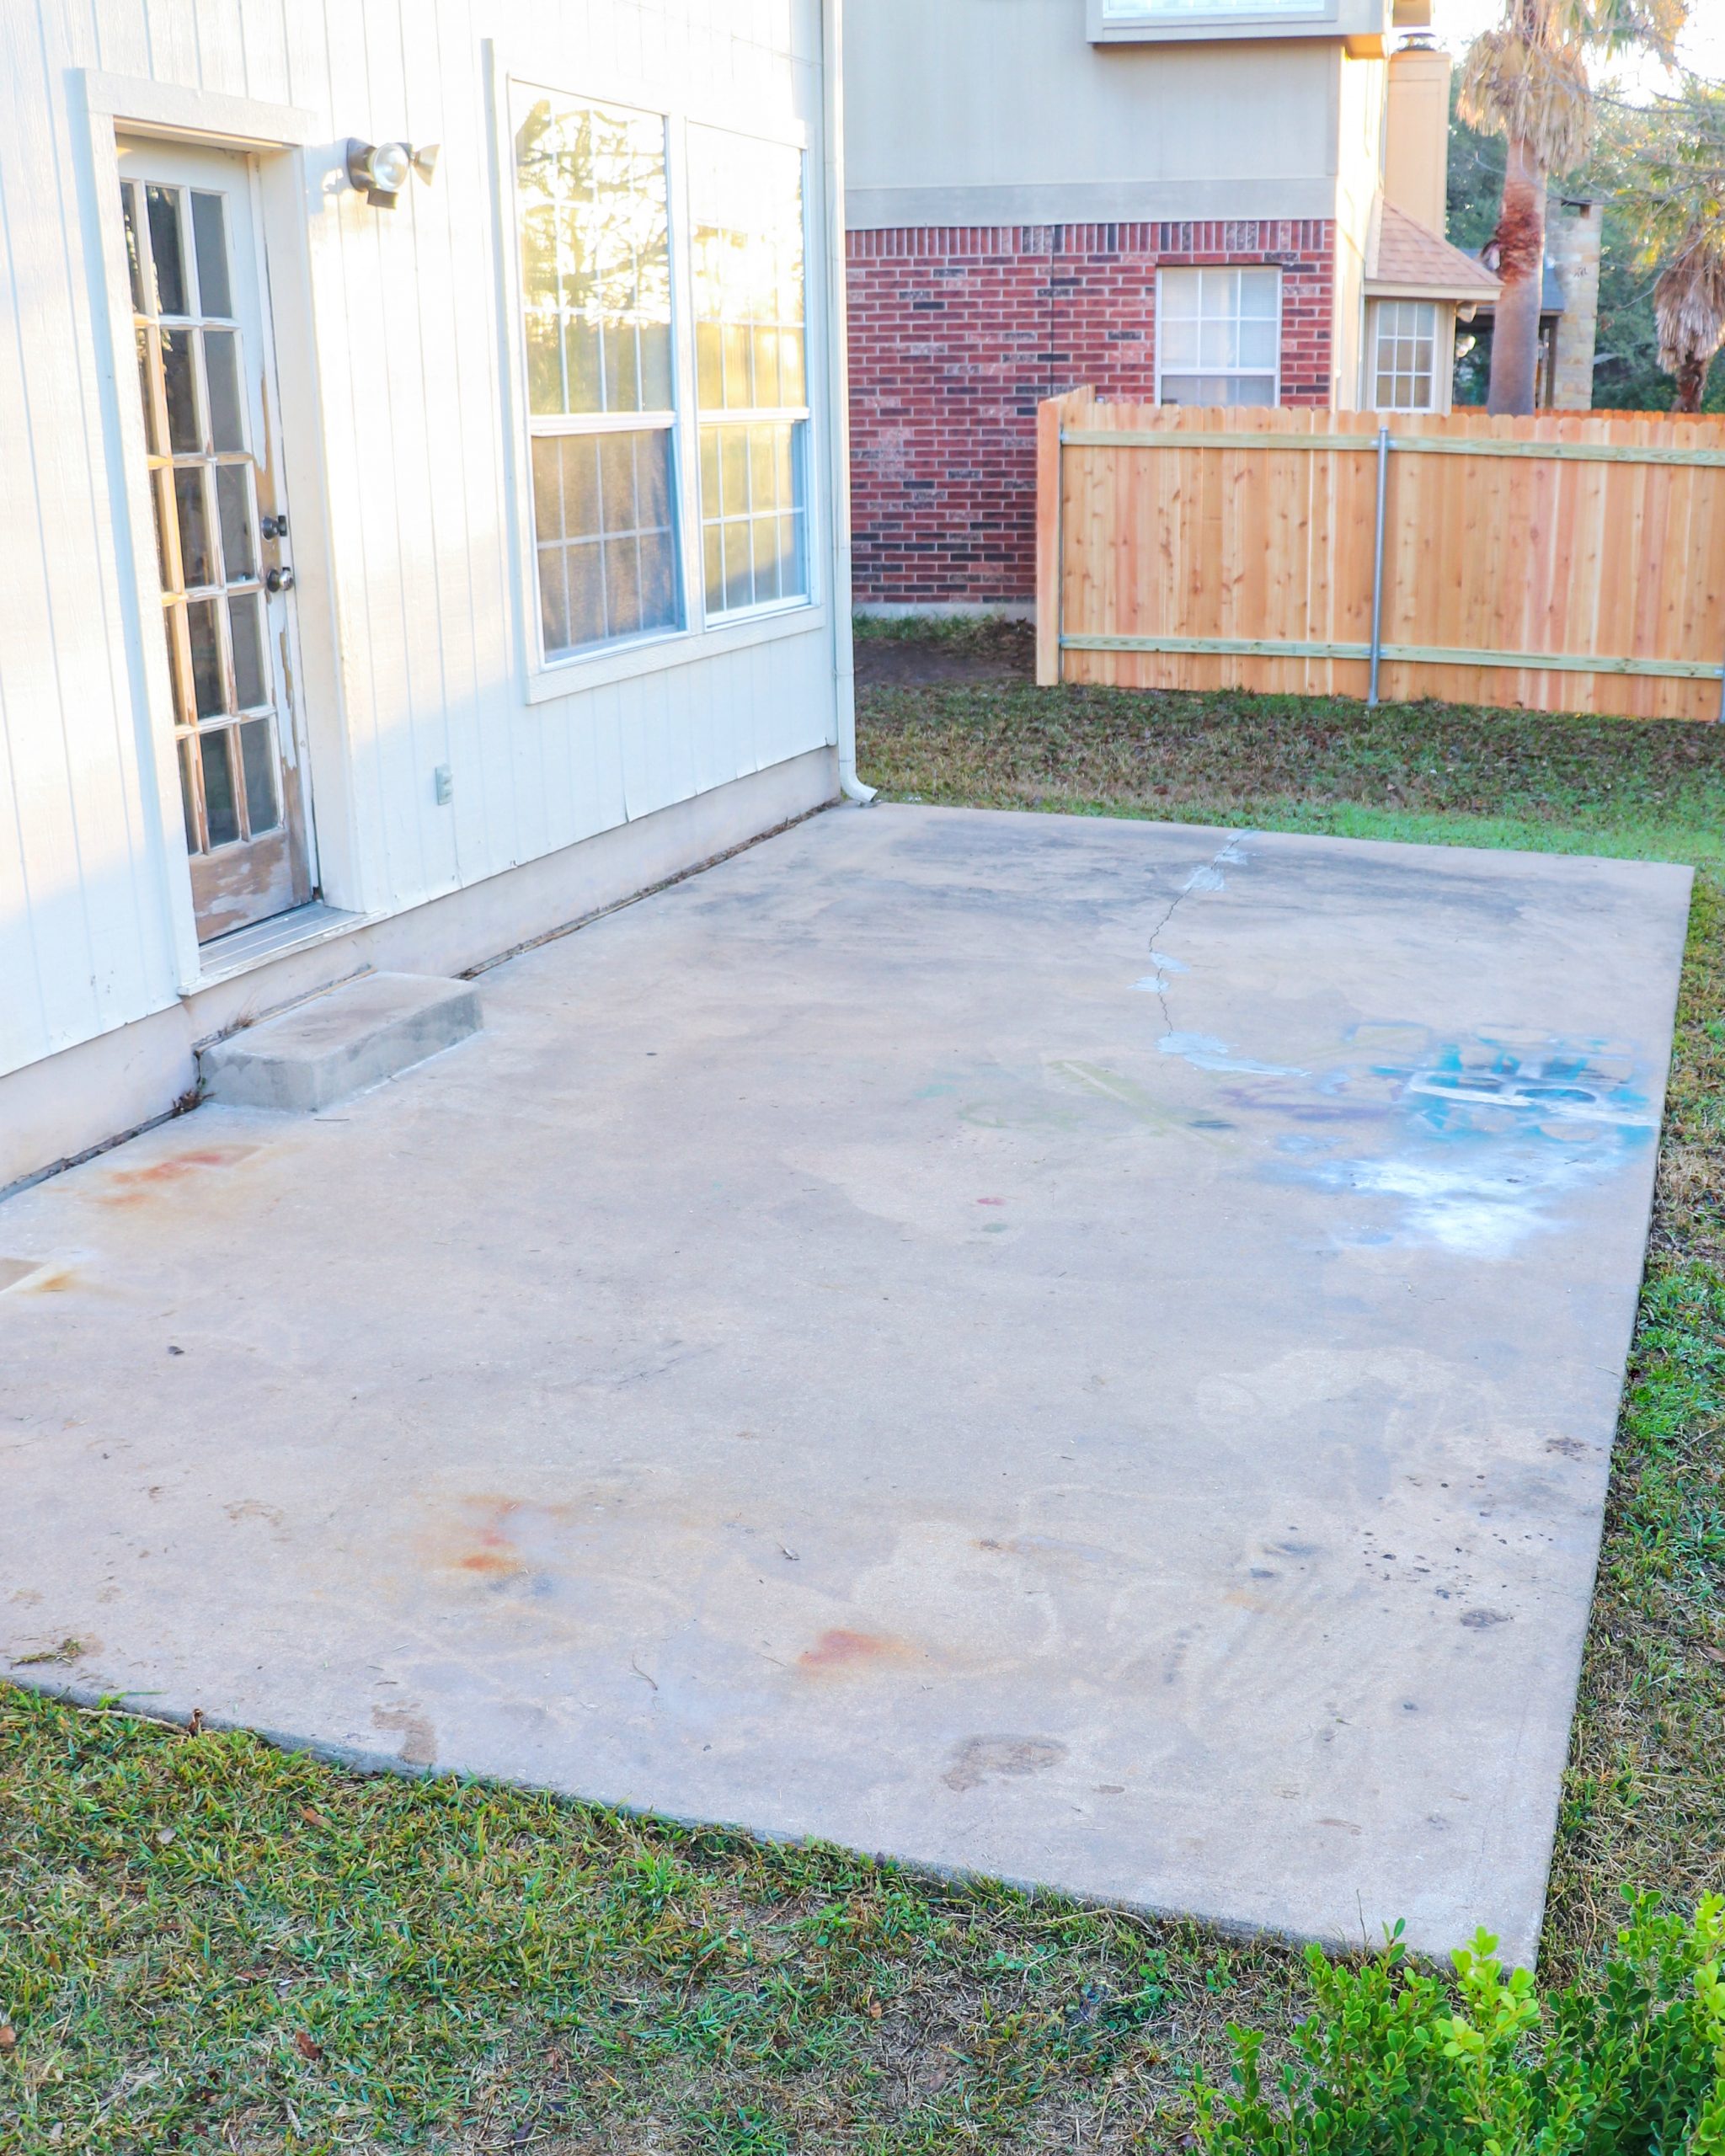
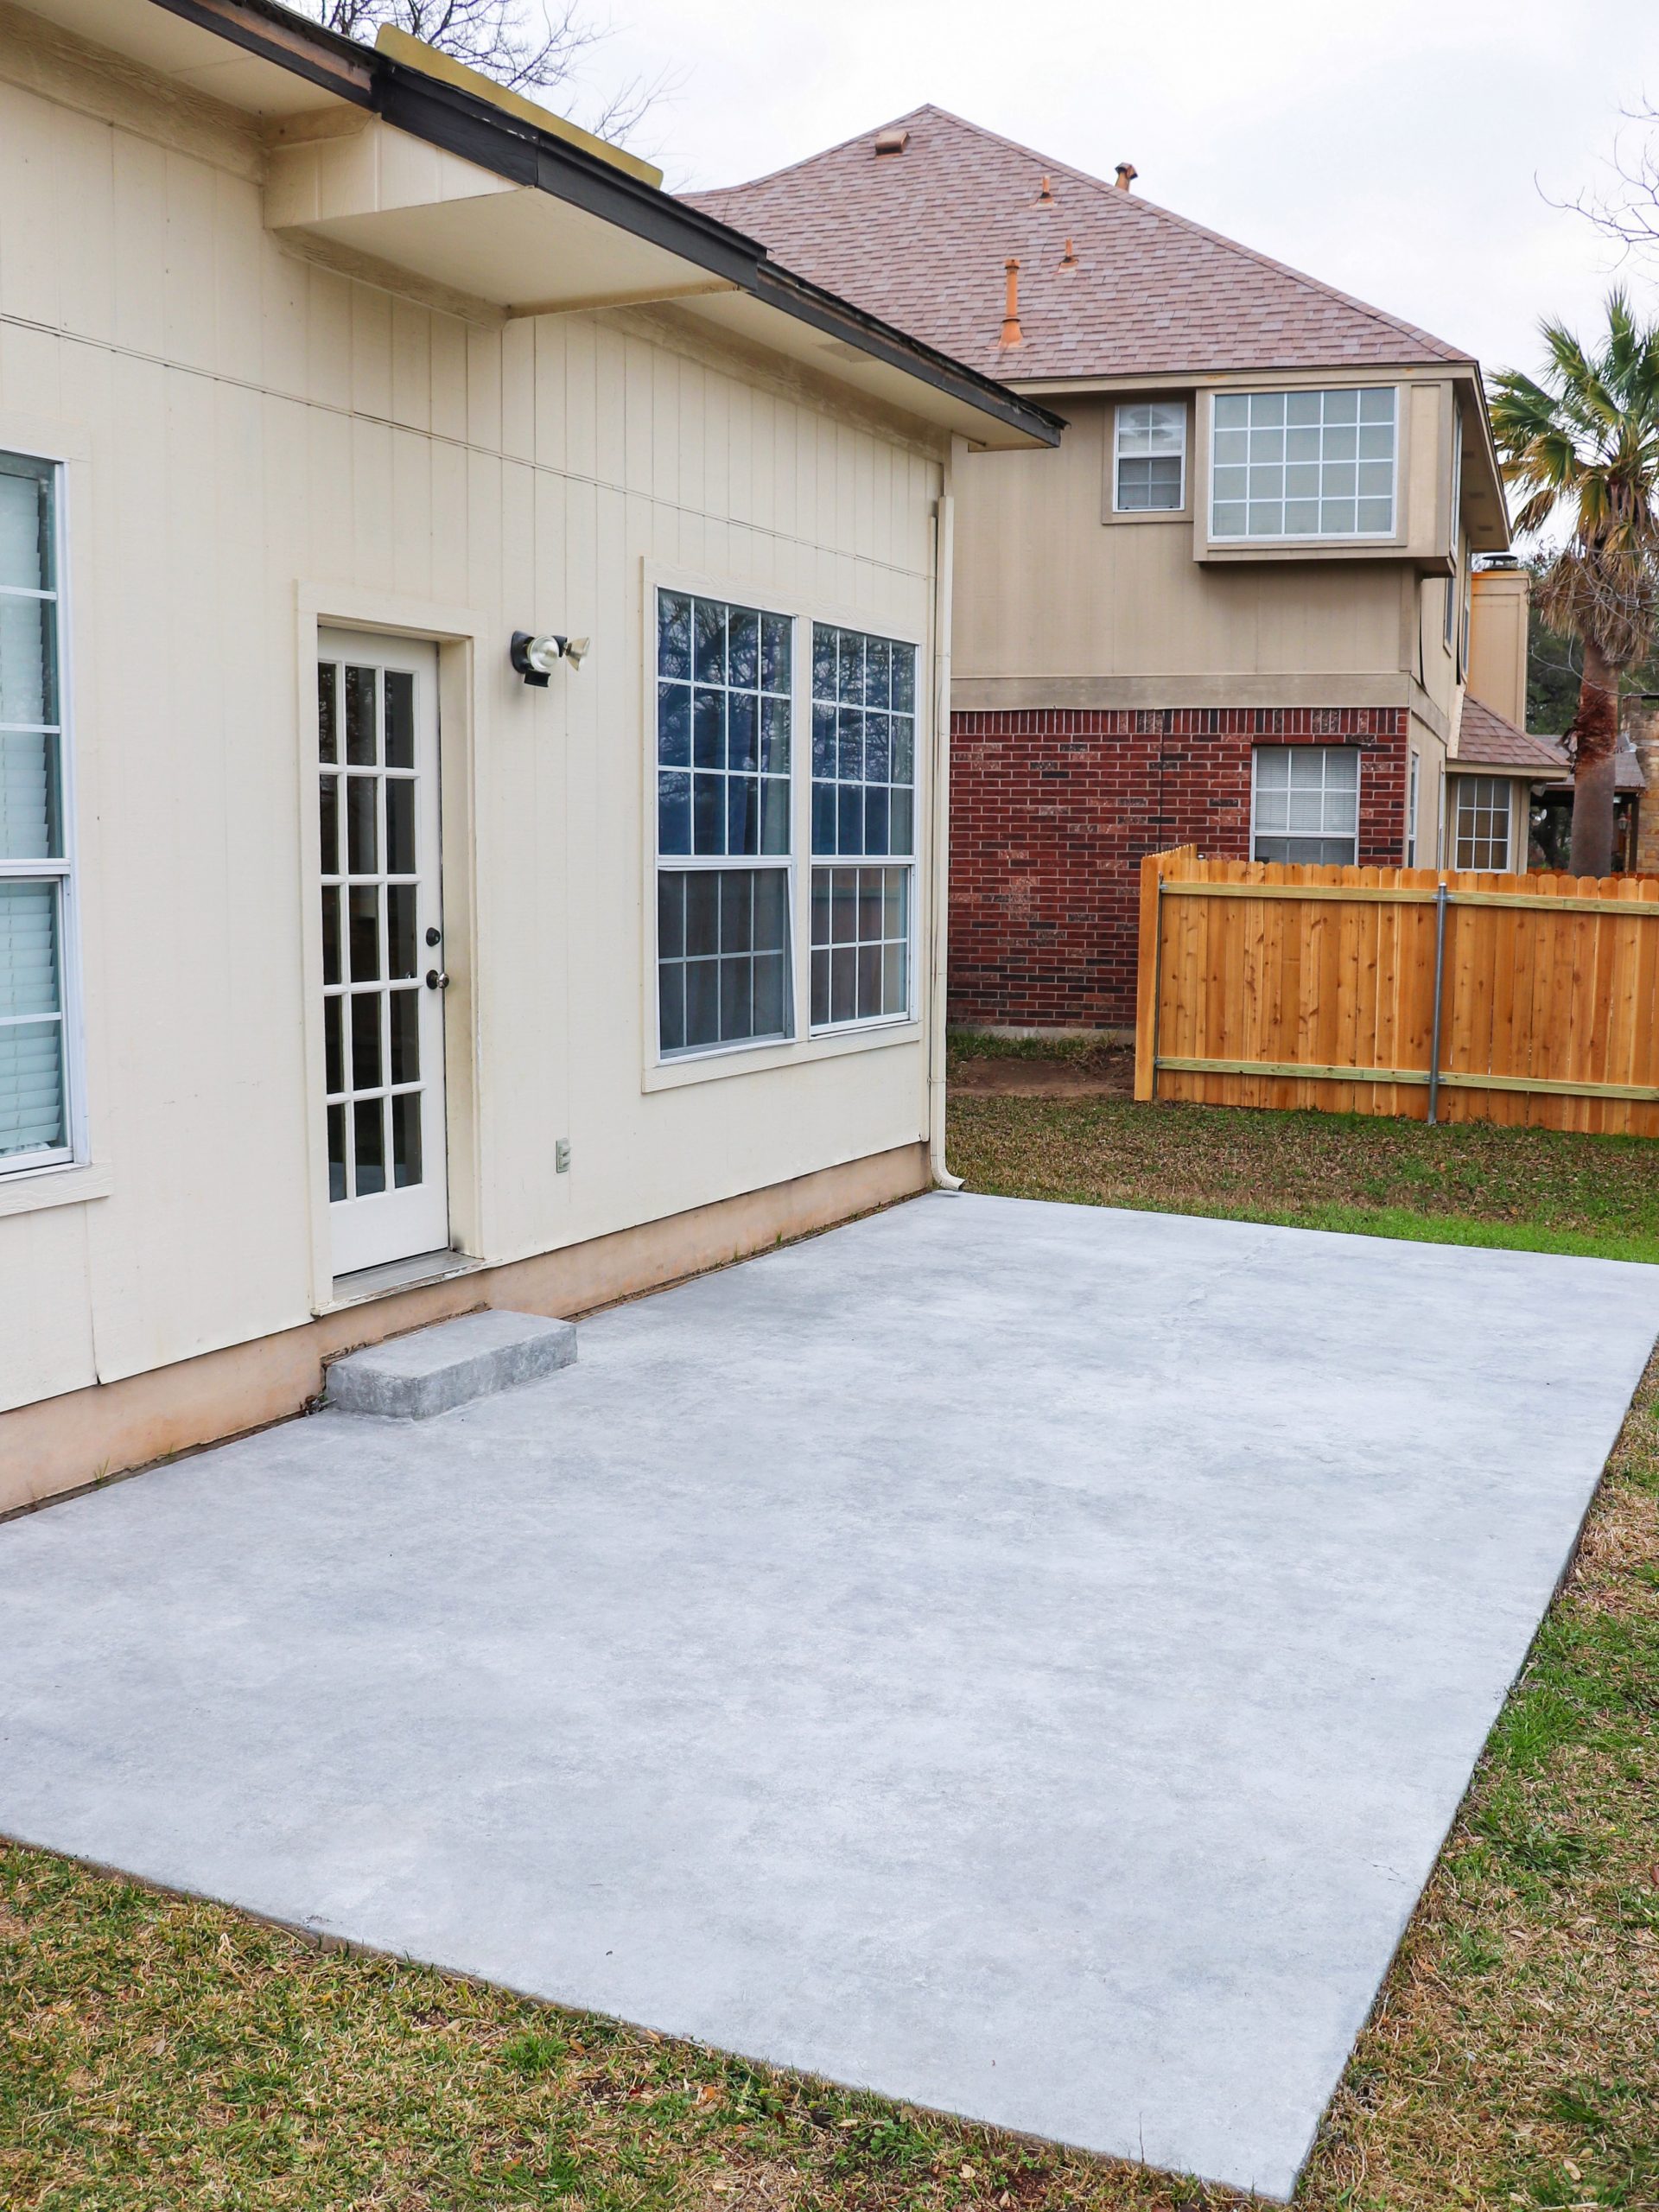
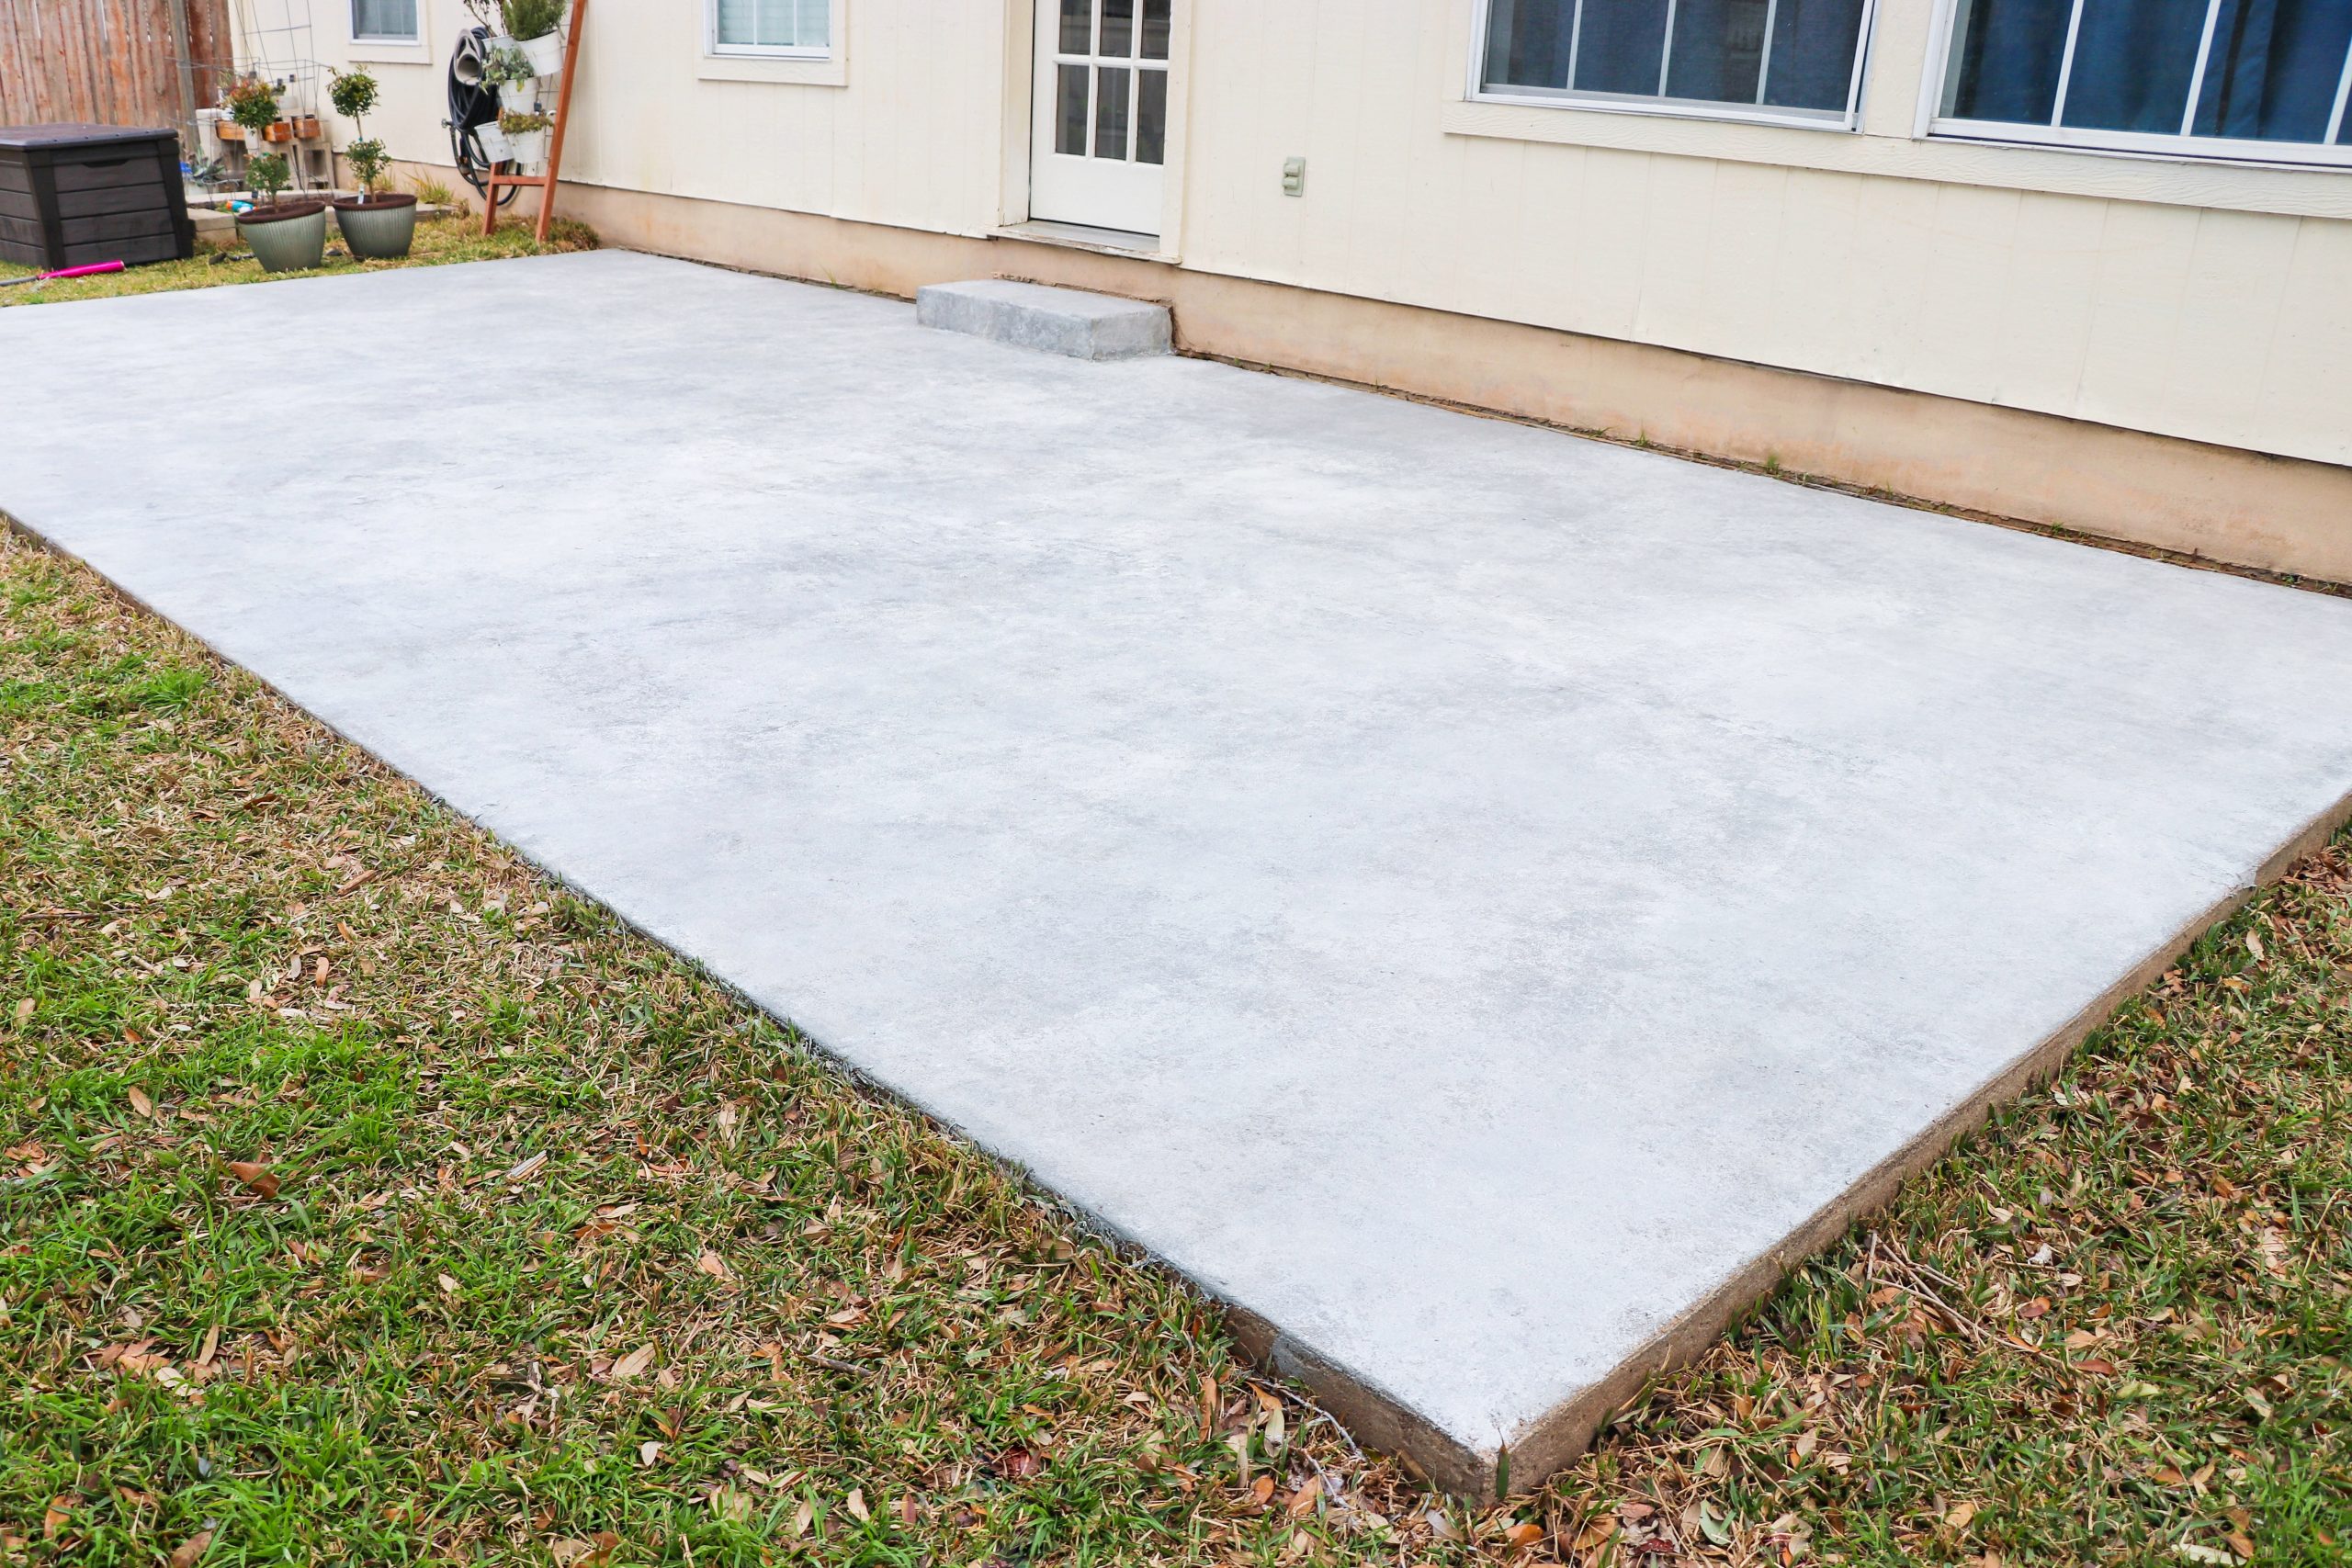
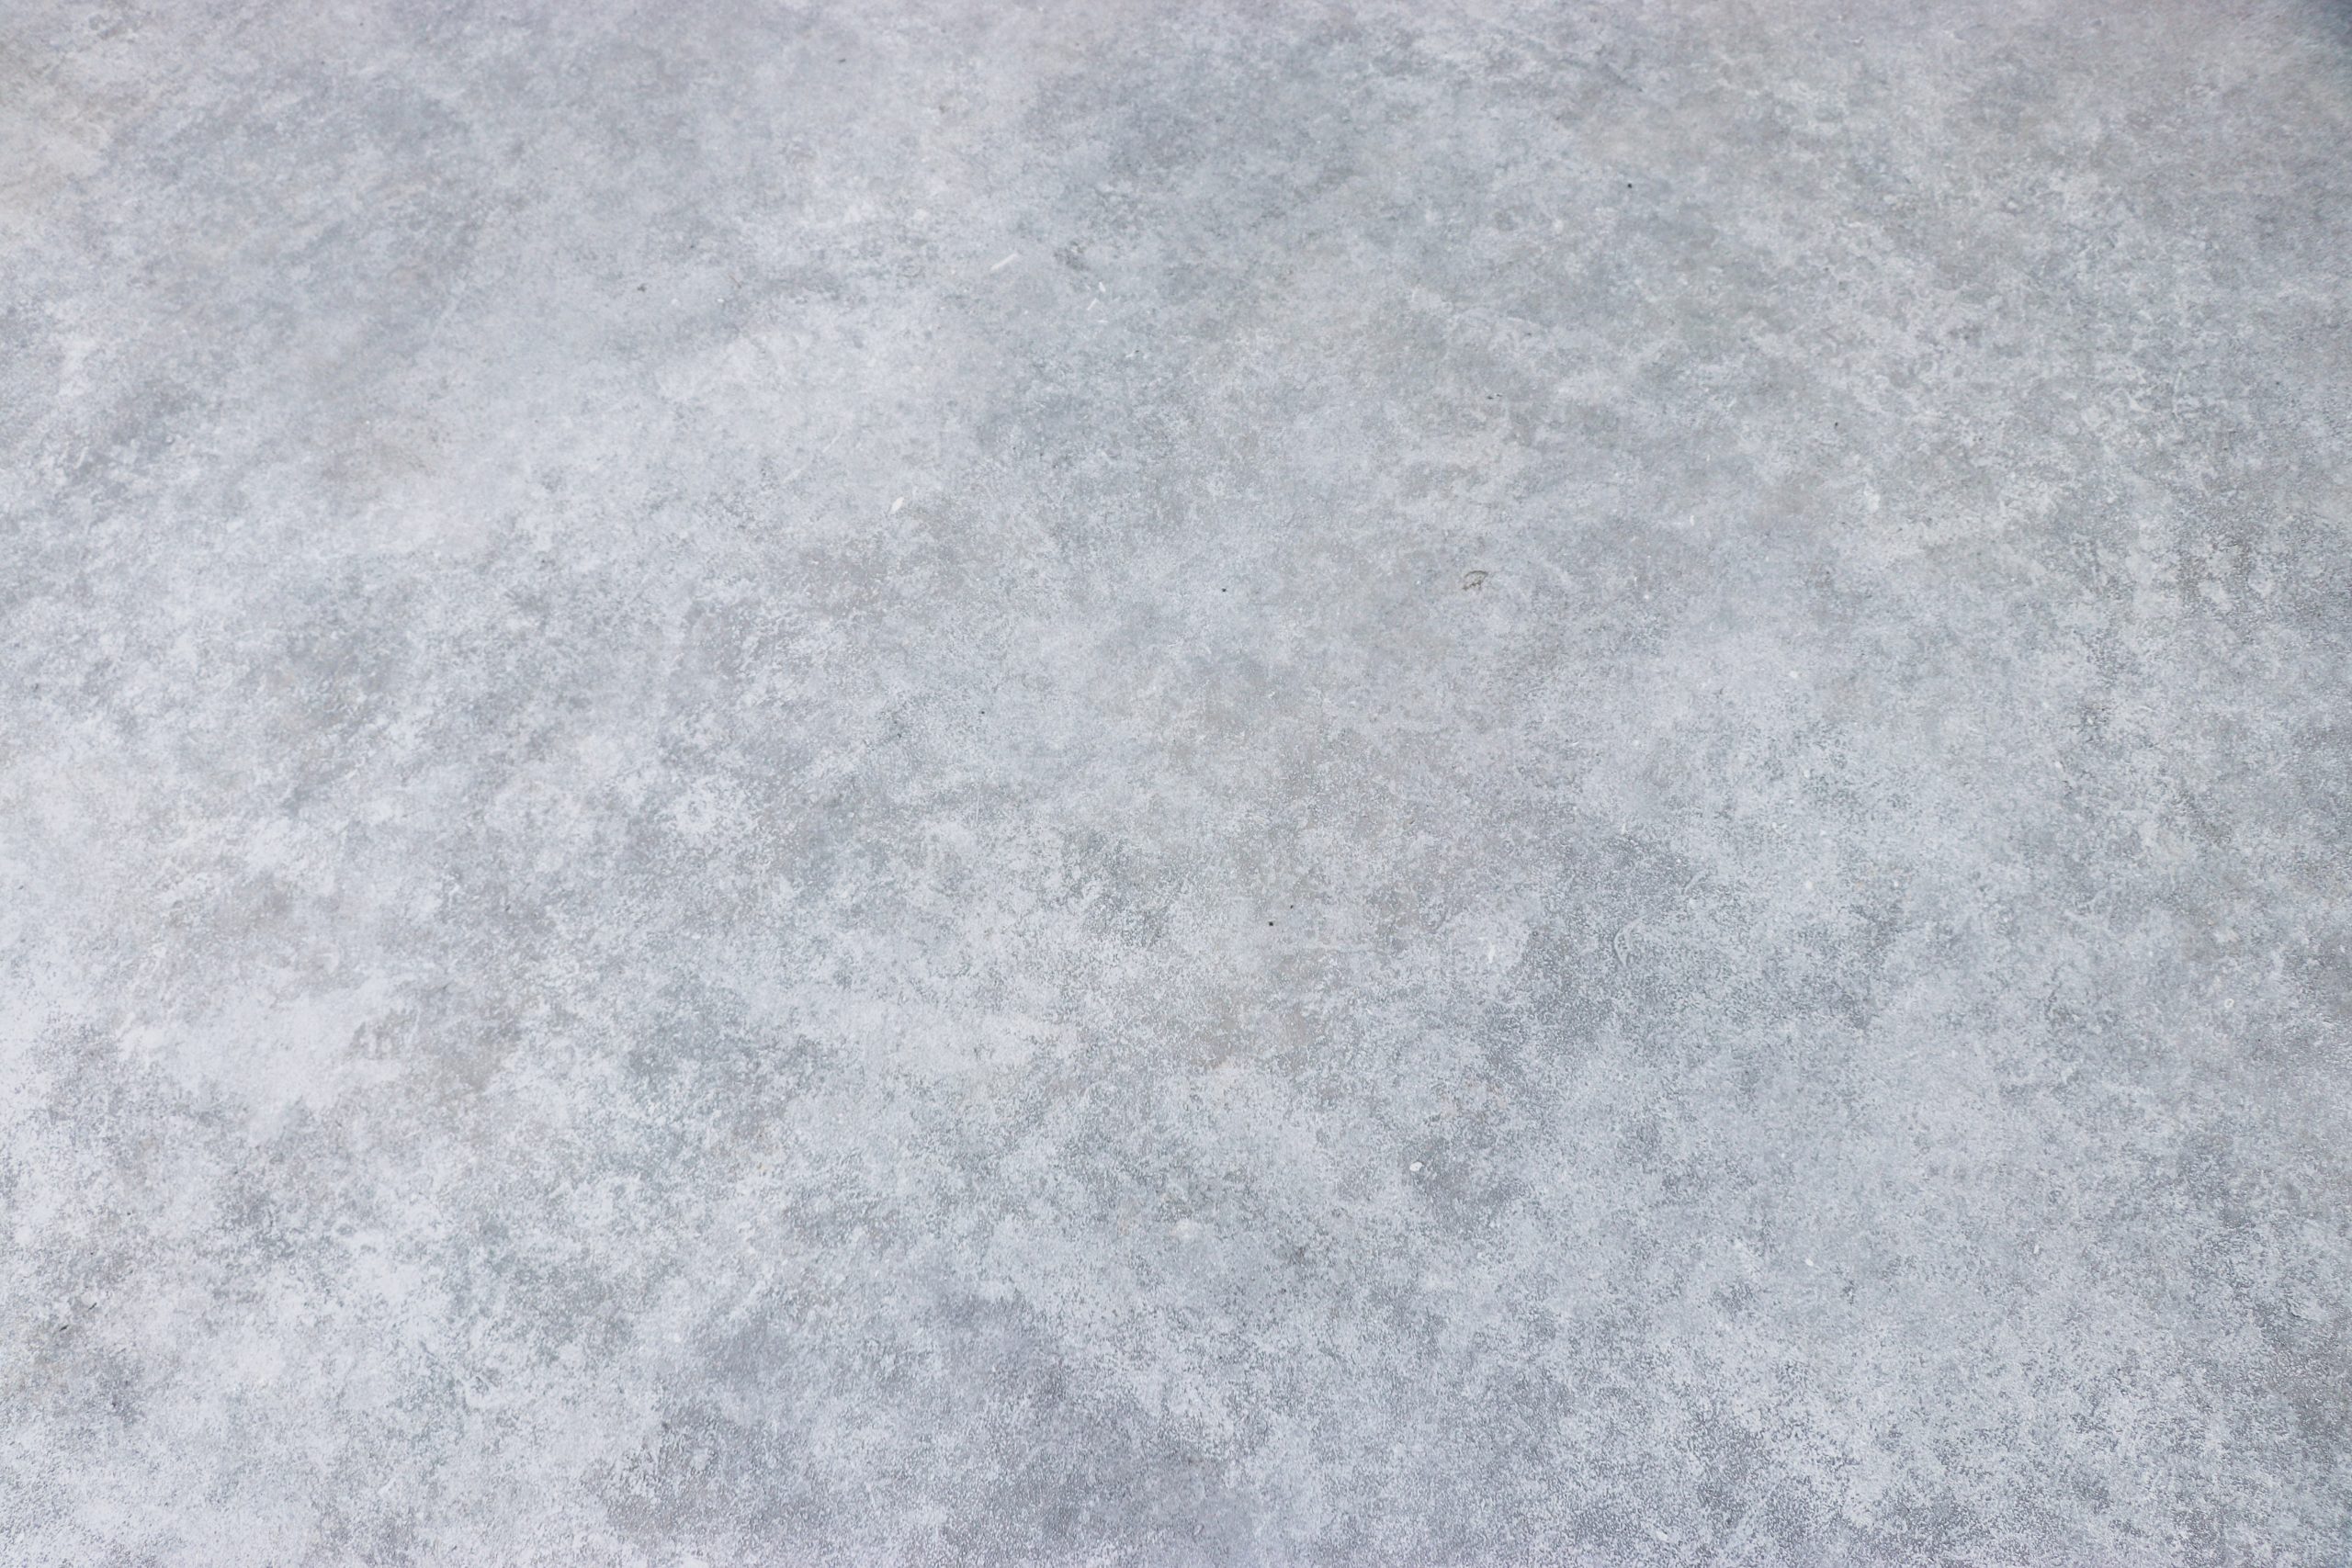
Before:
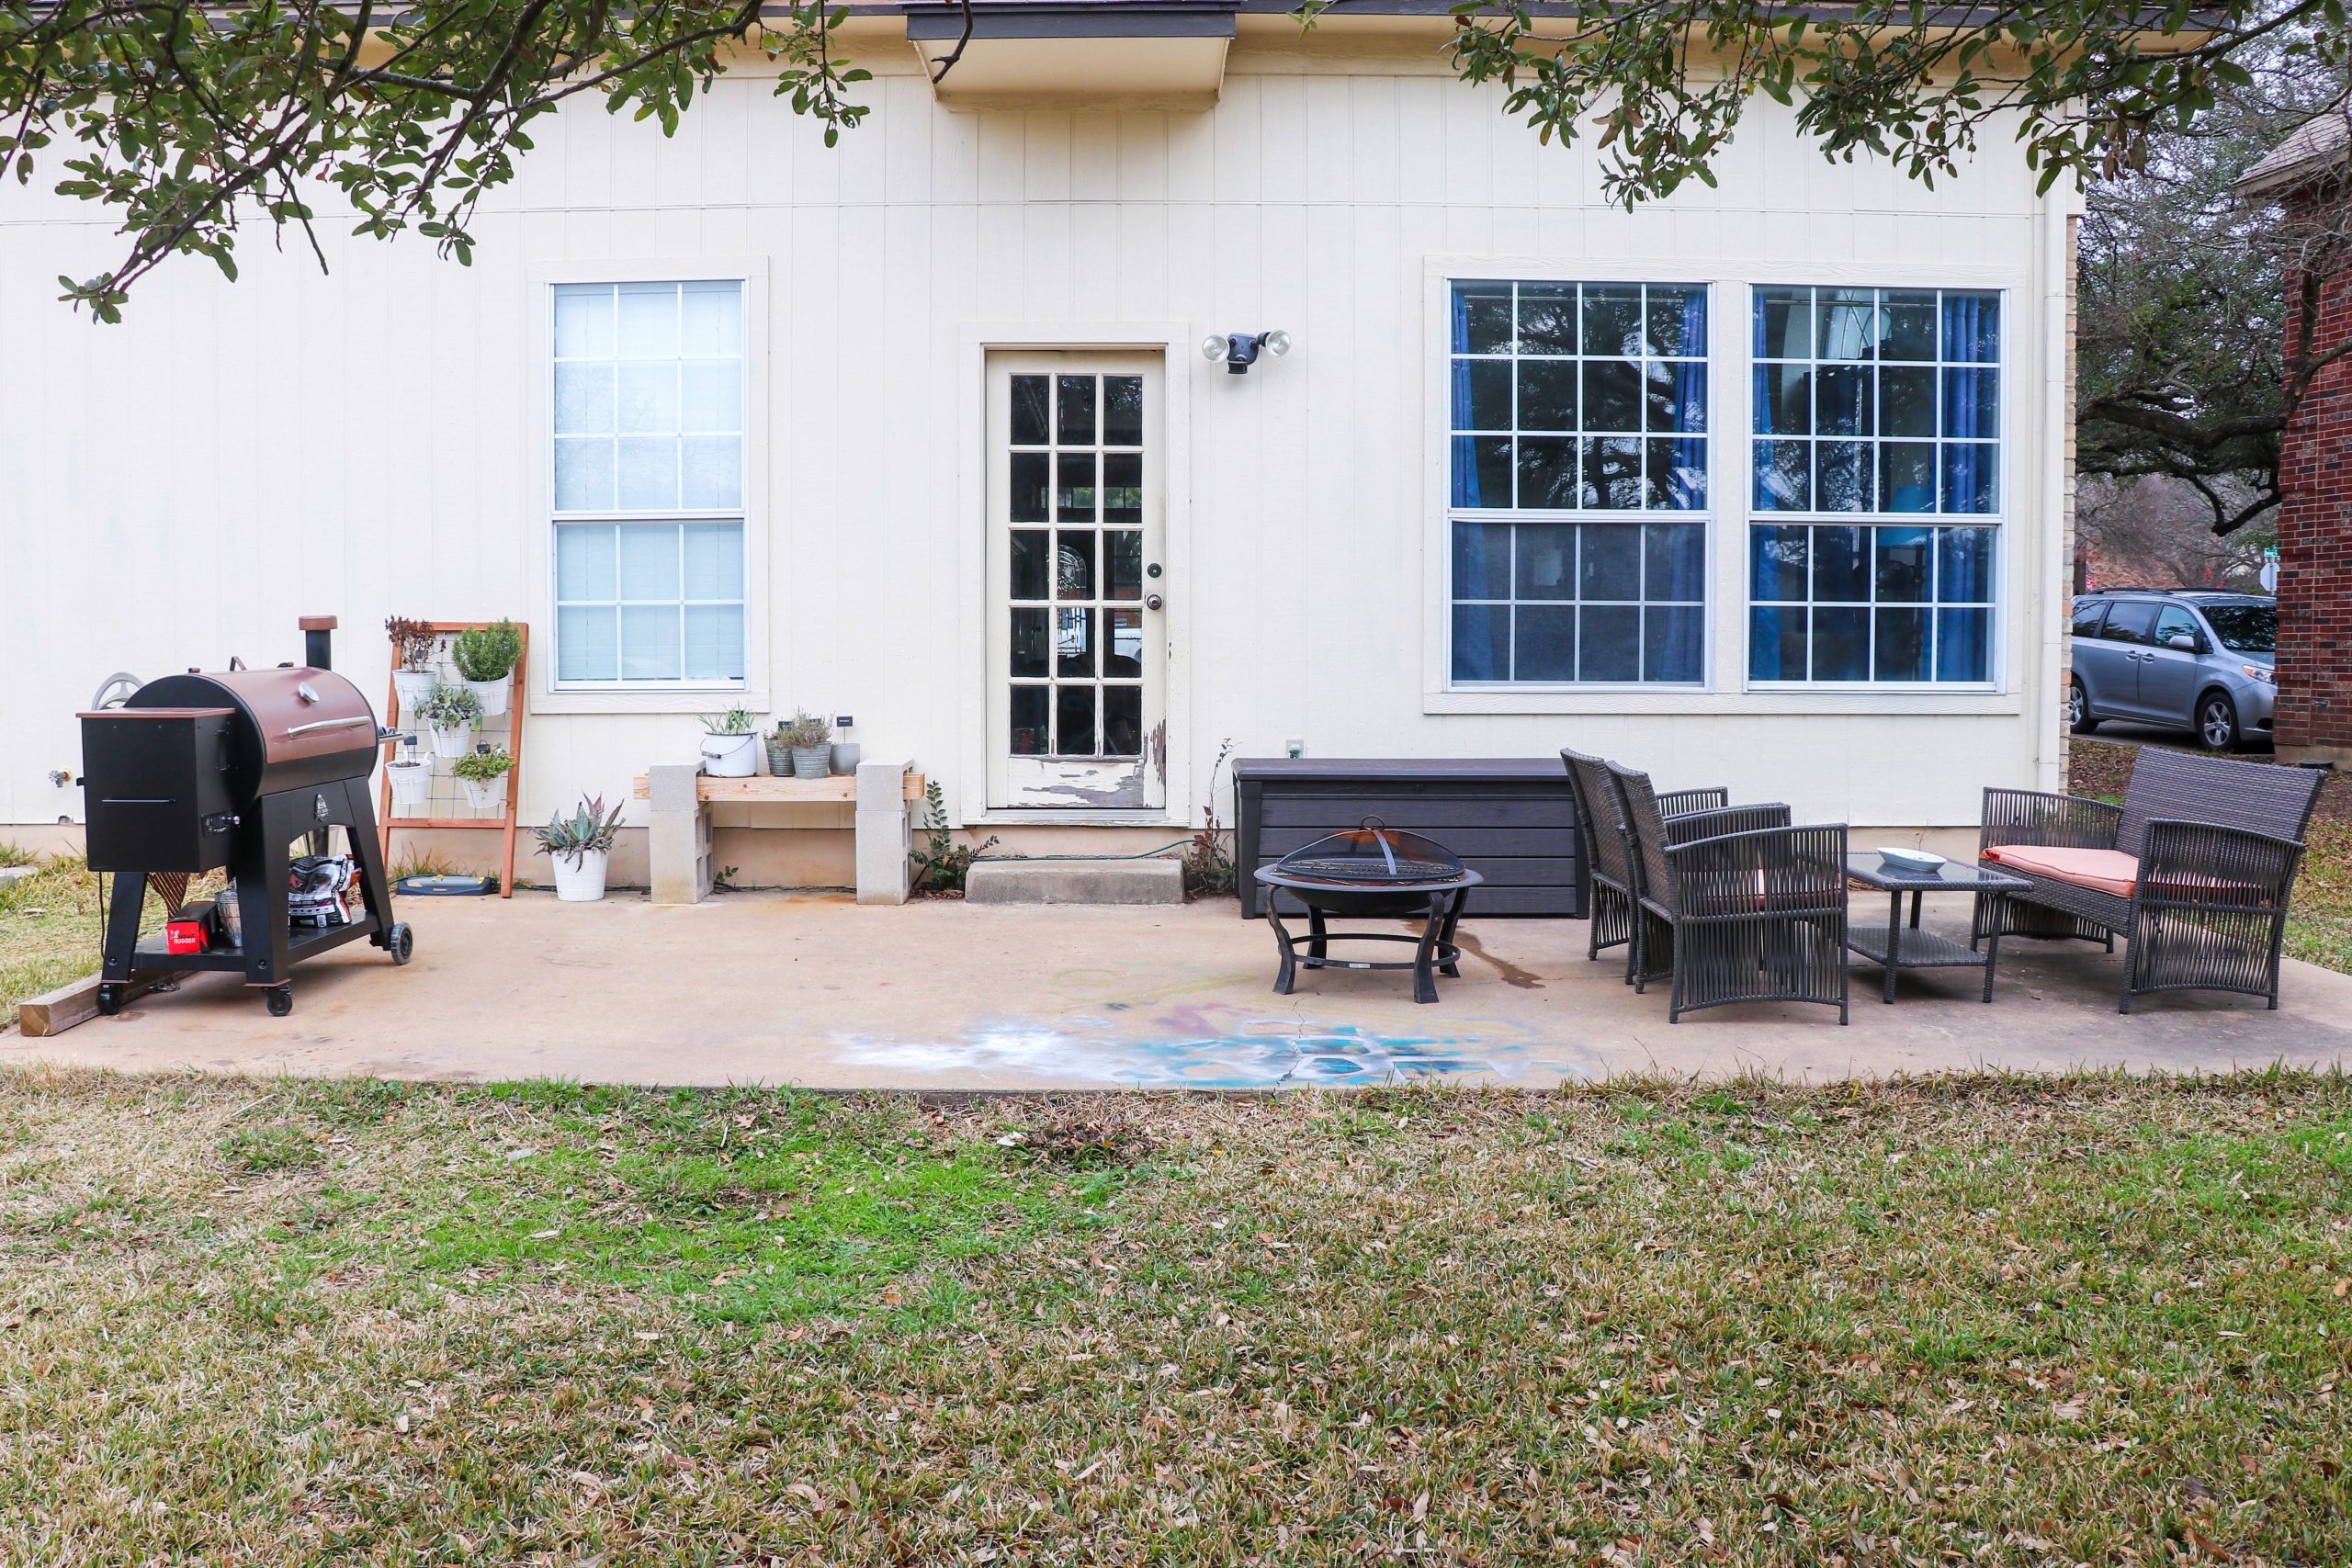
The patio slab before was dingy, cracked in places, and marked with spray paint (I confess that I used to do my DIY spray painting projects directly on the patio since we always intended to replace or cover it).
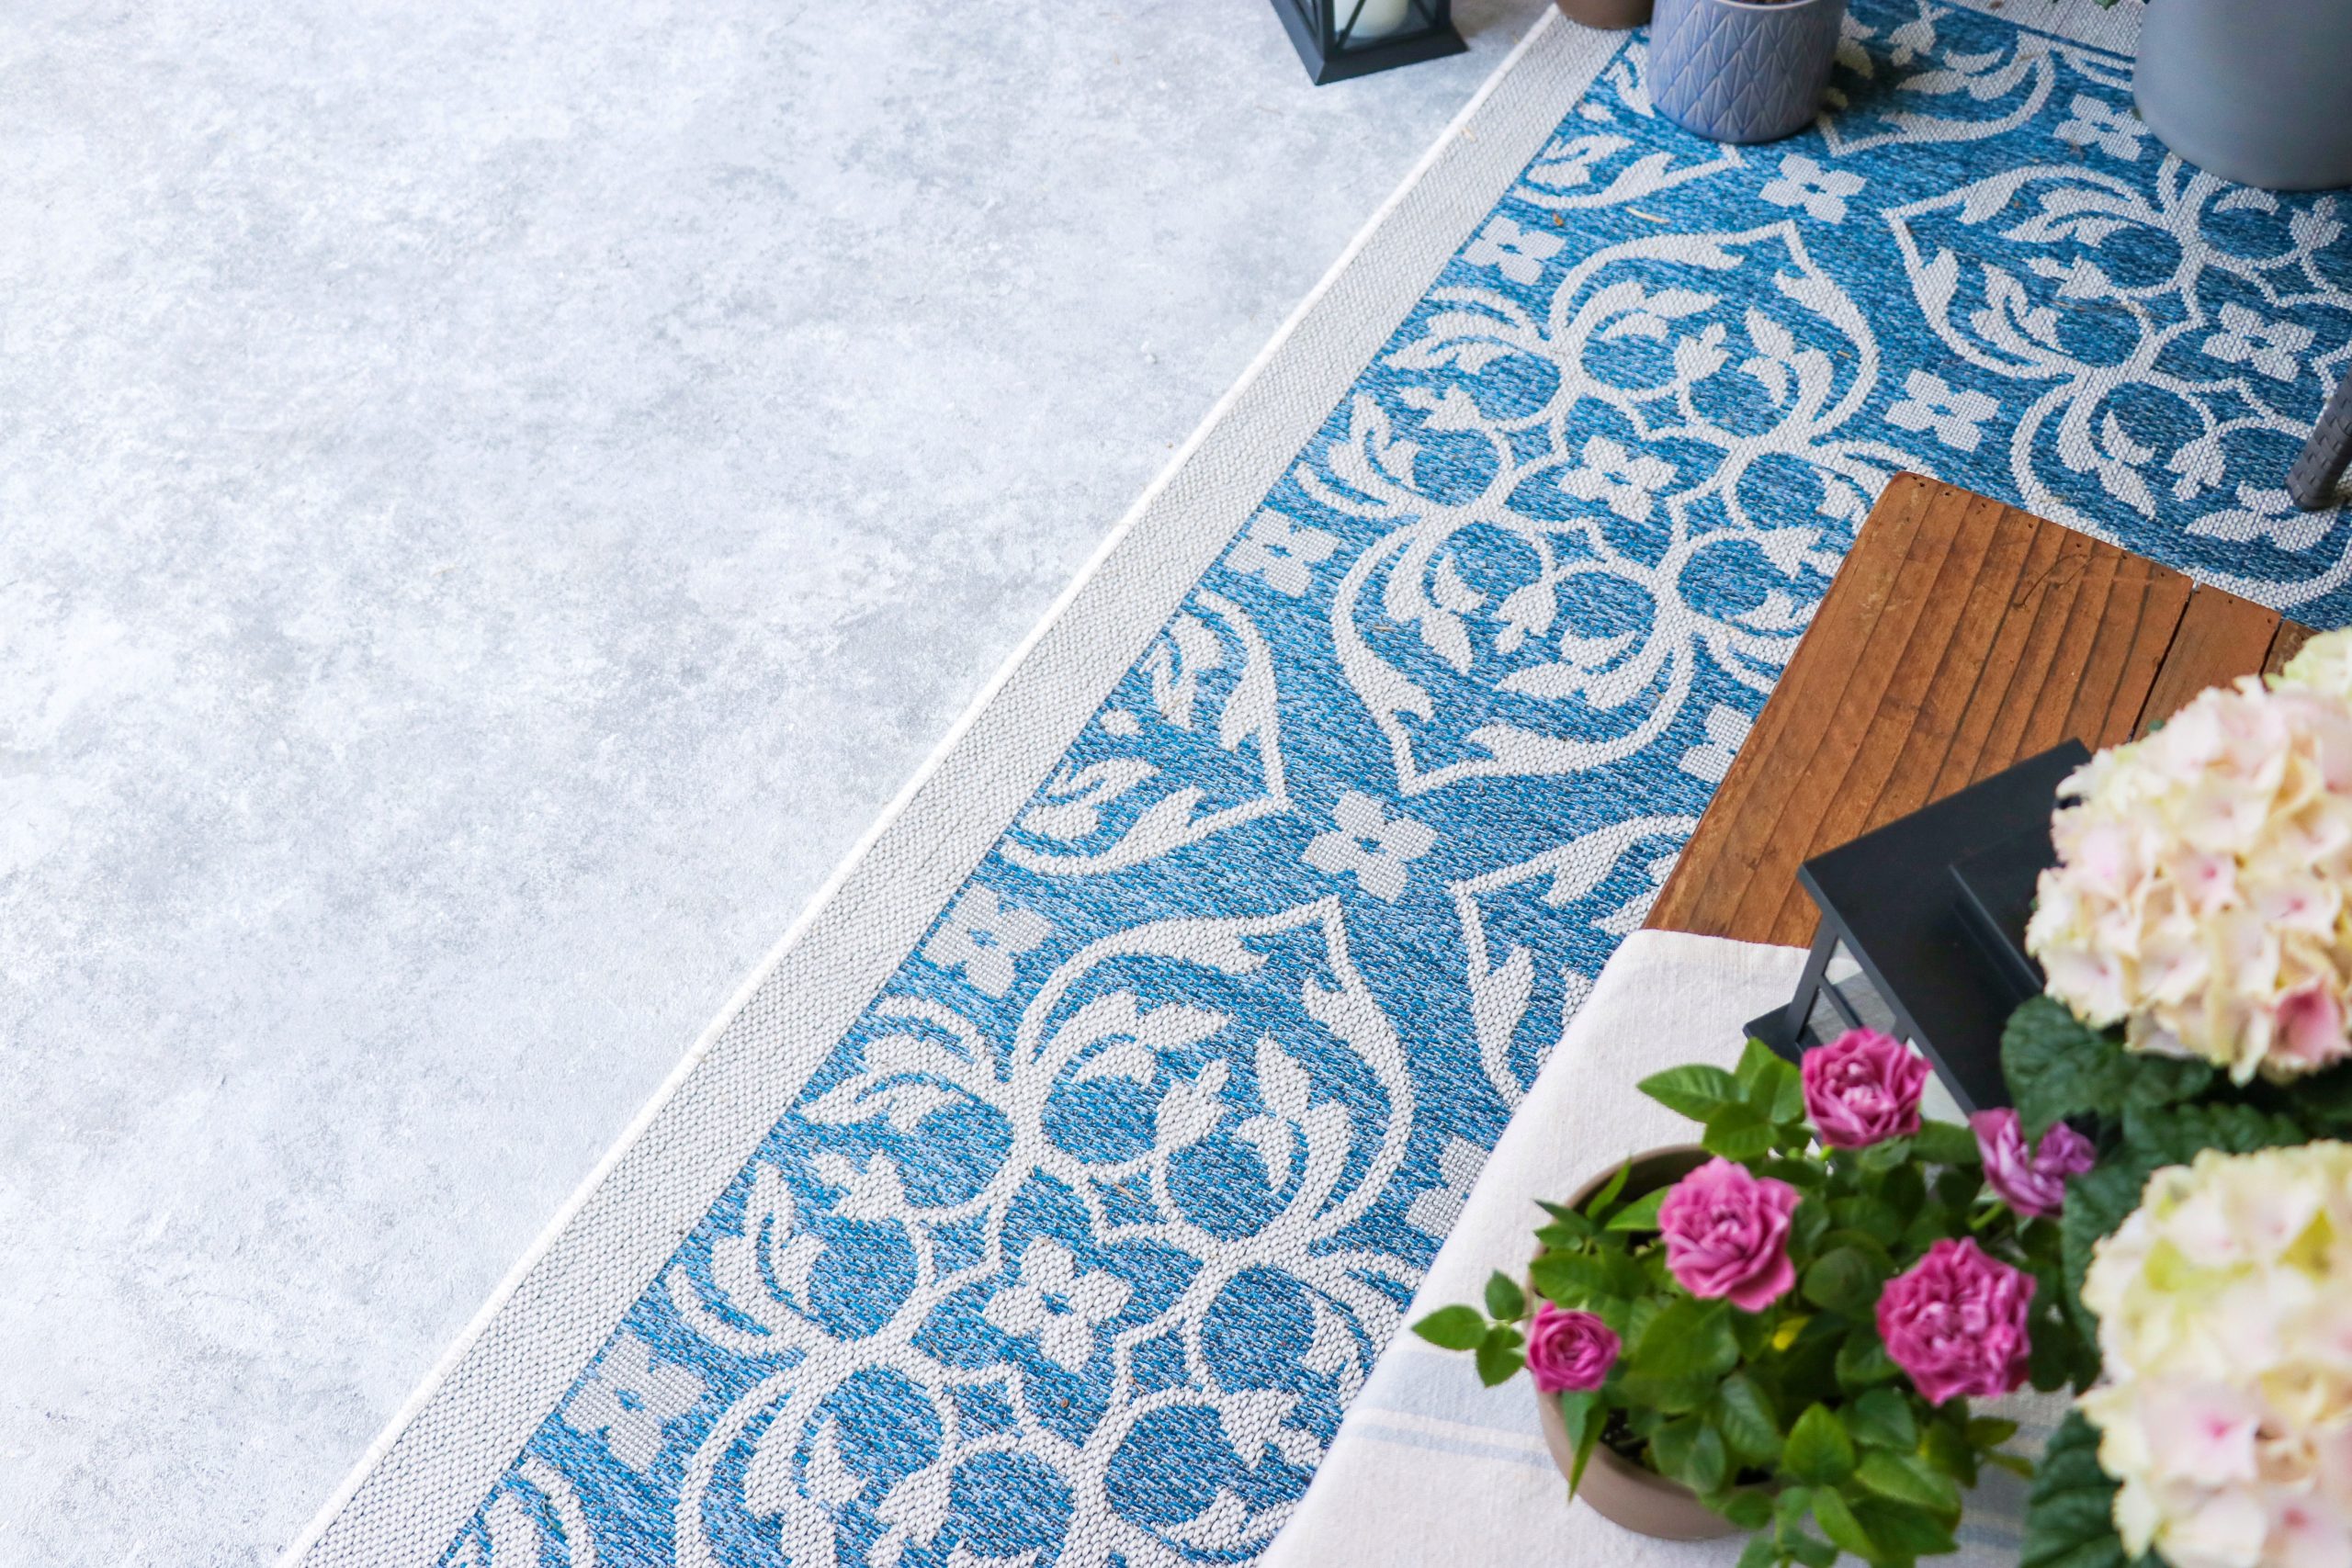
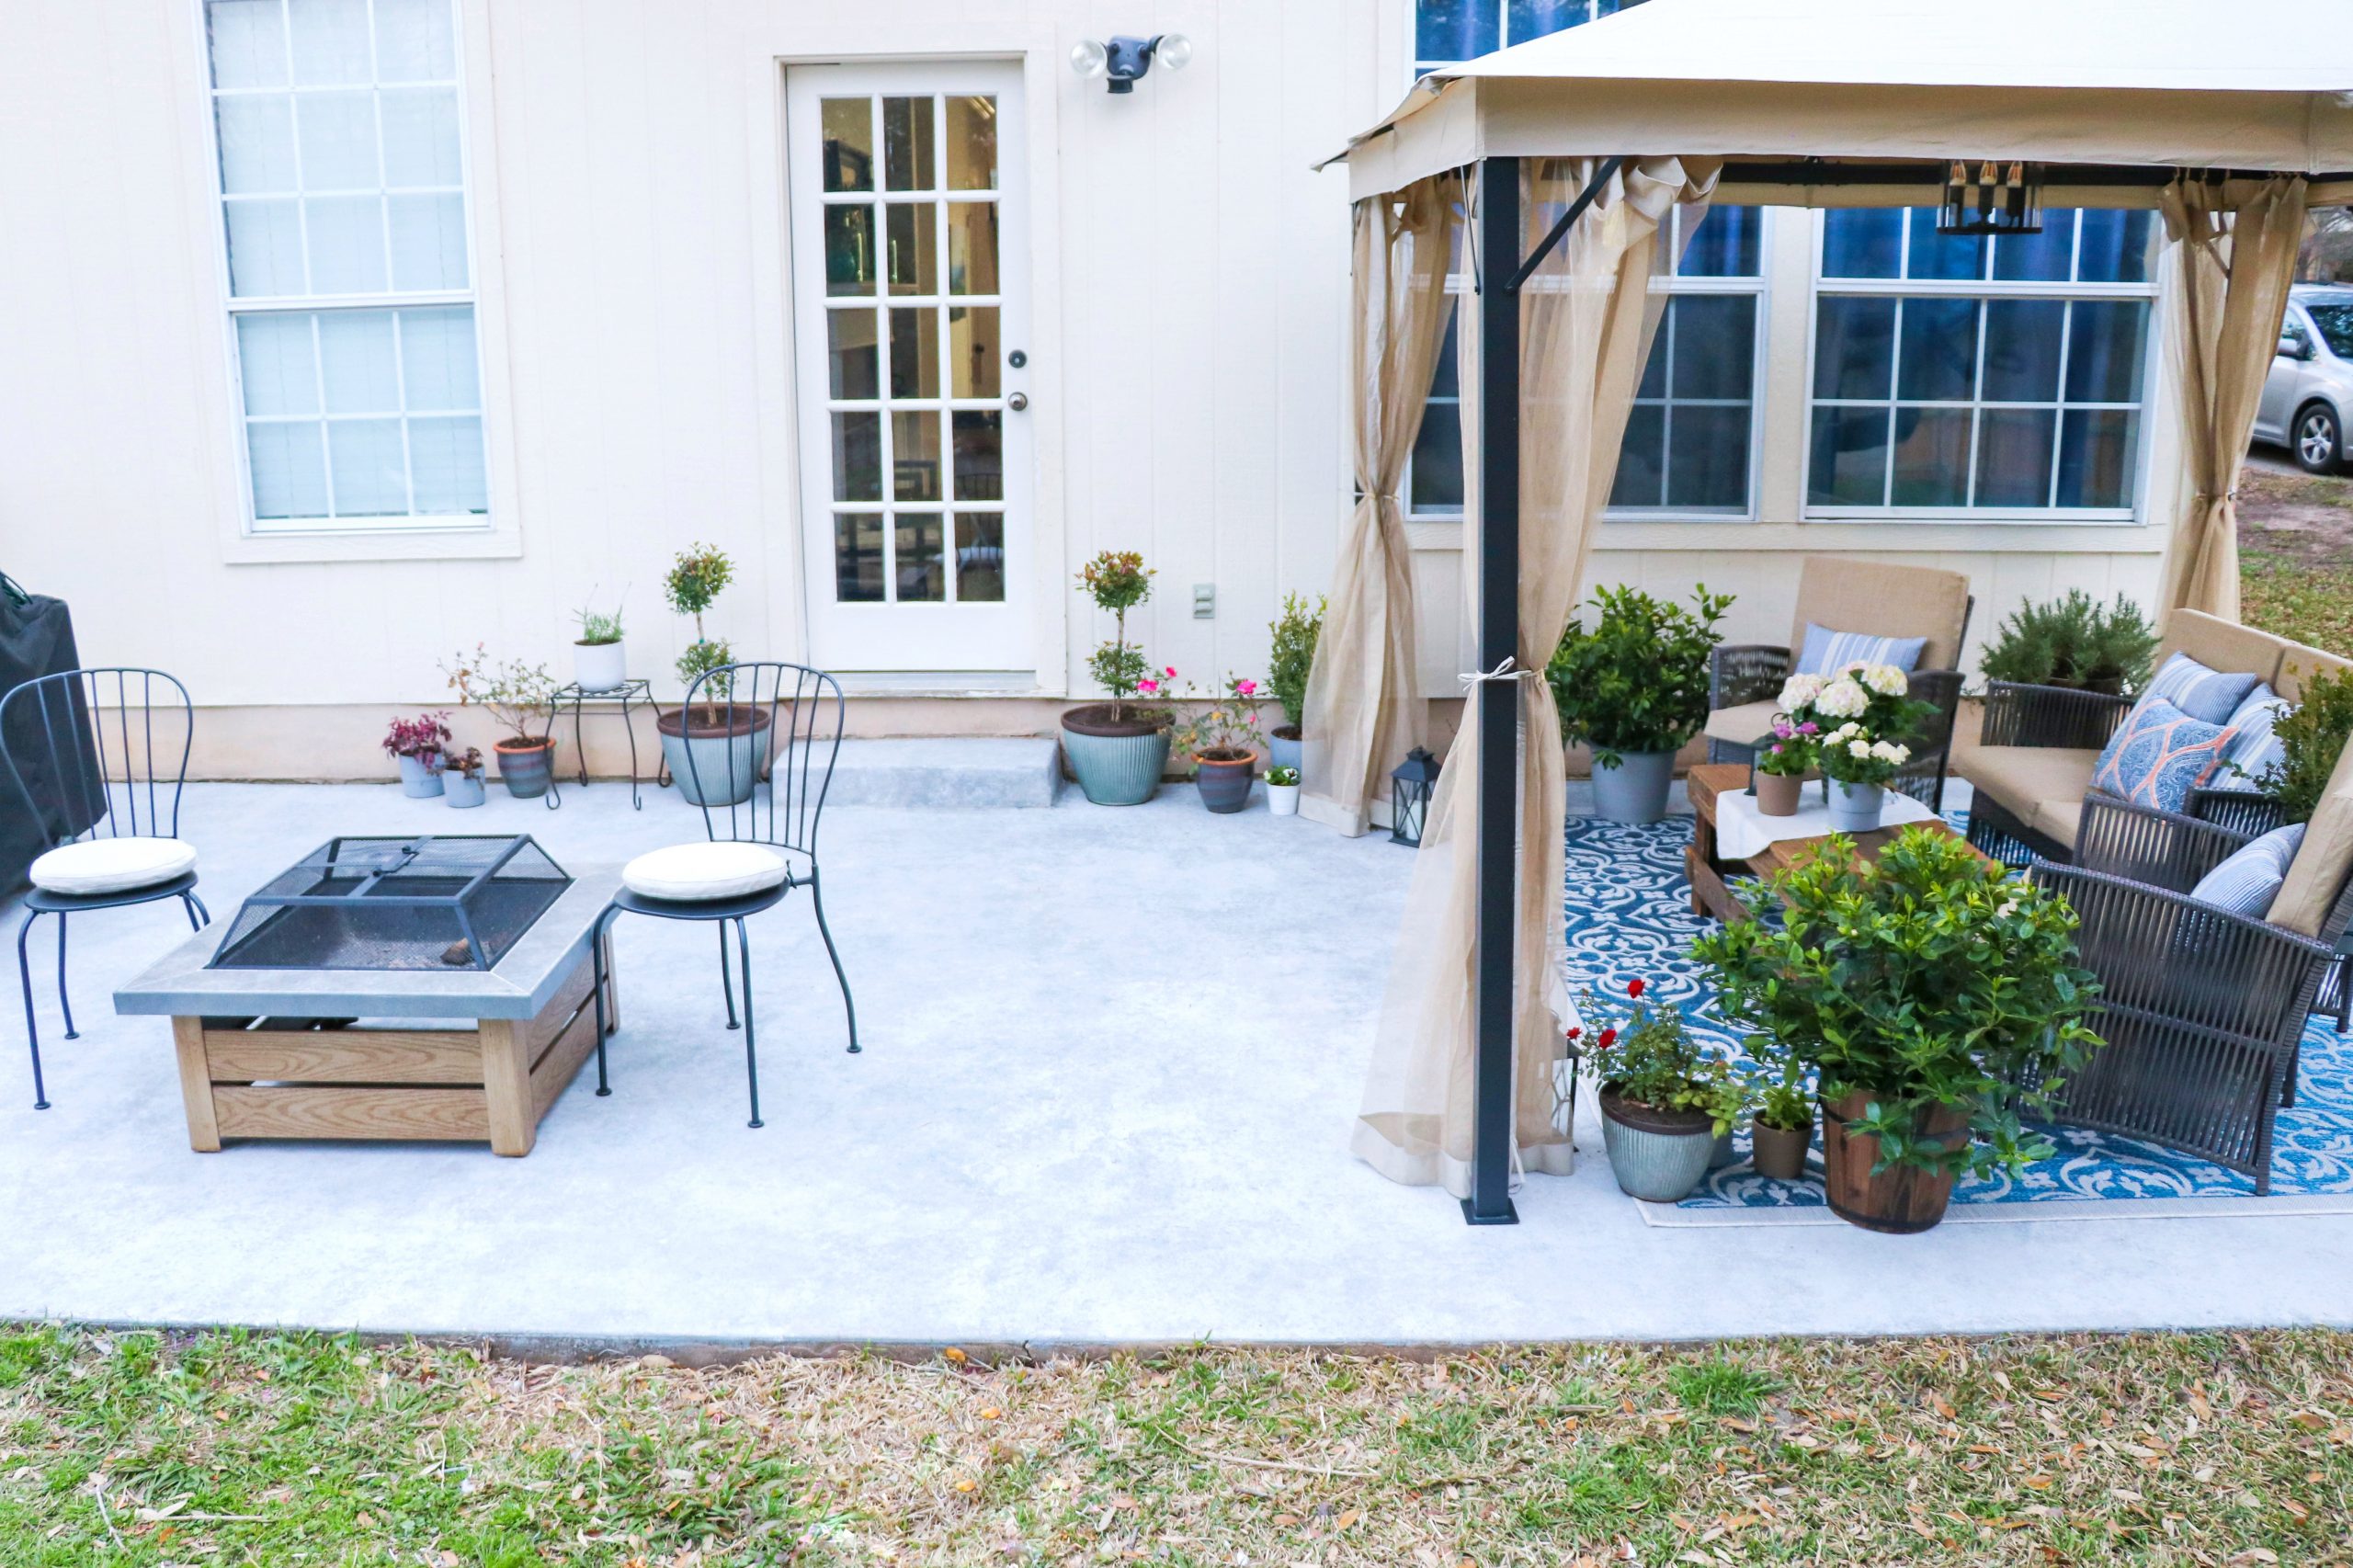
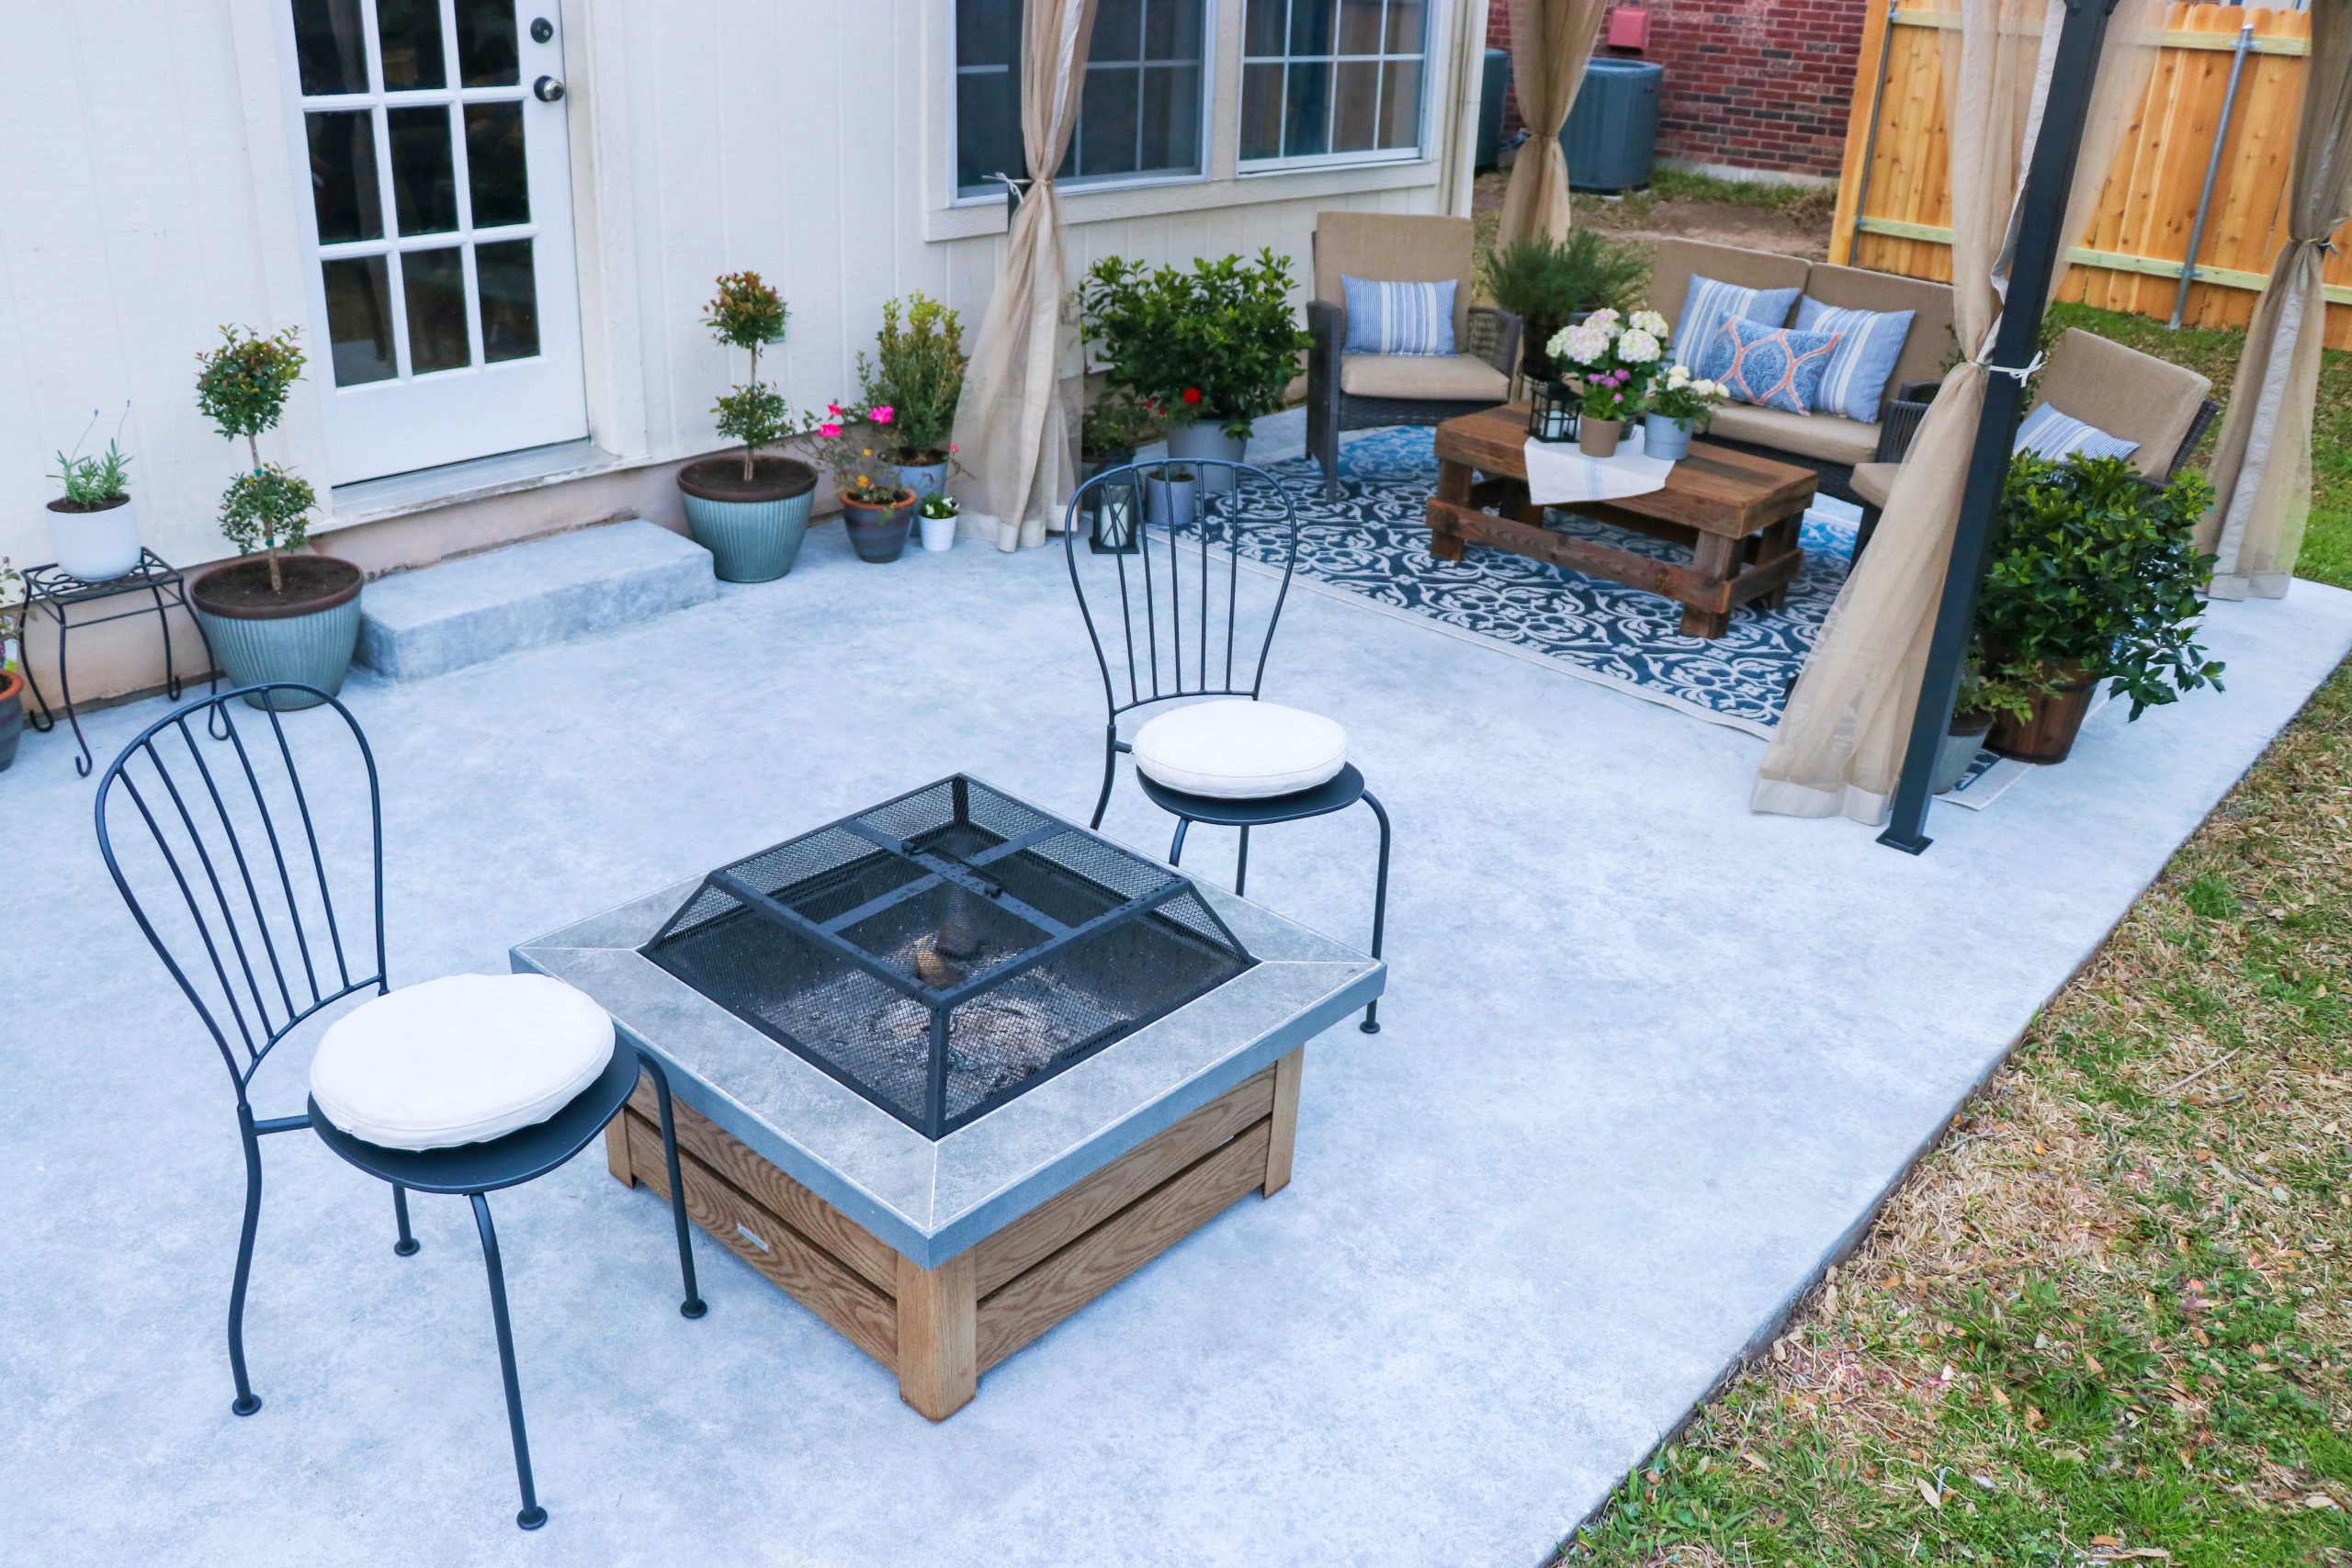
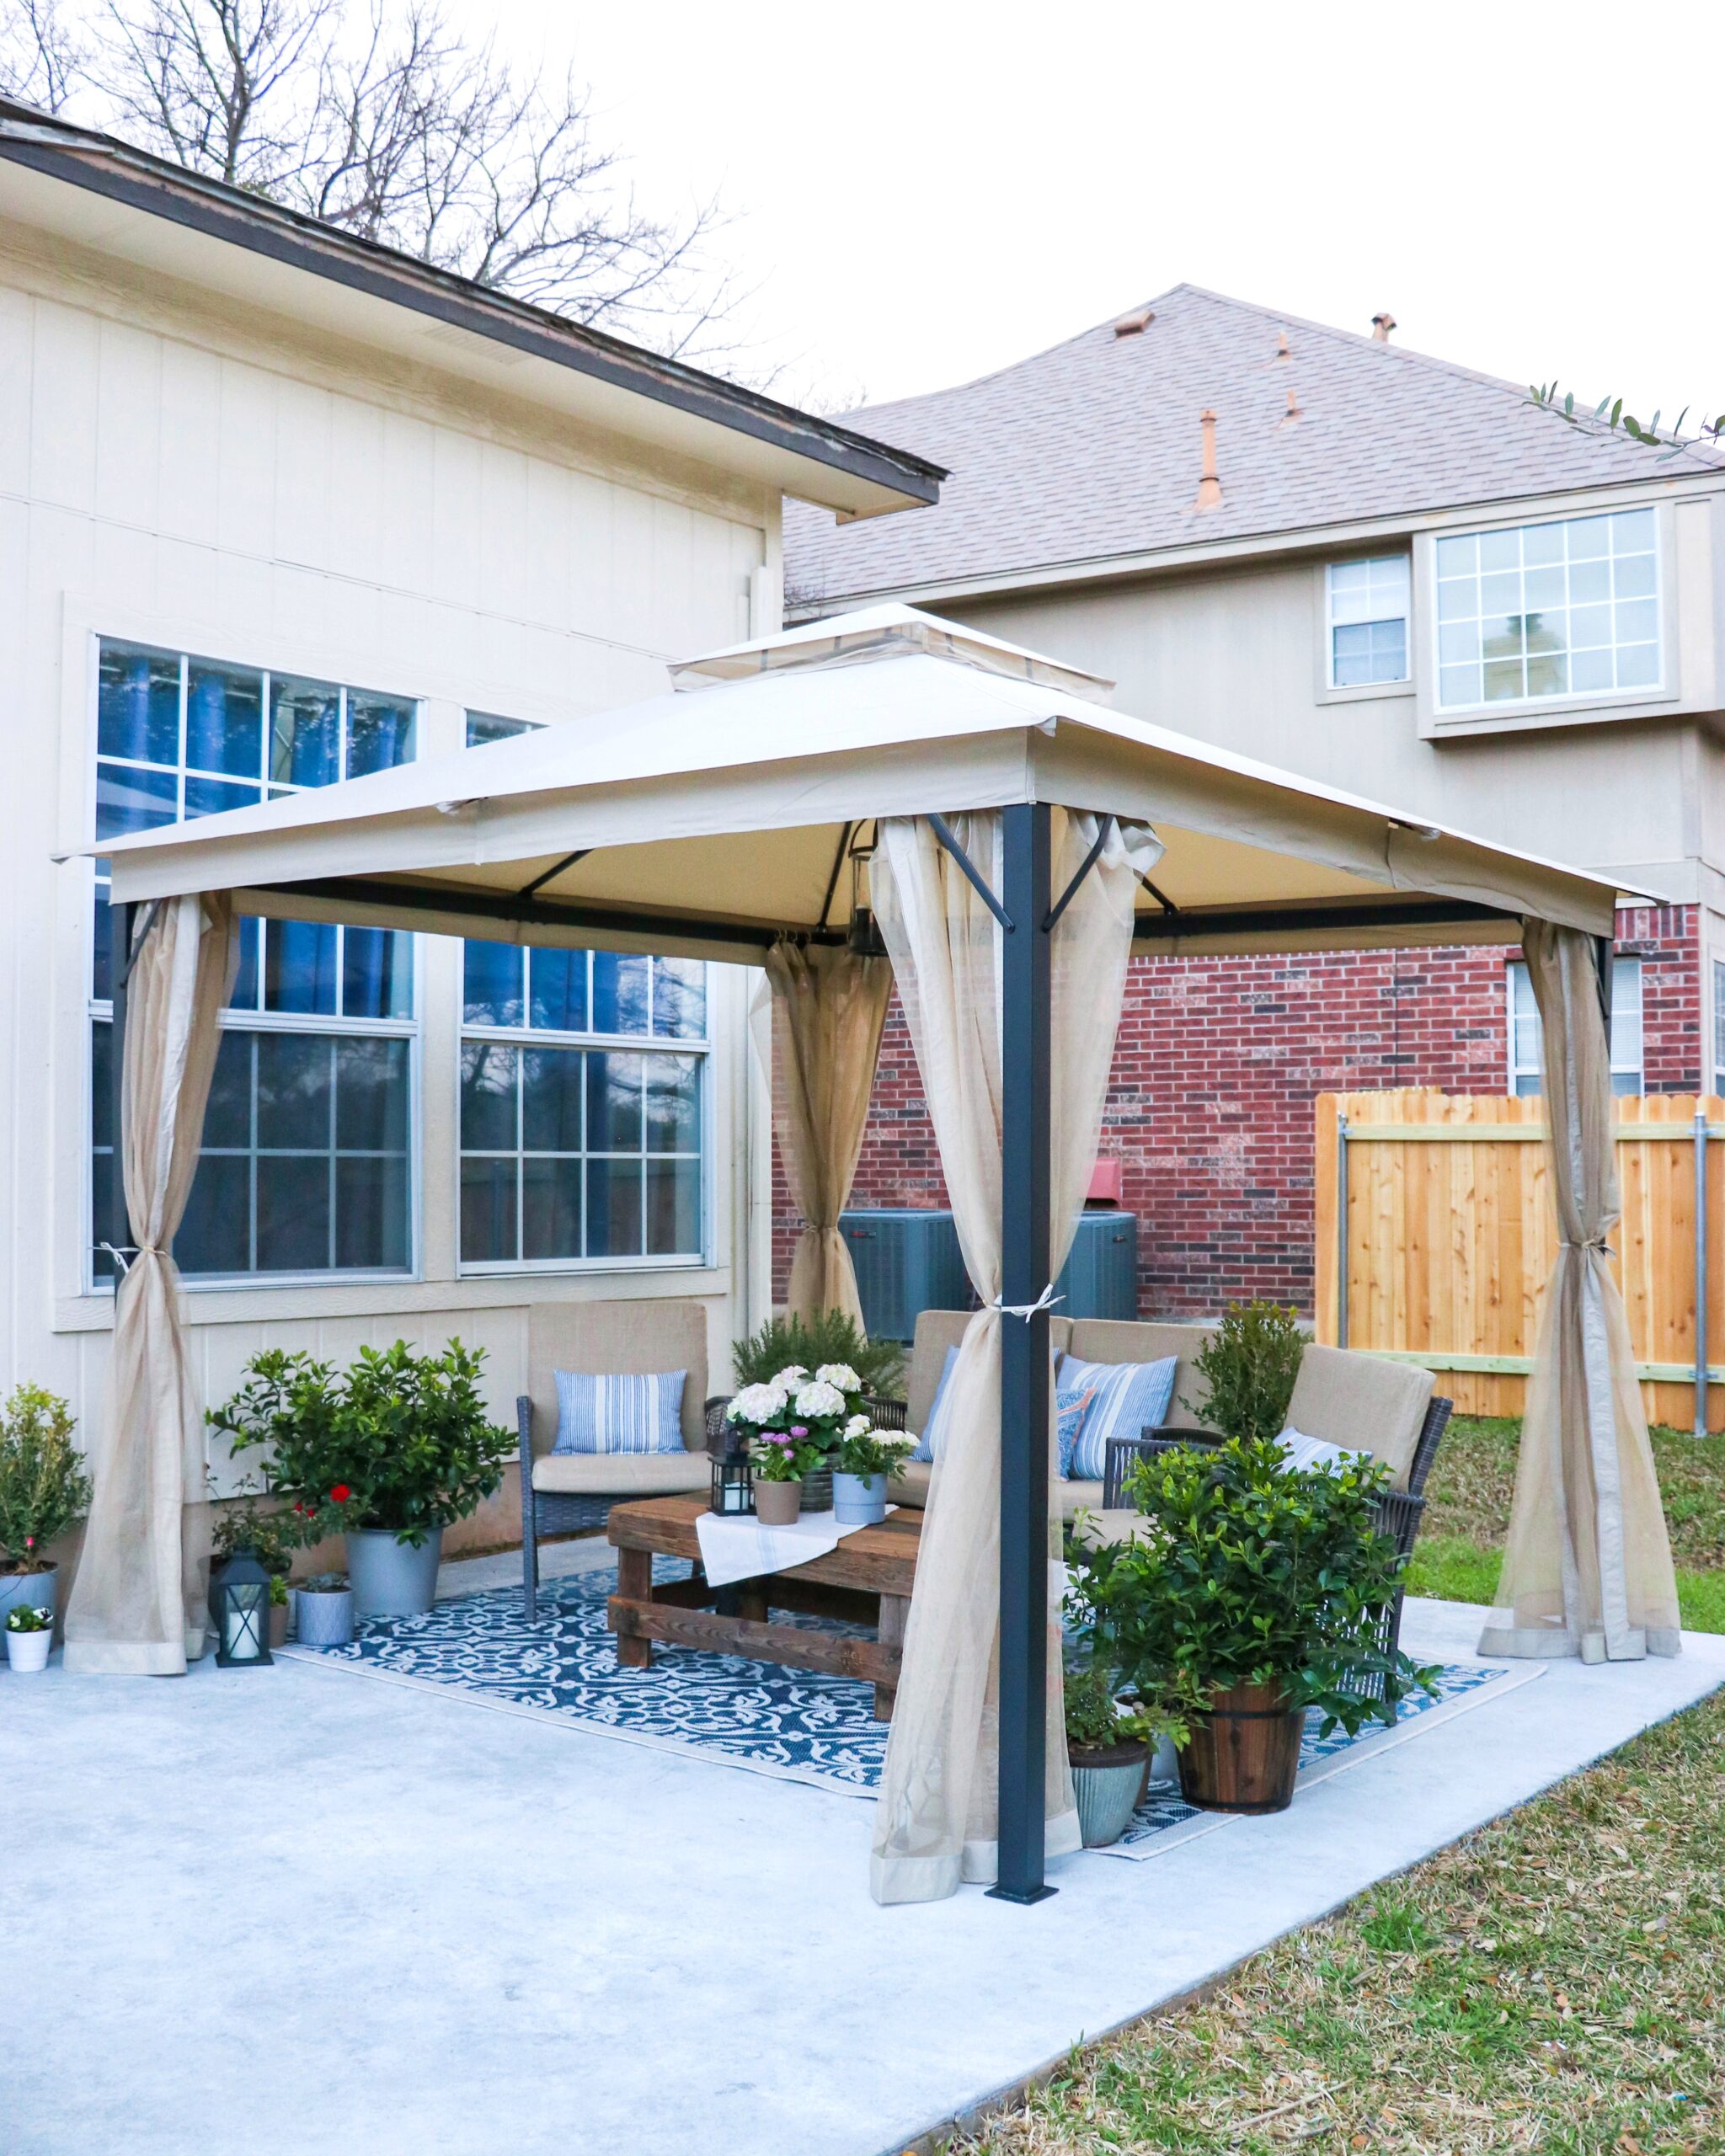
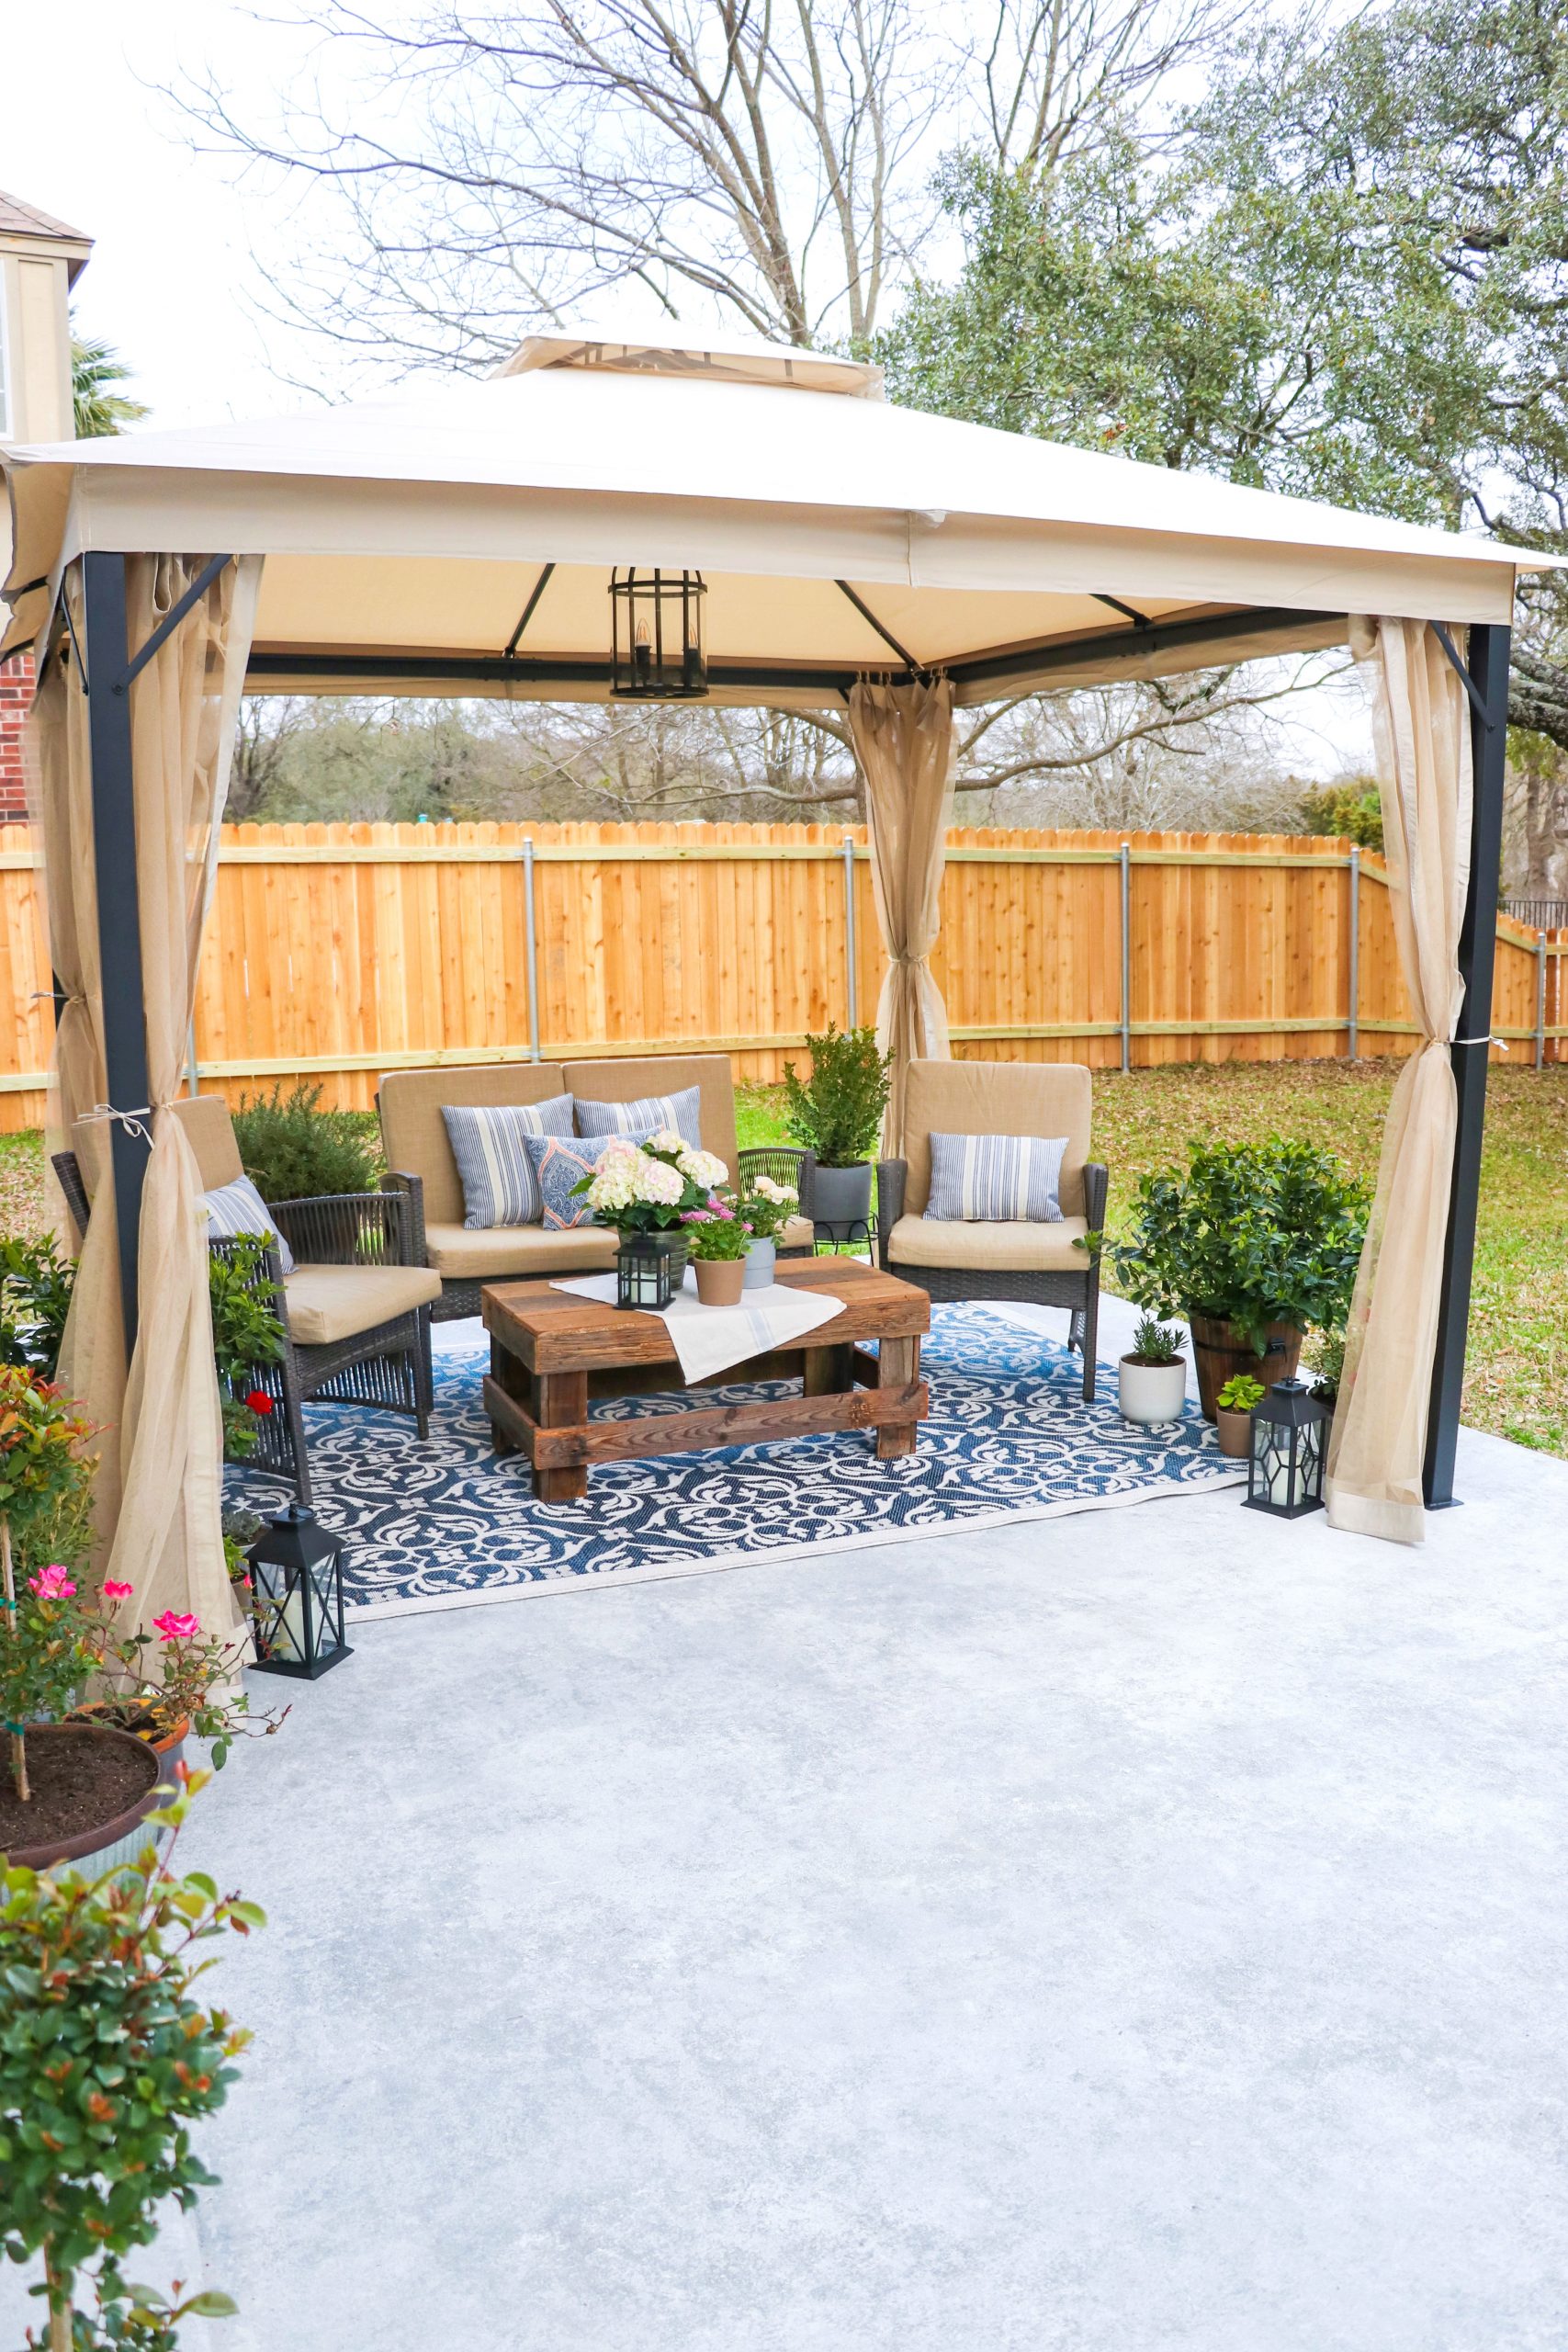
After:
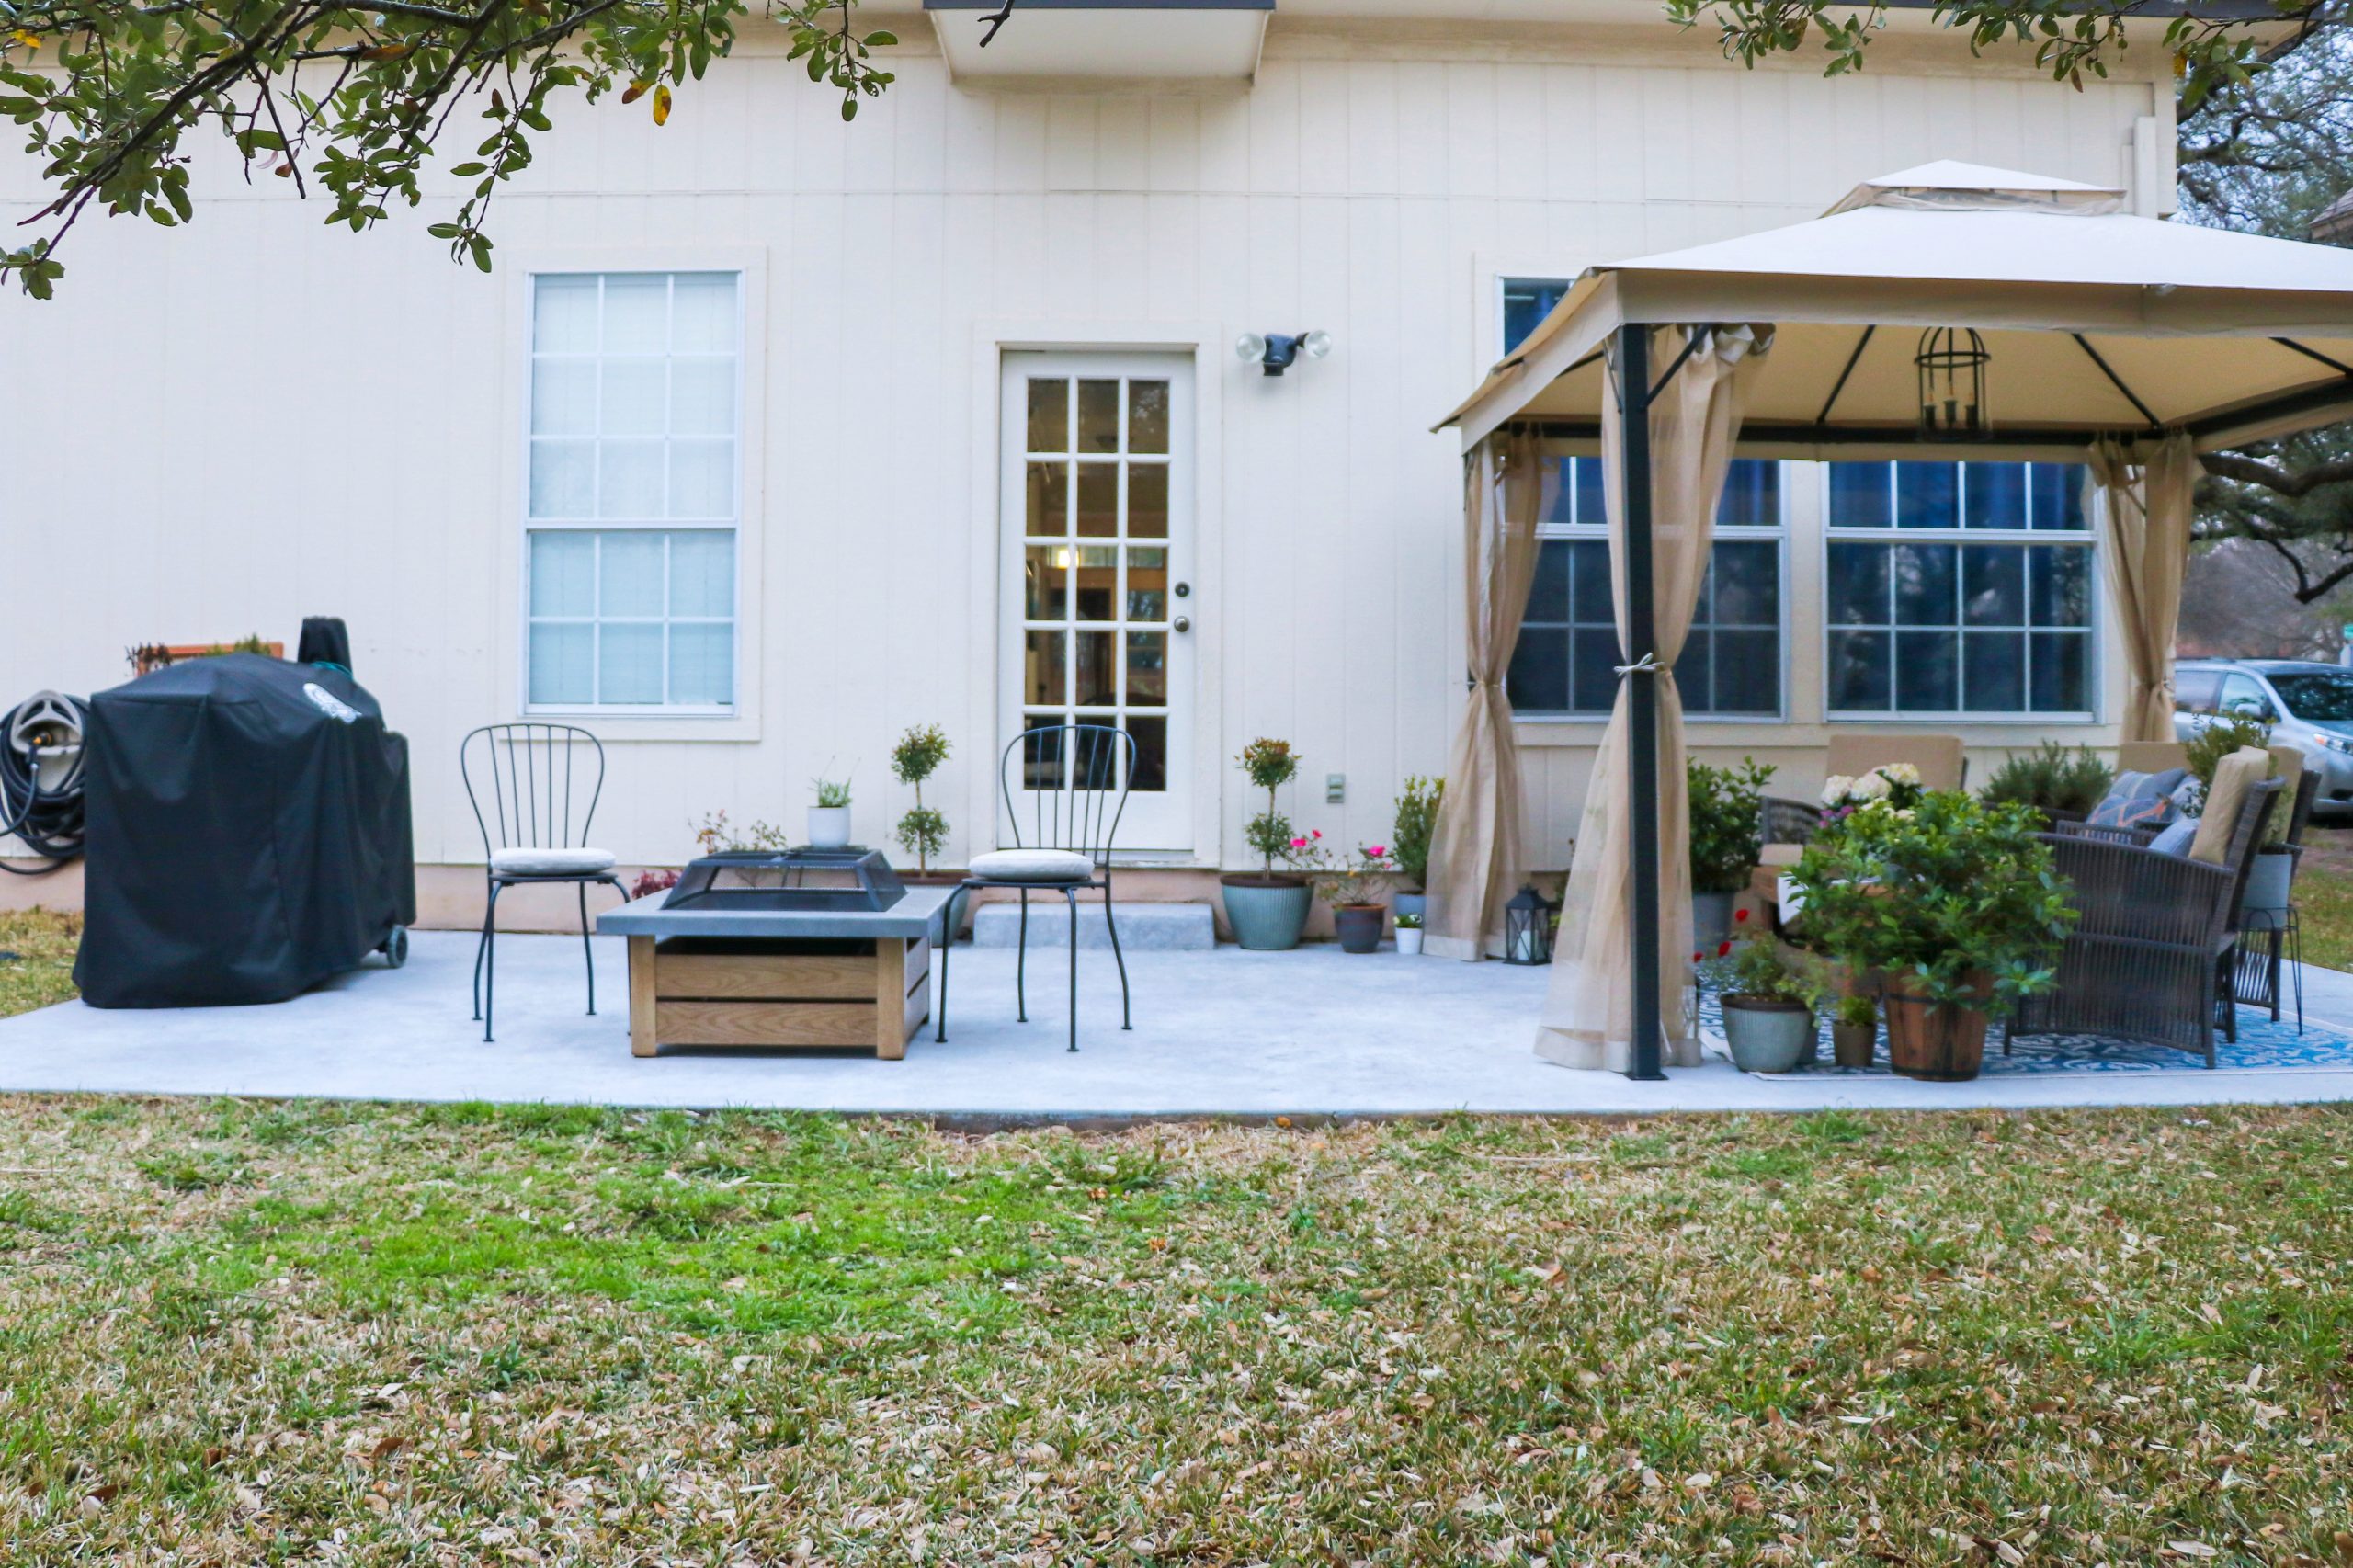
Now it’s a sleek foundation for our updated patio décor. It already brings me so much joy to have this space refreshed like this!
Before:
After:
Before:

After:
Before:

After:
Steps for resurfacing a concrete patio
The SpreadStone™ kits come with most of the tools you need (see more on that below), and the coats come pre-mixed and ready to pour and roll on. We found this YouTube tutorial very helpful. It took us about three days to resurface our 300-square foot patio with ample breaks for work and parenting. We could have easily had it done in two days if we had started earlier the first day.
What’s included in the kit: Primer, Base Coat, Accent Coat, Clear Sealer, Stone Texture Roller, 1/4” Grout Line Stencil Tape
What you will need: 3/8″-1/2″ paint rollers (3), paint tray
Here are the steps for resurfacing a concrete patio:
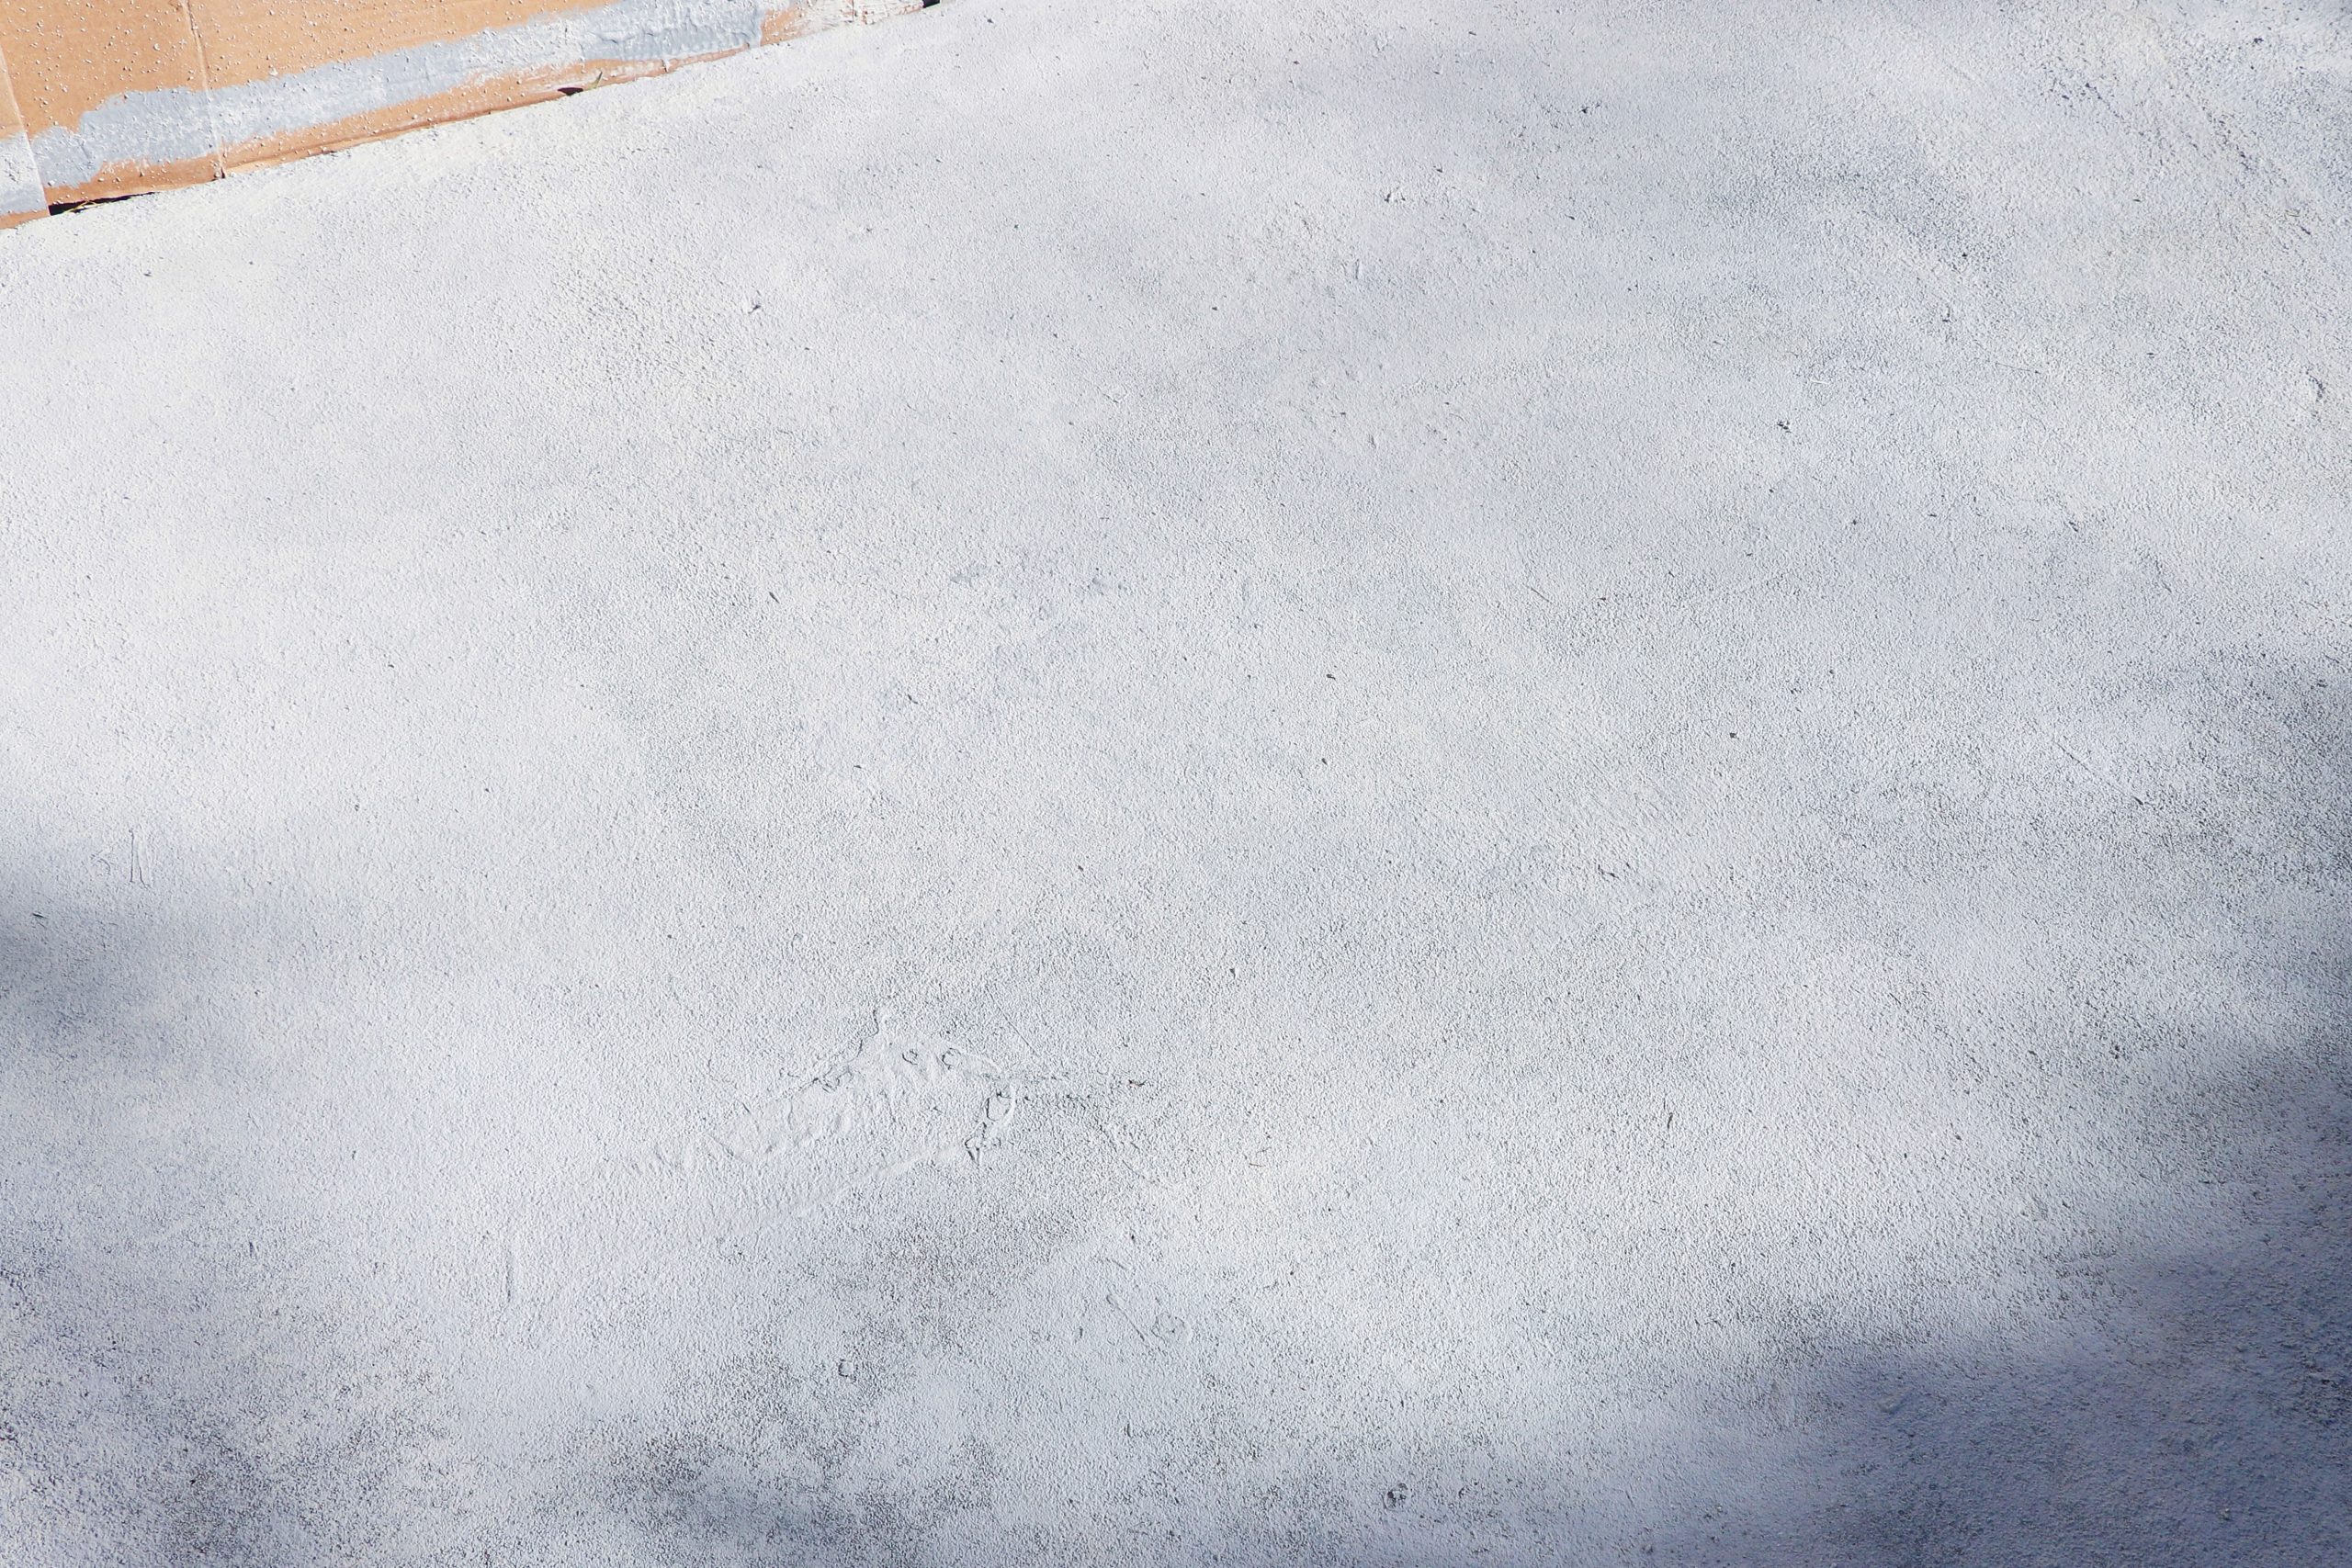
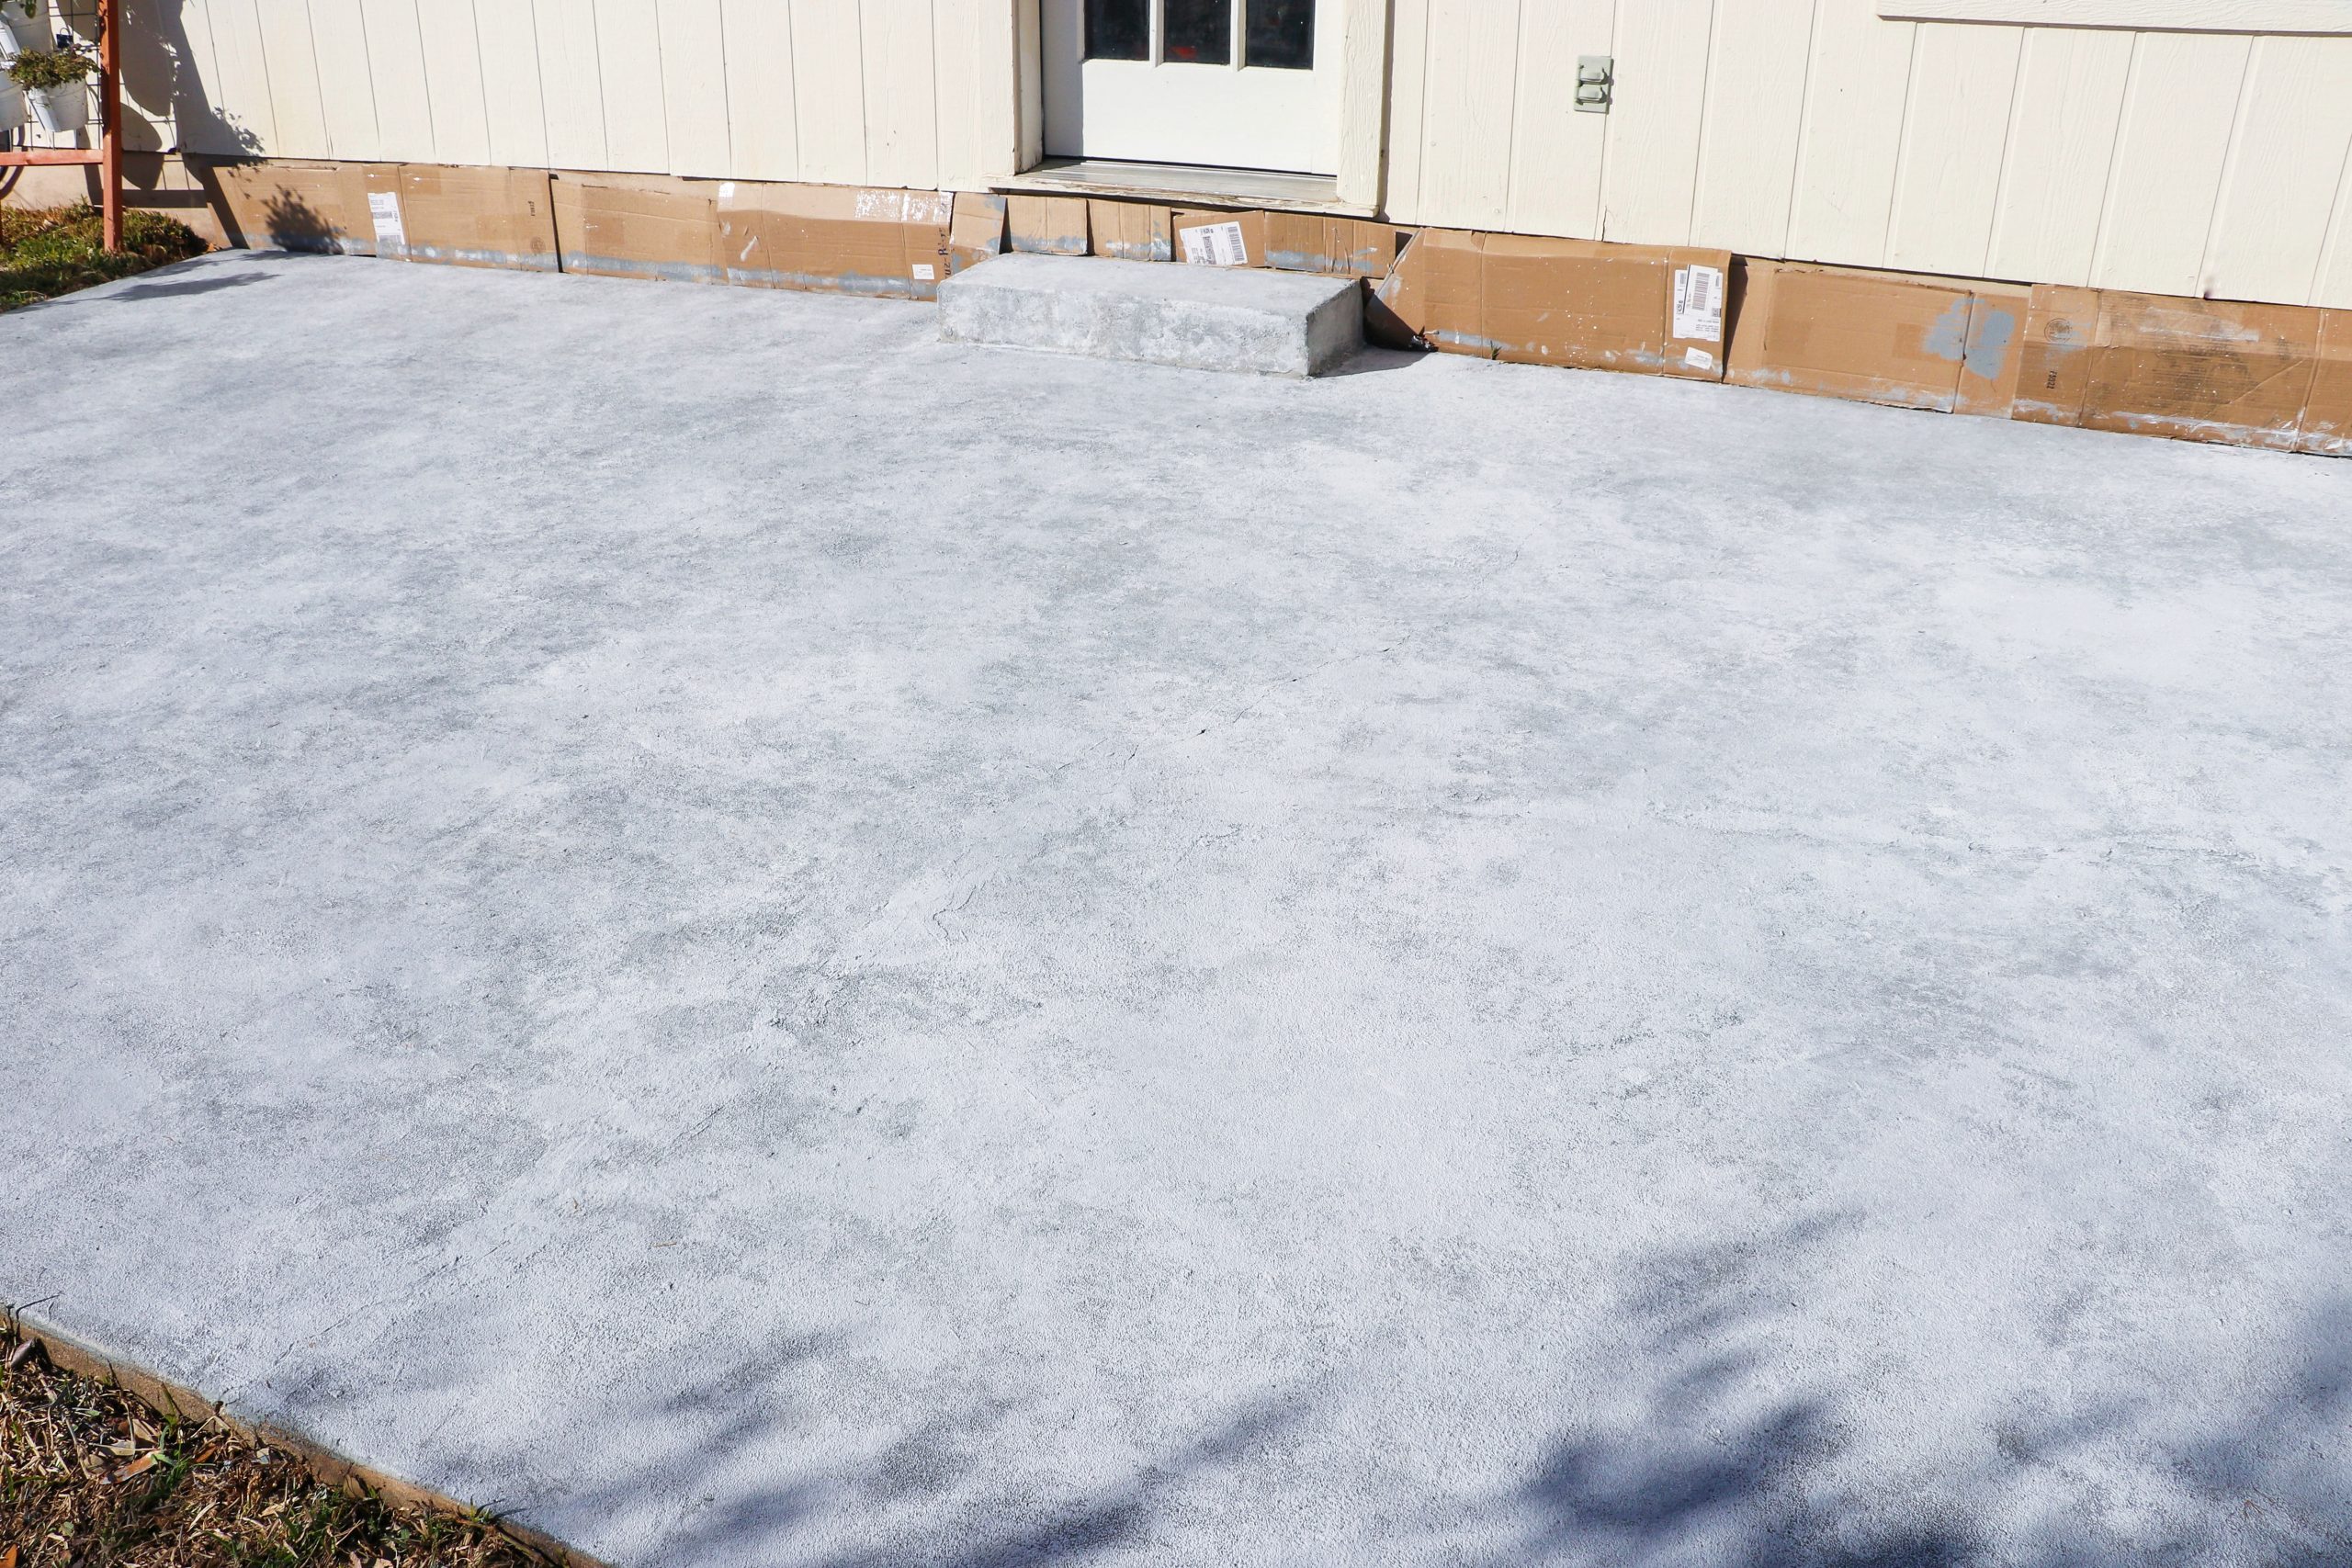
- Clean and prep the space. This includes power washing the surface, sealing any larger cracks or holes with Quikrete, and taping and covering areas around the concrete area you intend to resurface.
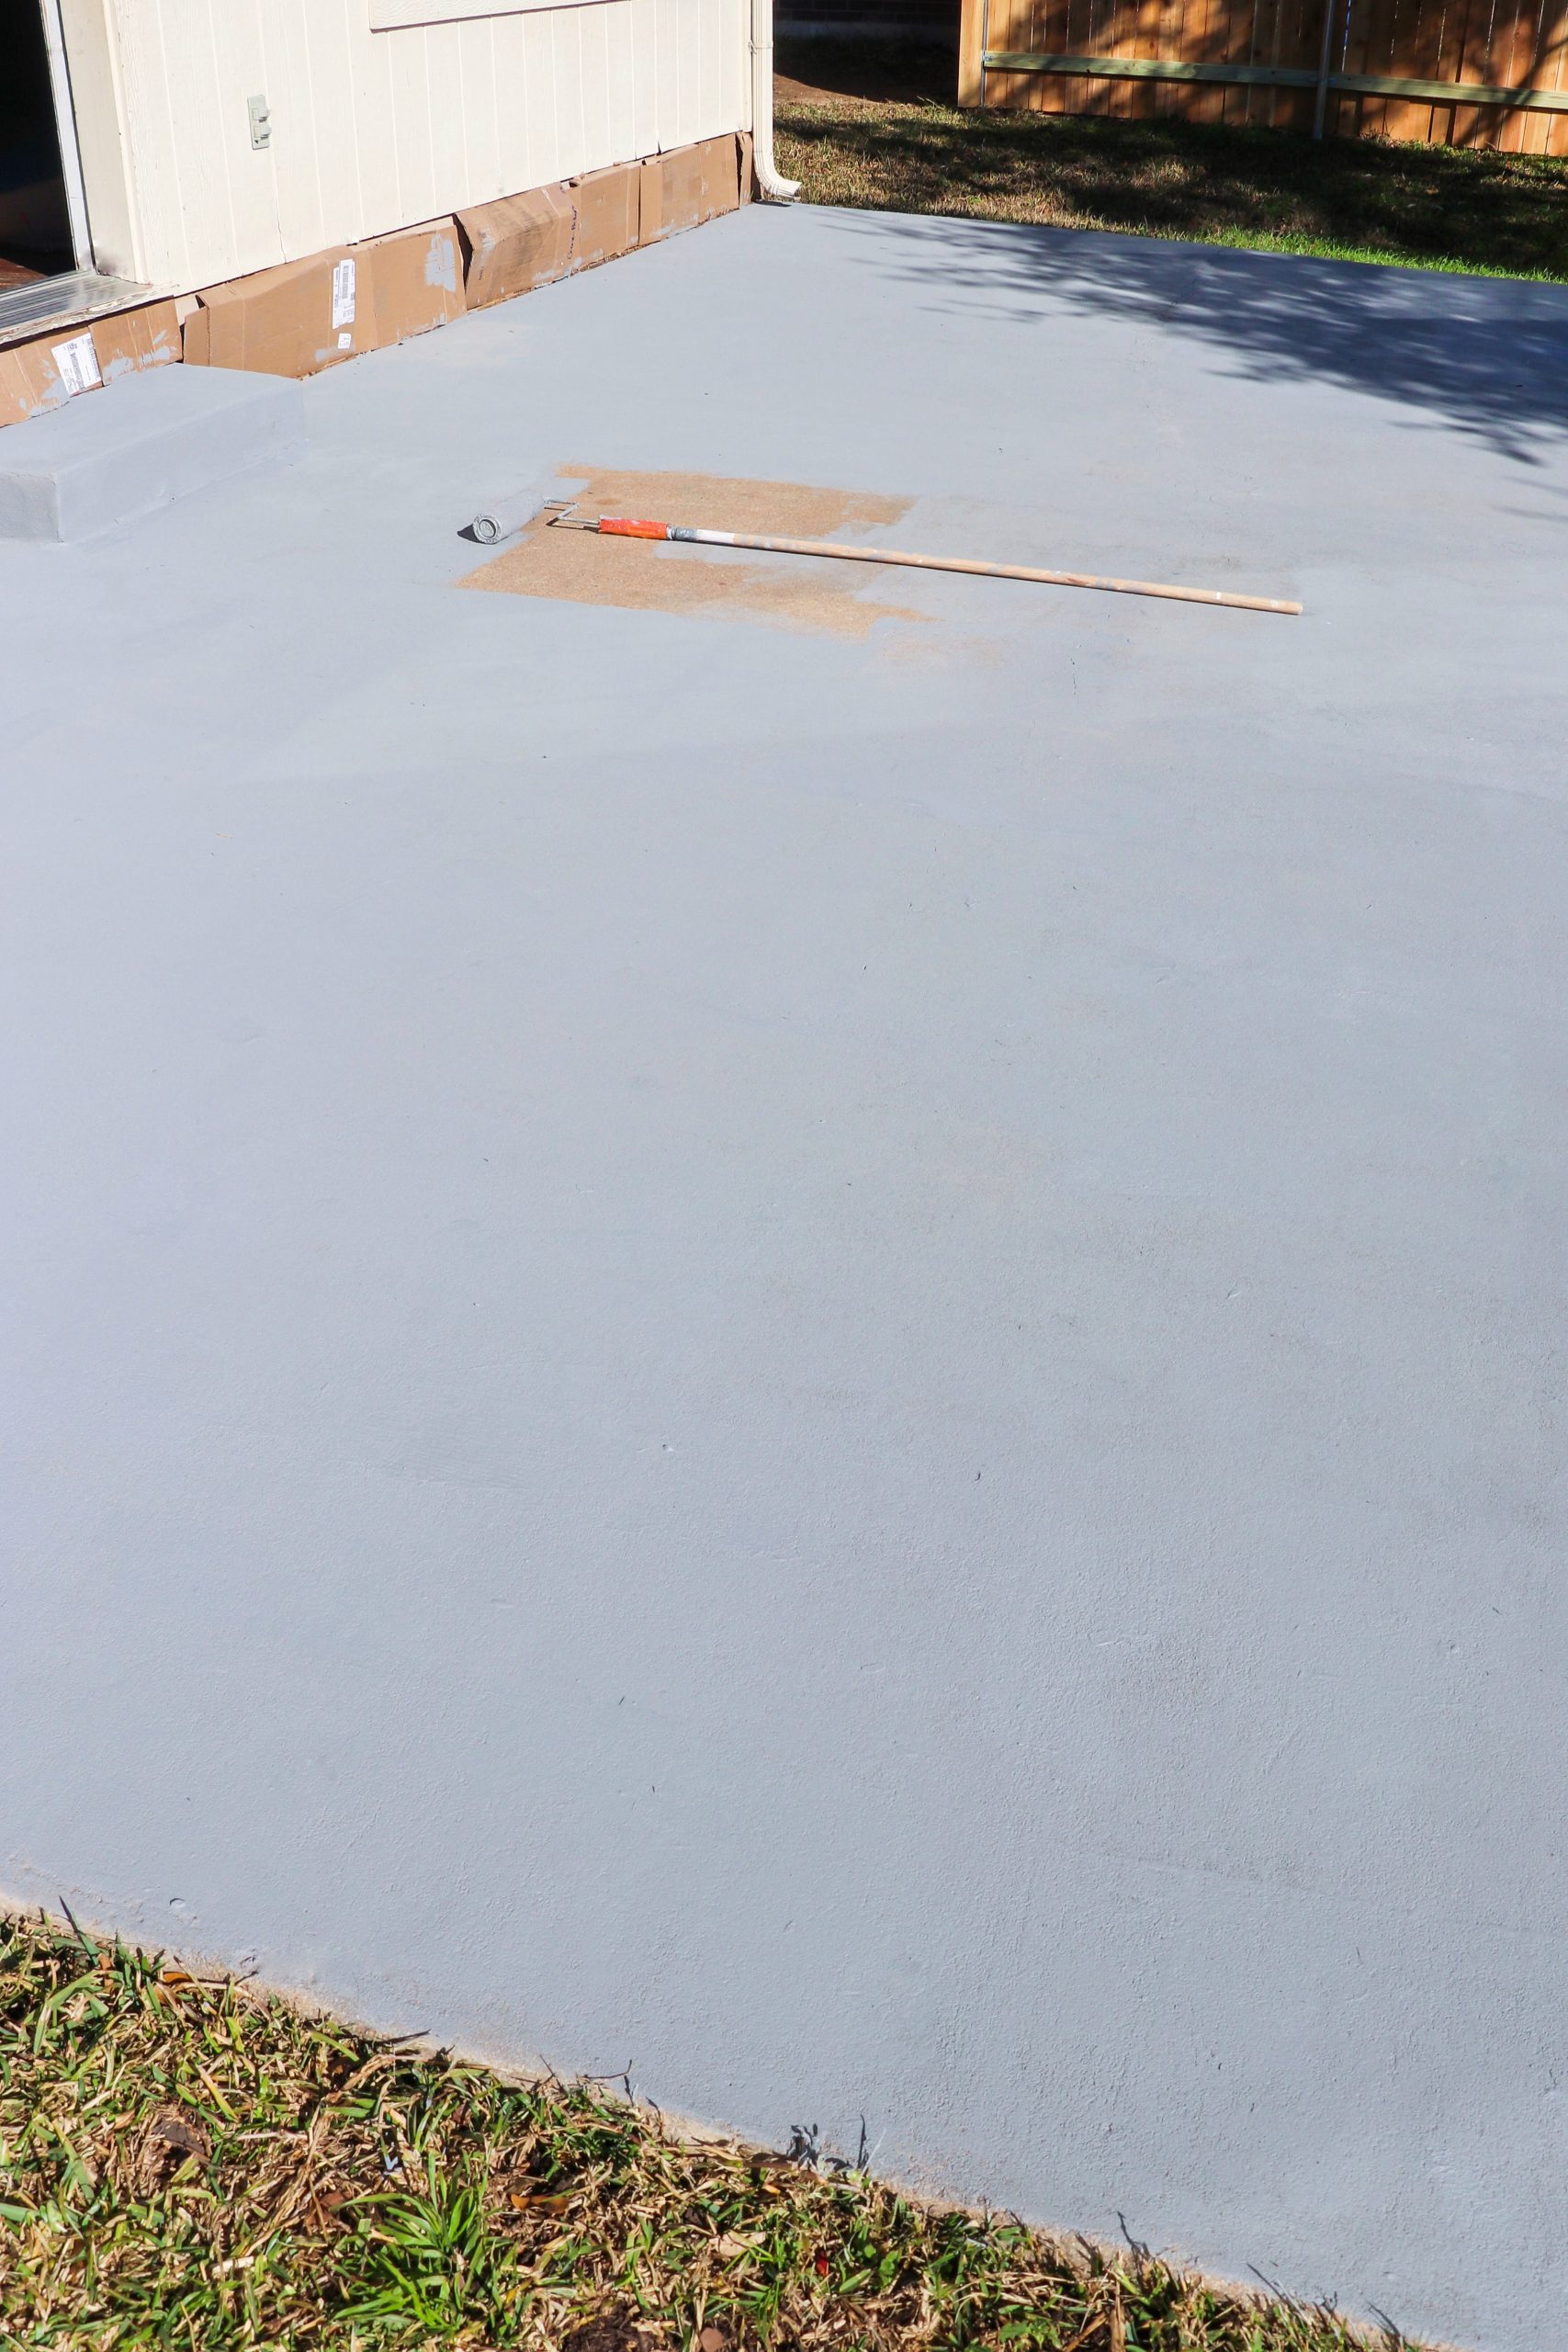
- Primer. The first coat in the kit is a primer coat that you will roll onto the entire surface with a paint roller. Like all of the color coats, it doesn’t matter if it looks perfectly even, as each step’s coat will cover and correct the imperfections of the coat before it. It will take 1-2 hours to dry (if not sooner in dry, sunny outdoor conditions) before you can continue with the next step.
- Optional: If you want to include faux grout lines (with the tape included in the kit) or a stencil pattern, you can layer that on after this coat has dried and cured completely. The tape or stencils will stay on until after the accent coat is applied.

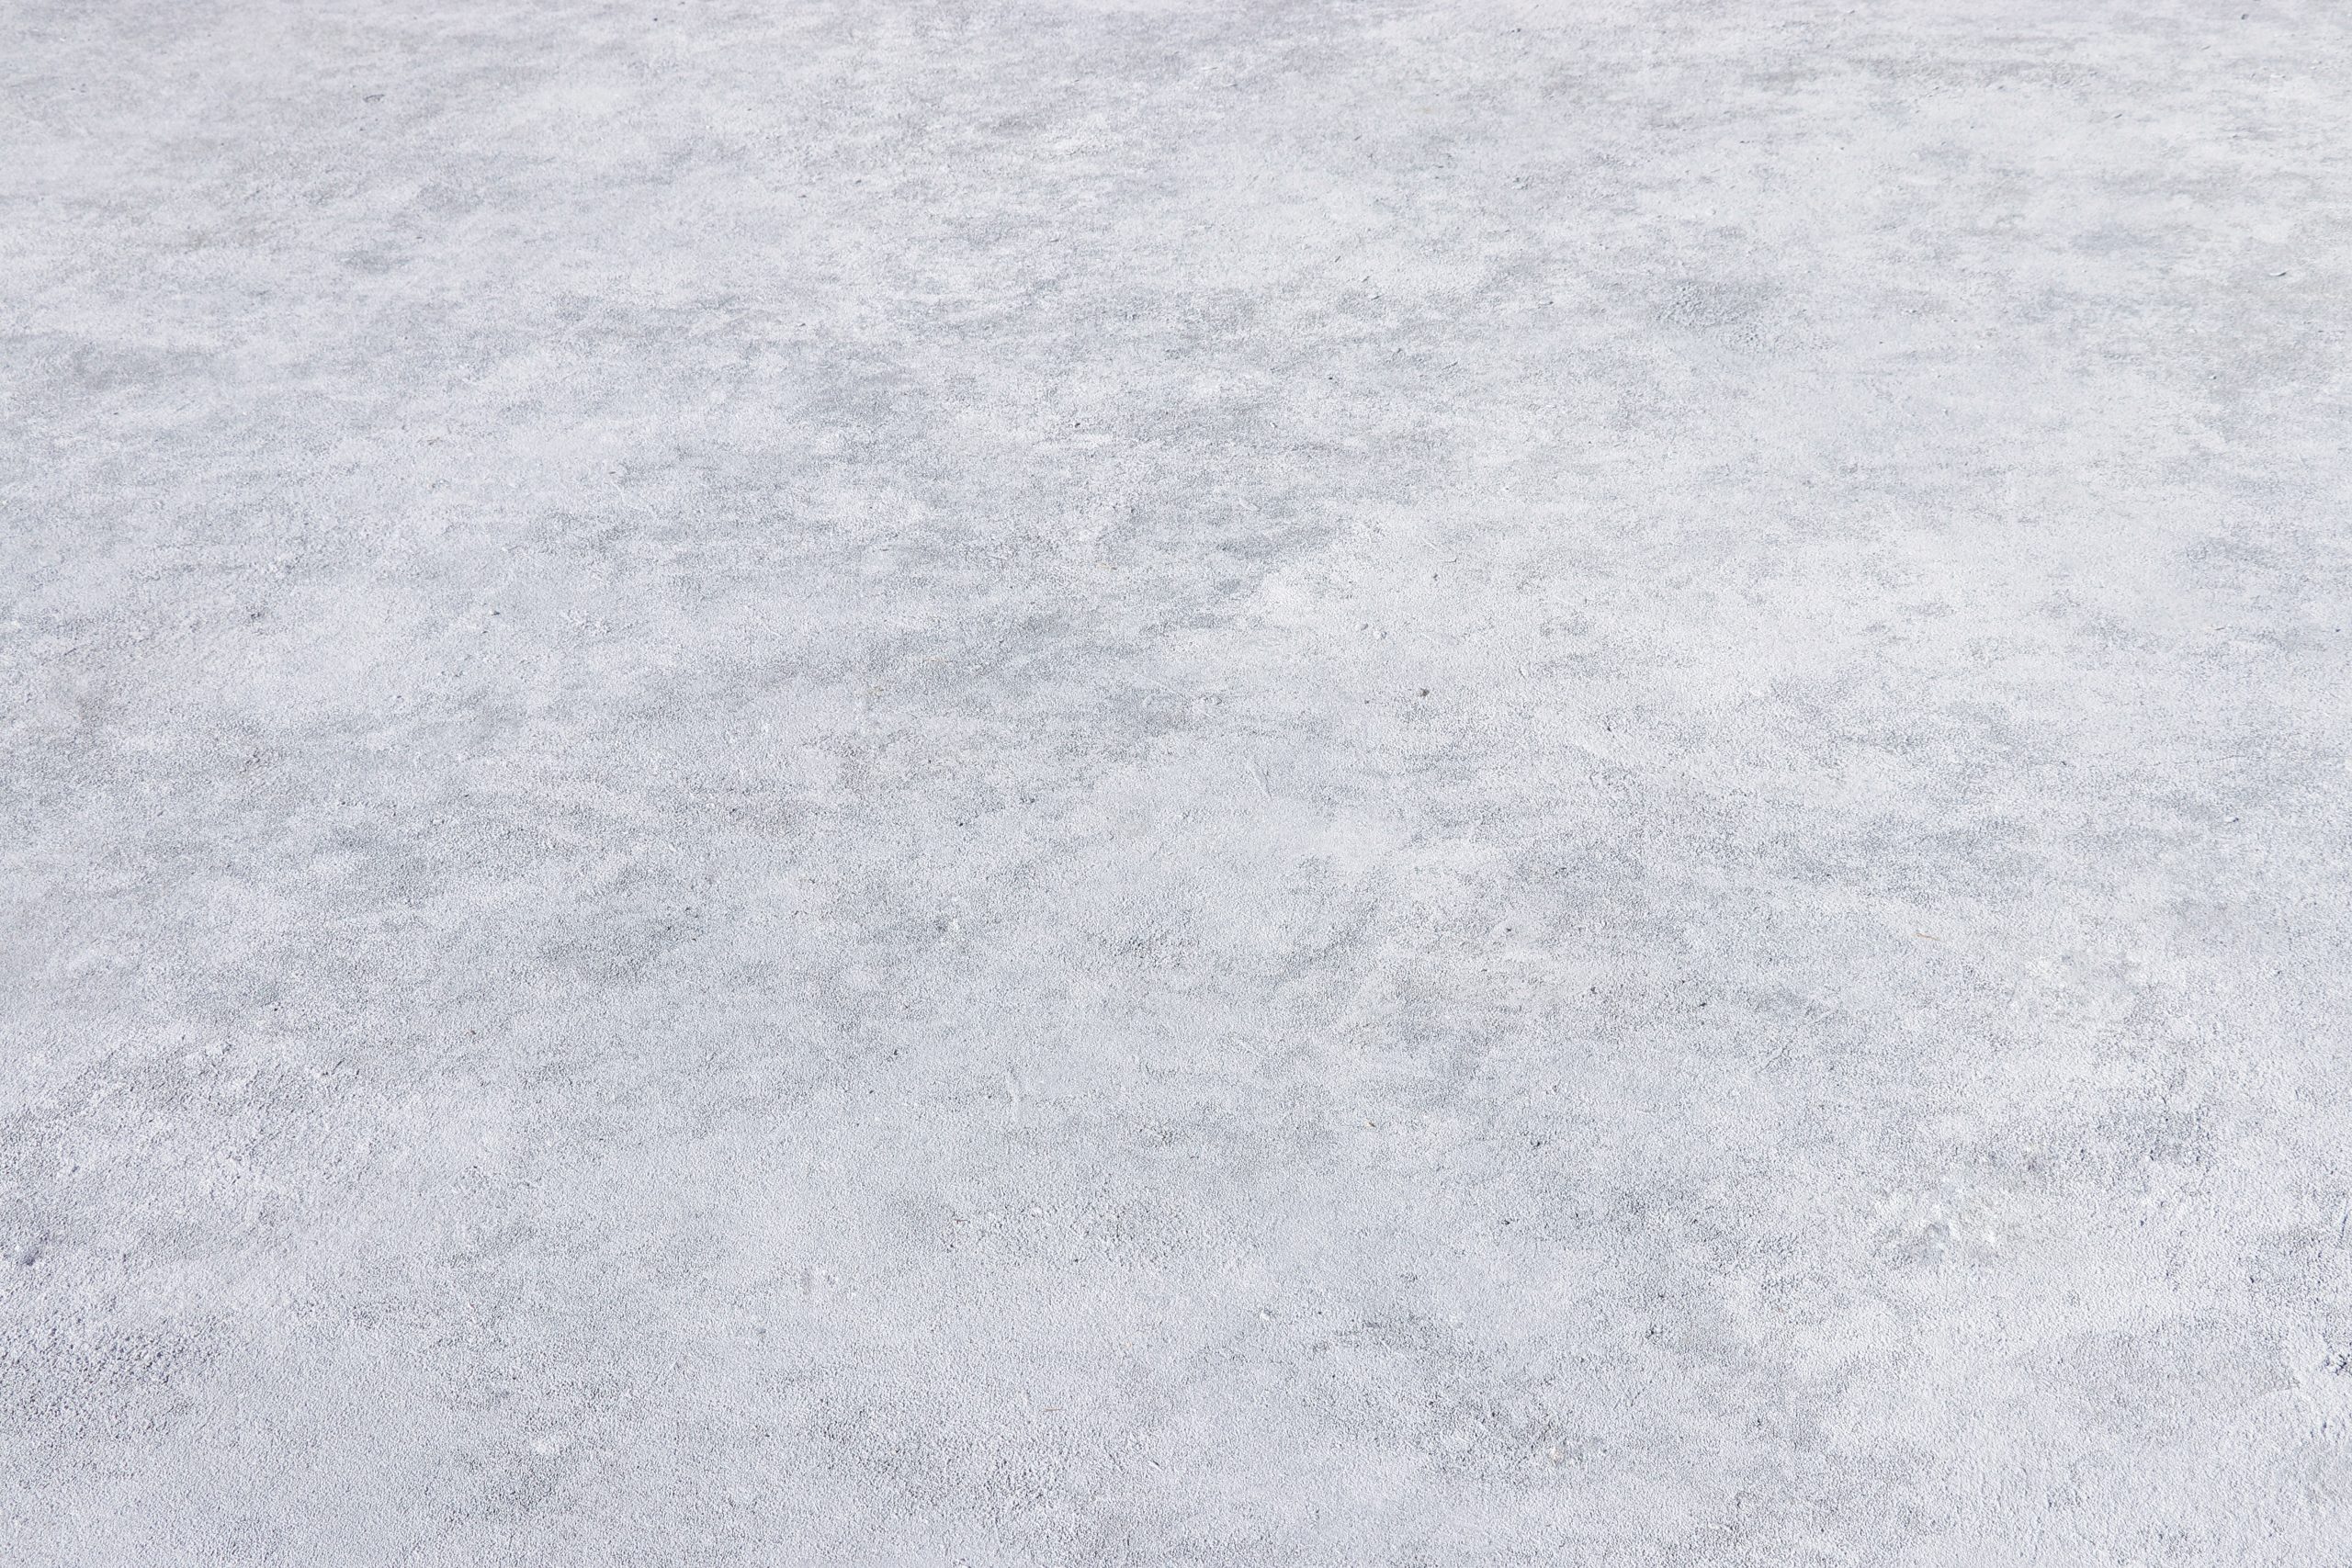
- Stone Base Coat. This is a really thick colored coat that includes real stone. It is important to stir the base coat before you use it, as the stone bits will settle. With this coat, the goal is to get a somewhat even layer that is not too thick (though you will notice natural differences in texture and thickness as you go along) using a paint roller. This coat creates not only a natural stone texture for the concrete resurfacing project, but it also creates a non-skid traction layer for your concrete. This coat will also take 1-2 hours to dry before you move on to the accent coat step.
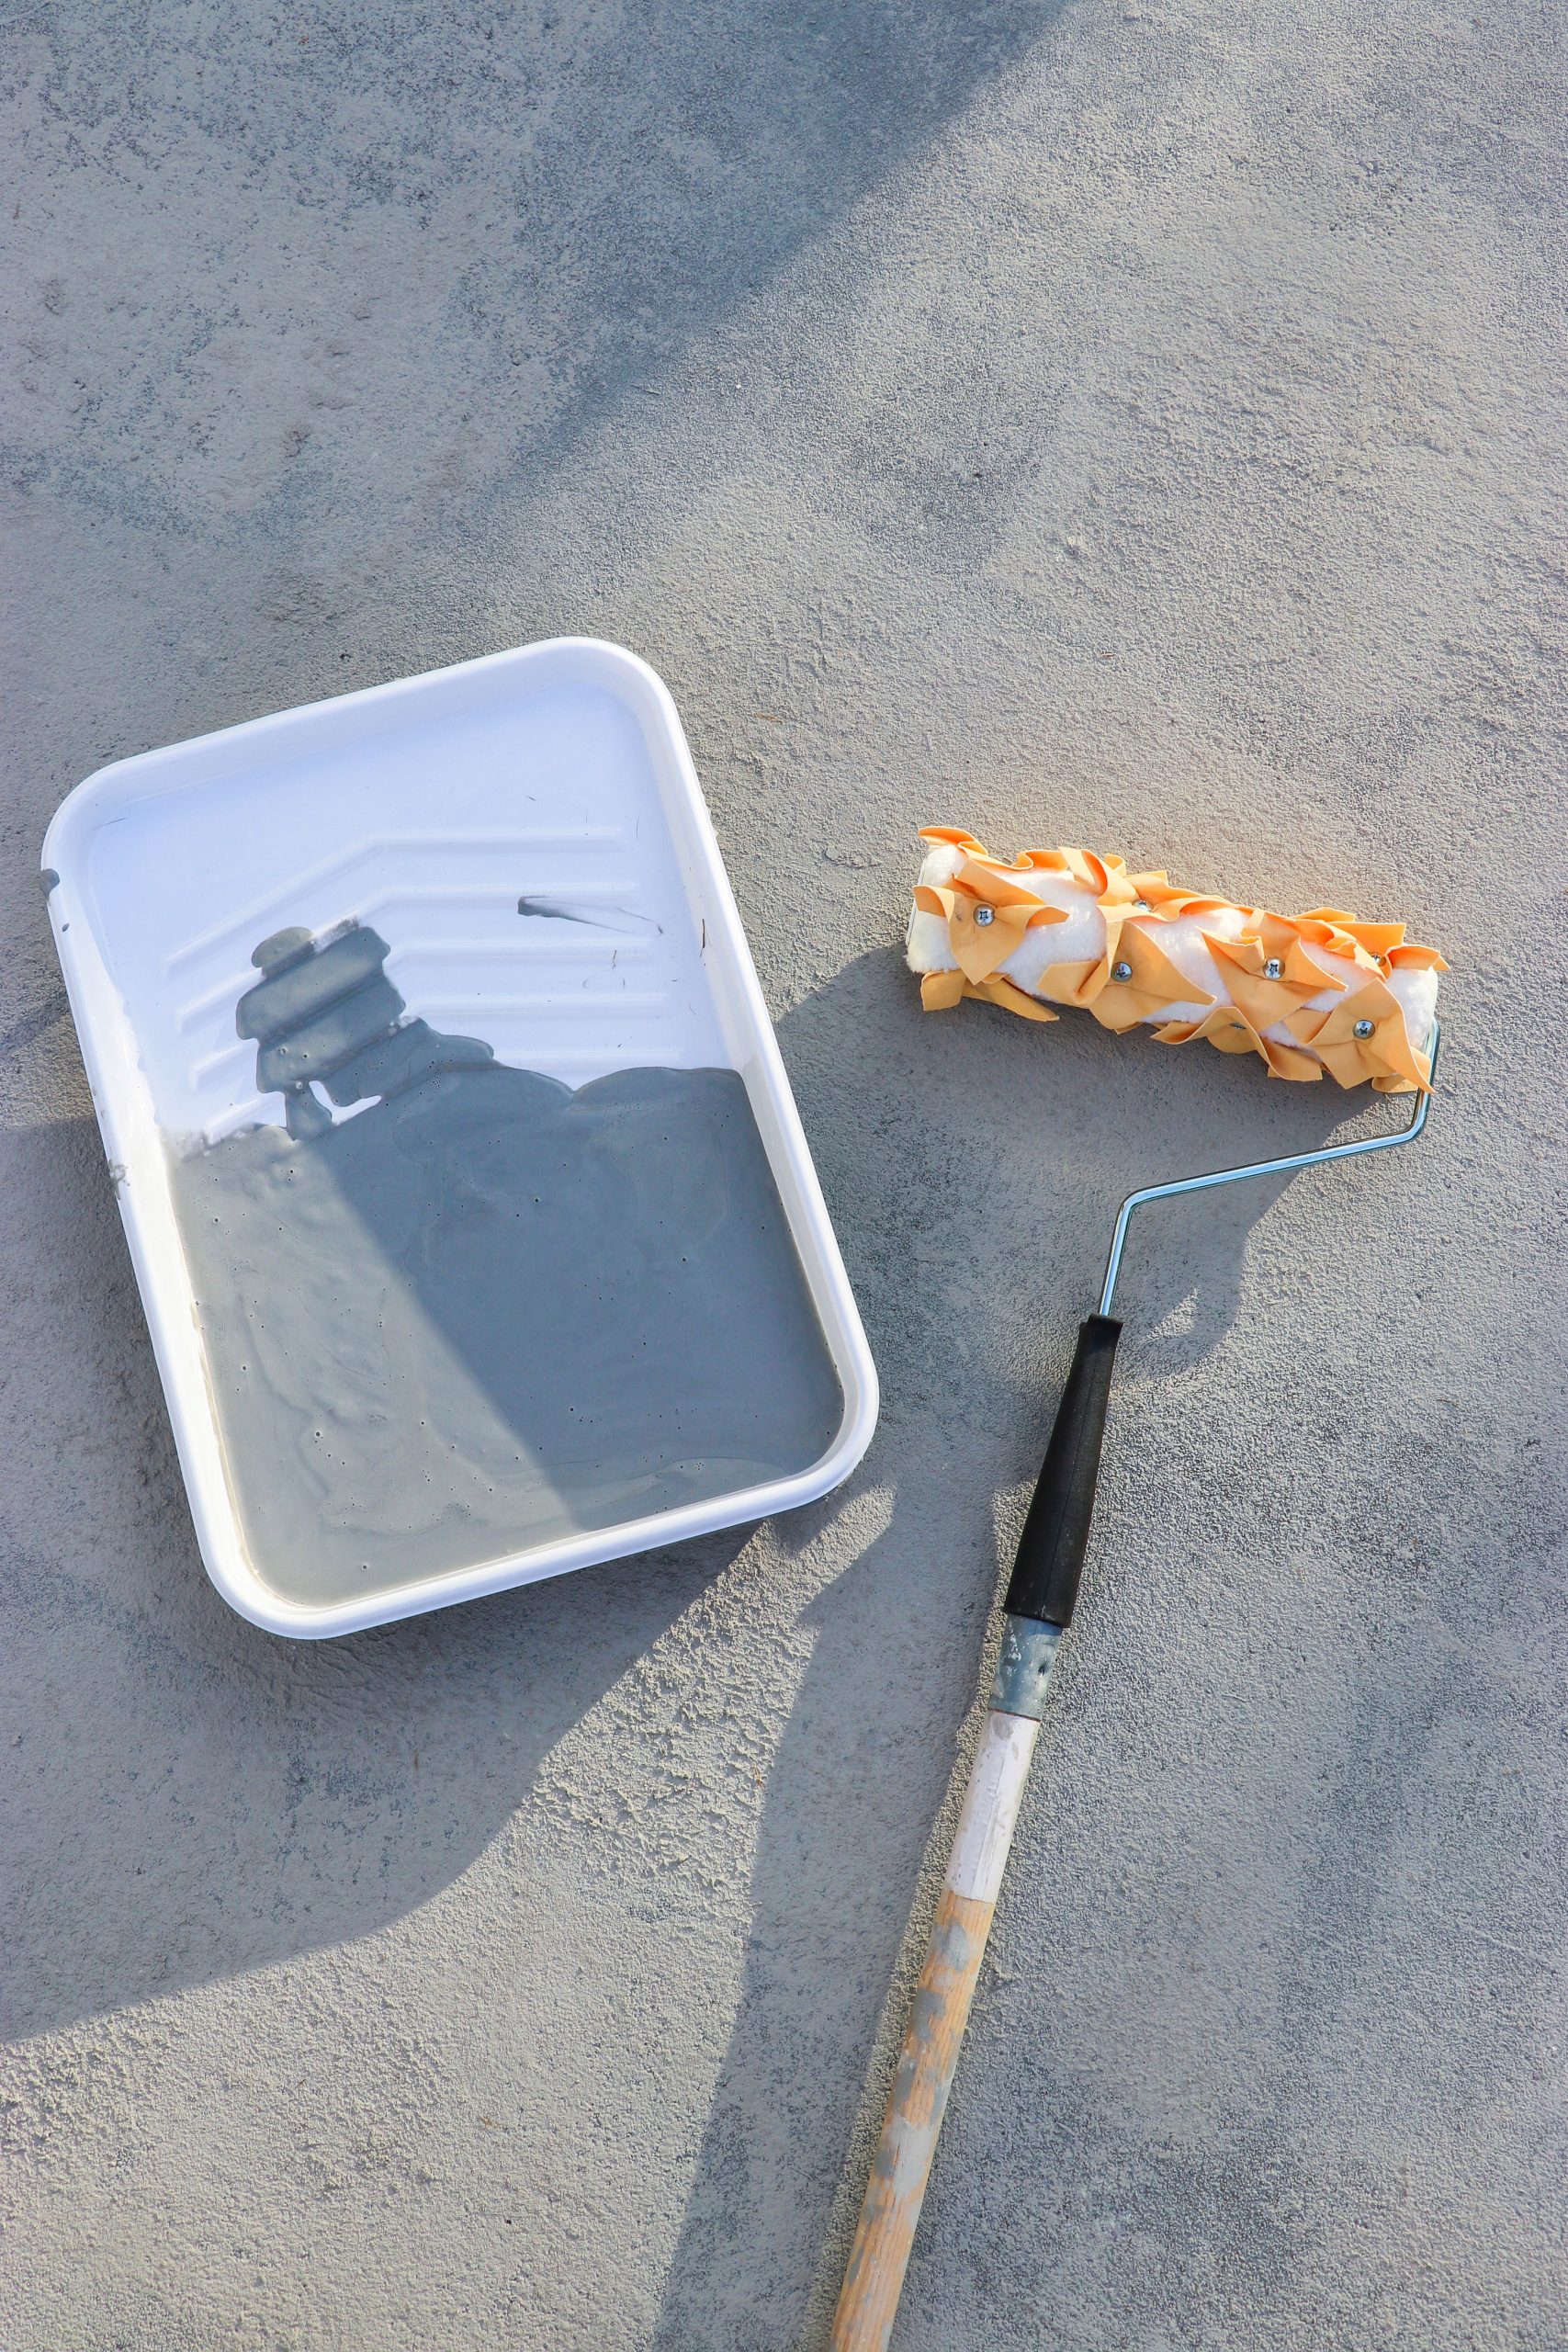
- Two colors of Accent Coat. Using a special texture roller included in the kit, roll on each accent color (ours were a grey followed by a cream-ish white color) one color at a time in the order specified. This is the step that gives your patio an artistic stone look, but without any artistic skill required. Roll the colors on in random overlapping crisscross directions, going over a few times in places so that the pattern and thickness is varied (like natural stone). You can wait 30 minutes-1 hour for the first coat to dry before proceeding with the second color. If you are concerned that it looks uneven after the first accent coat color, do not worry; any imperfections in the pattern will be camouflaged by the second coat. After the final accent coat color is applied, you will wait 24 hours for the paint to cure completely before completing the project with the sealer coat.
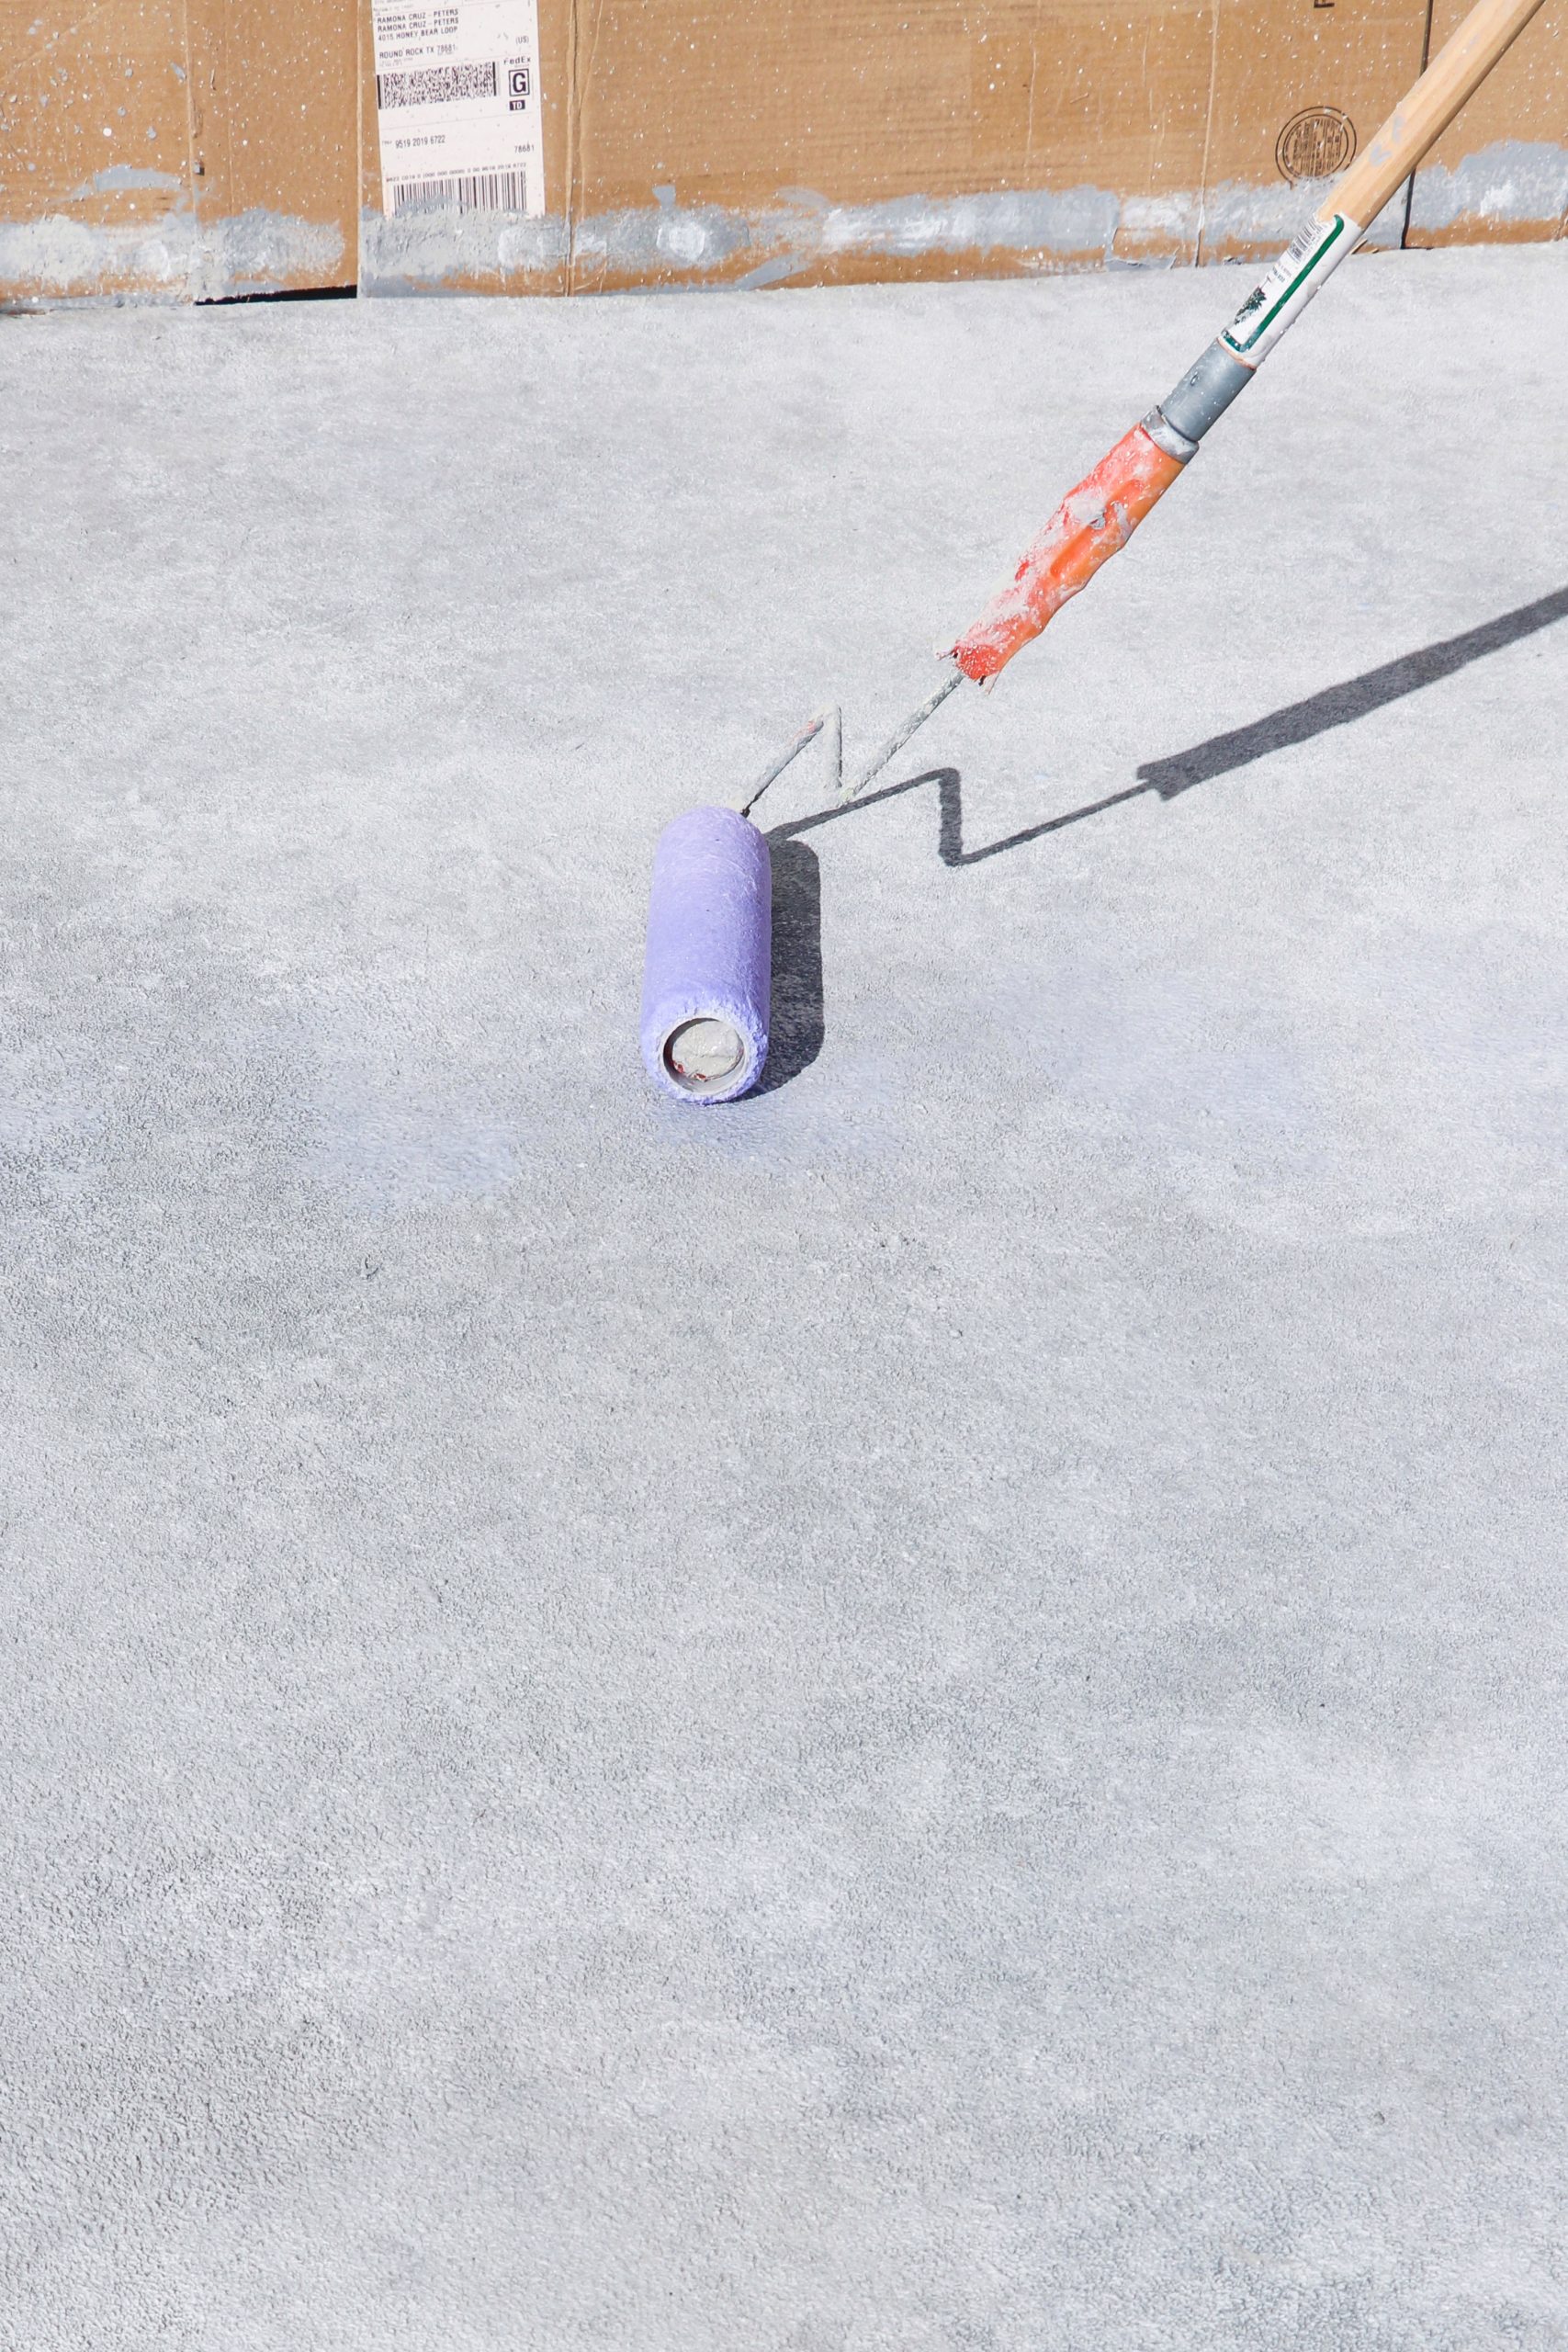
- Clear Sealer Coat. This is the final step, and is the quickest and easiest to execute. Using a paint roller, apply two uniform coats of a clear sealant over the entire area, allowing 4 hours of dry time between coats (in dry outdoor conditions). The instructions say not to overwork this coat by going back and forth over a spot you’ve already covered; just get a nice even coat by rolling in the same direction over the patio. You should wait 24 hours after the final sealer coat to resume normal foot traffic in the area, then you’re all done!
The bottom line on decorative concrete resurfacing
We were very happy with not only the DIY process, but the results. I would definitely recommend the SpreadStone™ Decorative Concrete Resurfacing Kit from Daich Coatings if you’re looking for an easy, budget-friendly way to give your patio a makeover. My husband and I completed the project over the course of a few days, and we saved hundreds (if not thousands) compared with replacing our concrete patio or having it resurfaced professionally. The before and after results are like night and day, and we feel so happy in our newly refreshed space!
Stay tuned for more details on our backyard patio makeover later this week!
More DIY outdoor décor inspiration:
- French country-inspired budget patio makeover
- Resurfacing a Concrete Patio for a Budget DIY Patio Makeover
- How to Design an Outdoor Living Space
- How to Make a Hanging Potted Herb Garden
- DIY Cinder Block Raised Garden Bed
- DIY Cinder Block Bench
- DIY Cinder Block Plant Bench
- DIY BBQ Prep Table (outdoor cinder block table)
- Fire Pit Guide (outdoor fire pit ideas, design tips, and buying guide)
- Throw a Fabulous French Country Style Outdoor Party
- Three Ways to Style Your Yard with a Hammock
- Front Yard Garden Makeover
- DIY Front Door Makeover
- Curb Appeal

PAUL BORDIN says
THIS IS A GREAT DIY JOG AND FABULOUS TRANSFORMATION !!
Ramona Cruz-Peters says
Thank you so much! Resurfacing the concrete ended up being the perfect solution for us. I am so happy with the results, and how the overall makeover is coming together.
Micaela says
What are the dimensions of your patio?
Ramona Cruz-Peters says
Hello Micaela! Our concrete patio is 12′ x 25′ (300 square feet).
Matthew akhigbe says
I need quote to resurface my driveway
Ramona Cruz-Peters says
I recommend you reach out to a local vendor. This project was a DIY project using a kit.
Uendy says
Thank you so much for sharing. I am going to renovate my patio and will use couple of your ideas and suggestions.
Ramona Cruz-Peters says
We are so happy with ours! Good luck on your project!
Jamarys Hwang says
Hi. I am wondering if the new surface is anti-slip. I want to refinish our patio because after ao many years of use it has become super slippery.
Ramona Cruz-Peters says
Yes, the texture makes it very slip-resistant (yet still comfortable on bare feet), even in rain.
Cynthia says
How long ago did you apply this and is it holding up well? I would like to use this by a pool, wondering how it might hold up with chlorinated water.
Ramona Cruz-Peters says
We applied it in February of 2021 and it is still doing pretty well and looks really good! We have a few quarter-sized chips in different spots, but I am not sure if that is user error or related to the fact that here in Central Texas we’ve had 2 snow storms since then (one of which had snow on the ground for a full week), a tornado-strength storm, and a golfball-sized hailstorm that resulted in damage to our cars and needing a new roof. I do not know how it would hold up near chlorine as we don’t have a pool, but you can check the manufacturer website.
Bellevue Concrete Pros says
This article is a great inspiration for anyone looking to give their concrete patio a fresh and updated look. What I found particularly helpful about this post is that it shows how a concrete patio can be transformed into a beautiful and functional outdoor living area without the need for a full replacement. This can be an excellent option for those on a tight budget or looking for a more sustainable approach to home improvement.
Ramona Cruz-Peters says
Thank you so much! It really is amazing what can be done on a budget!
Reg says
I’m curious how the quickrete
Held up. It looks like you had a significant crack. I have a couple of big cracks too. Has it cracked again or seem to be holding?
Ramona Cruz-Peters says
It has held up in that the cracks are not worse, but I could have done a better job filling it in (we went pretty quick and lazy on the Quickrete) so you can still see the cracked parts through the resurfacing.